Ridge Tool Company
11
6. Release the foot switch and remove foot.
7. Move the ON/OFF switch to the OFF position.
8. Rotate the reamer into the position away from the op-
erator.
Threading Pipe with the No. 610 Die Head
Due to differing pipe characteristics, a test thread should
always be performed before the first thread of the day or
when changing pipe size, schedule or material.
1. Lower the die head down into the threading position.
Confirm that the dies are correct for the pipe being
threaded and properly set. If needed, see the Machine
set up section for information on changing and ad-
justing dies.
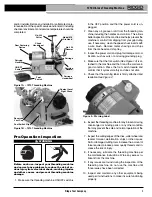
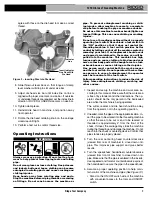
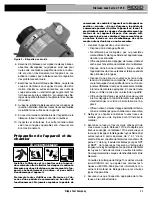
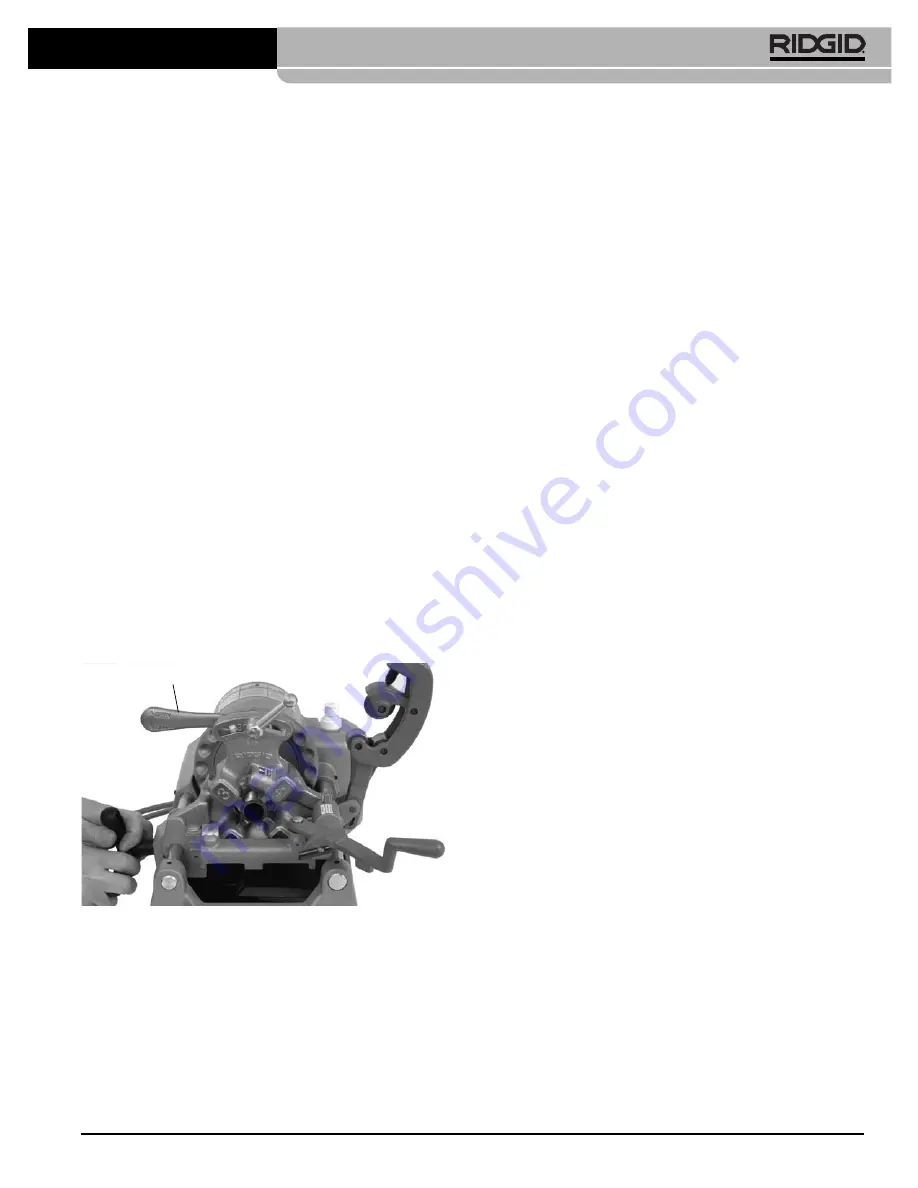
2. Close the throw out lever on the die head (toward the
operator,
see Figure 13).
3. Move the ON/OFF switch to the ON position.
4. With both hands, grasp the carriage handwheel.
5. Depress the foot switch.
6. Verify the coolant drip rate is one drip per second.
7. Turn carriage handwheel to move the die head to
the end of the pipe. Apply slight force to the hand-
wheel to start the die head onto the pipe. Once the die
head starts threading the pipe, no more force is re-
quired on the carriage handwheel.
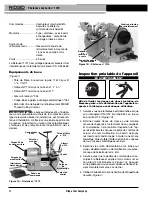
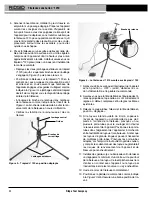
Figure 13 – Threading Pipe with No. 610 Die Head
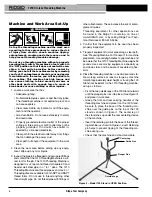
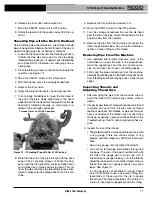
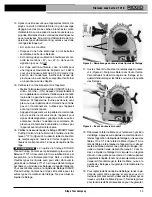
8. Watch for the end of the pipe to align with the back
edge of the #1 die
(See Figure 14). When this hap-
pens, open the die head throw out lever. Keep hands
and clothes clear of pipe and moving parts. This re-
tracts the dies and stops the threading process. Also
watch to make sure the carriage does not hit the ma-
chine.
9. Release the foot switch and remove foot.
10. Move the ON/OFF switch to the OFF position.
11. Turn the carriage handwheel to move the die head
past the end of the pipe. Raise the die head into the
position away from the operator.
12. Remove the pipe from the machine and inspect the
thread as instructed below. Do not use the machine to
tighten or loosen fittings on the thread.
Removing Pipe From The Machine
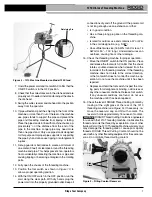
1. Use repeated and forceful clockwise spins of the
handwheel to loosen the pipe in the speedchuck.
Open the speedchuck and the rear centering de-
vice. Do not reach into chuck or centering device.
2. Firmly grip the pipe and remove from the machine.
Carefully handle the pipe as the thread may still be hot
from threading and there may be burrs or other sharp
edges.
Inspecting Threads and
Adjusting Thread Size
1. After removing the pipe from the machine, wipe or
brush the thread off to remove any coolant, chips or
debris.
2. Visually inspect thread. Threads should be smooth and
complete, with good form. If issues such as thread
tearing or waviness, thin threads, or pipe out-of-round-
ness are observed, the thread may not seal when
made up, especially in excessive cases. Refer to the
Troubleshooting Chart for help in diagnosing these is-
sues.
3. Inspect the size of the thread.
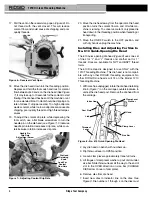
• The preferred method of checking thread size is with
a ring gauge. There are various styles of ring
gauges, and their usage may differ from that shown
here.
• Screw ring gauge onto the thread hand tight.
• Look at how far the pipe end extends through the
ring gage. The end of the pipe should be flush with
the side of the gauge plus or minus one turn. If
thread does not gauge properly, cut off the thread,
adjust the die head and cut another thread. Using a
thread that does not gauge properly can cause
leaks.
See Figure 14.
• If a ring gauge is not available to inspect thread
size, it is possible to use a new clean fitting rep-
resentative of those used on the job to gauge
thread size. The thread should be cut to obtain 4 to
5 turns to hand tight engagement with the fitting.
1210 Oil-less Threading Machine
Throwout Lever (in CLOSED position)


