For the most up to date documents, bike models, additional information, instructional videos,
And more visit us at
Ride1UP.com
17
7. Charging the Battery:
WARNING
◆
DO NOT LEAVE CHARGING BATTERY UNATTENDED
The battery’s voltage is indicated by the 4 LED lights located on the side of the battery and also on the
display unit located on the handlebars. Your battery must be charged in an ambient temperature, on a non-
flammable and dry surface, away from any sources of heat, humidity, or flammable materials. Also, it must
not be covered.
If you ever see a spark while charging your battery. Please inspect the charging port of the battery and the
tip of the charger. Please contact
and share pictures.
Follow the steps when charging battery:
Step 1.
Turn the bike off. The LCD will be off.
Step 2.
Plug the charger (which is off) into the socket and then insert the charger plug into the
battery, which is also off. Make sure the charger’s tip is not stressed or supporting the weight of
the charger. Do not wiggle the charger’s tip in the charging port of the battery.
Step 3.
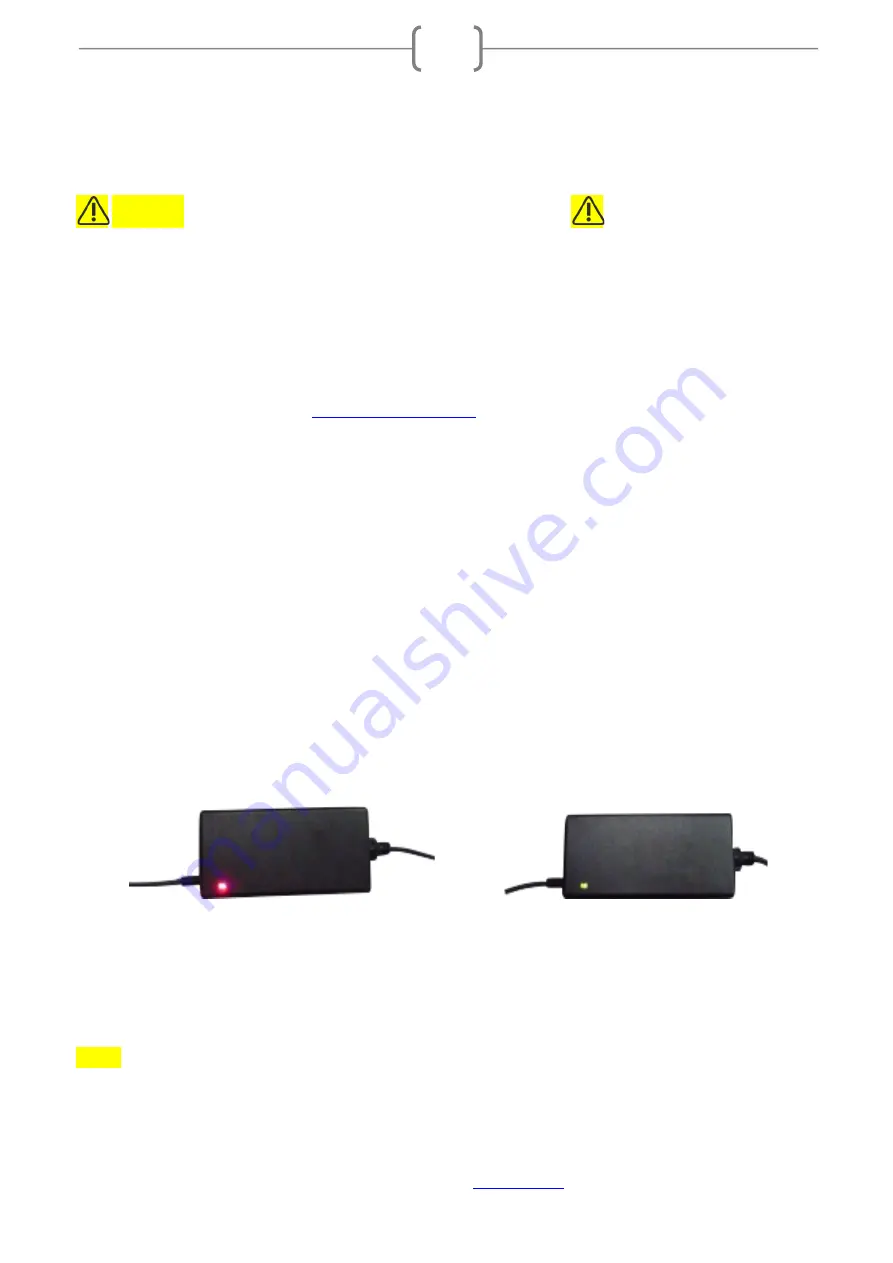
The chargers LED indicators light up in the following manner:
•
The
red
LED lights on: The battery
is being charged
. (Figure A)
•
The red LED light becomes
green:
The battery
is fully charged
and you can unplug the
charger. (Figure B)
(A)
(B)
NOTE: It takes 3-6 hours for the battery to be fully charged when using the standard charger supplied
with the bike.


