76
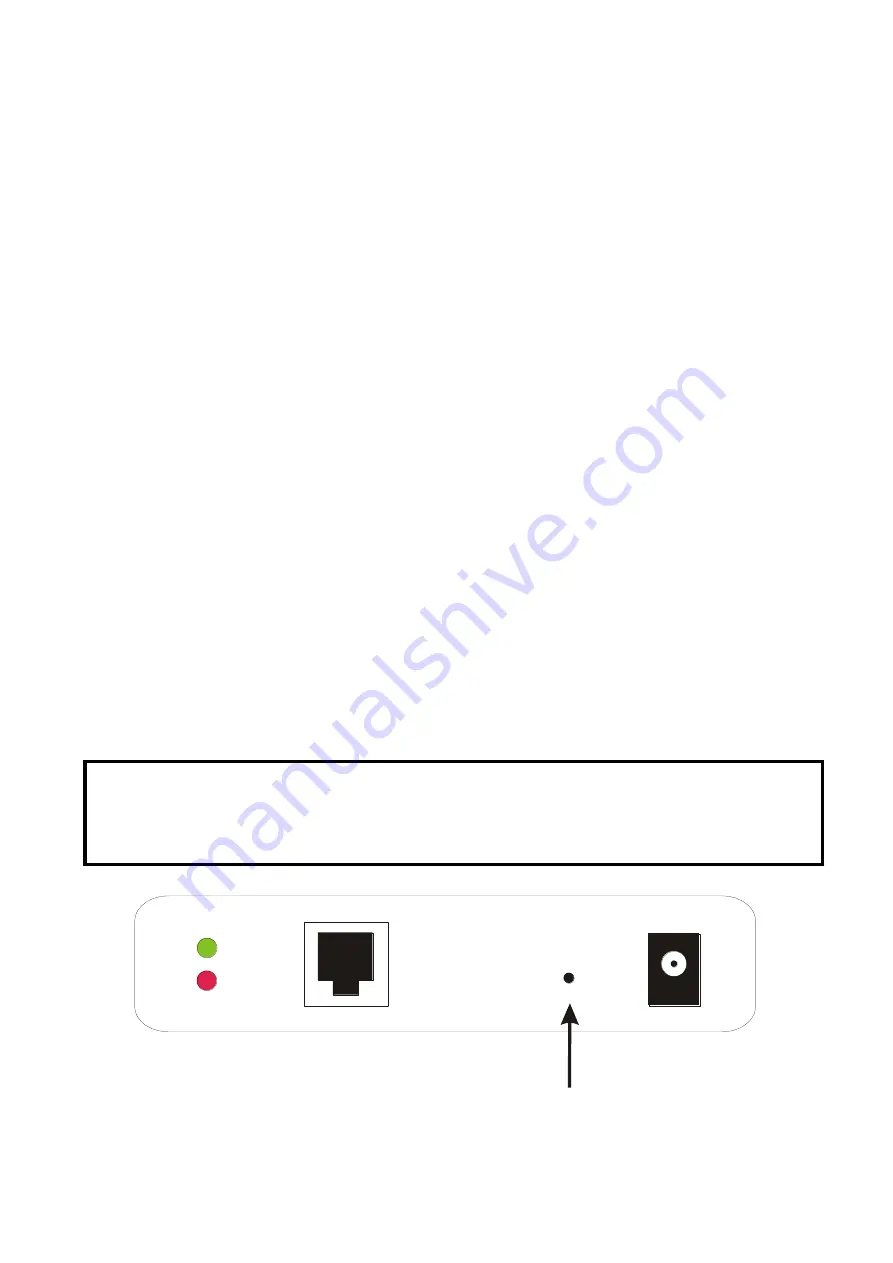
Reset Button
Reboot the Print server
:
1. Verify the power of print server is turned on.
2. Press the reset button once, and then release it.
WARNING: This will restart the print server and stop all on-going and pending print jobs!
Perform a Factory Default
:
1. Disconnect the external power adapter.
2. Hold down the reset button.
3. Reconnect the external power adapter. Wait about 5~6 seconds.
4. Release the reset button.
5. The print server will restart.
WARNING: This will erase all settings of print server to default and should be performed with
caution!
After performing a factory default, the default settings will be:
DHCP client: off
IP address: 192.168.0.10
Subnet Mask: 255.255.255.0
Print Self-test Page(optional)
:
1. Verify the power of print server is turned on.
2. Press the reset button for 5 seconds, and then release it.
3. Then the self-test page including the factory default settings will be printed to parallel
port(PID-1).
Reset Button
LINK
POWER
Note:
1. It is strongly recommended to use Laser Printer for self-test page printing.
2. Some printers are not supposed to print the self-test page completely. For example, the
HP deskjet 948c/895CXi will print the self-test page, but its paper-out LED will light up.
Summary of Contents for RP-2803
Page 6: ...6 Reset Button LINK POWER Network Environment Wired Network with Print Server ...
Page 11: ...11 ...
Page 17: ...17 16 Right click select Properties Ports and verify that the print server s port appears ...
Page 60: ...60 7 Click Forward button 8 In the Name field type a user defined name click Forward ...
Page 62: ...62 15 Done ...
Page 65: ...65 5 Click Upgrade 6 Done ...
Page 73: ...73 3 Double click it again 4 Now you have to install the printer s driver ...
Page 74: ...74 5 Choose it from the Add Printer Wizard 6 Install printer successfully ...
Page 75: ...75 7 Now you can find your printer s icon and you can use the SMB printing mode ...


