REDLAKE MASD, INC.
Viewing and Setting the Operating Parameters
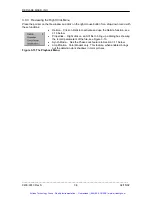
These parameters must be set to record a sequence: the Event number and description; the
Record Rate; and the Shutter. Set the Trigger if it will be used to stop the recording.
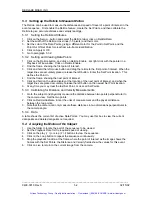
3.5.2.1 Event
Number
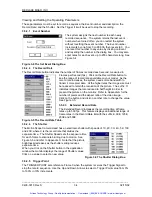
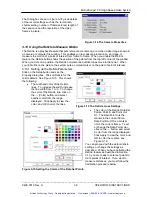
The system assigns the next number to each newly
recorded sequence. The system retains the last event
number when turned off so you can restart the system
without resetting the event number. The Event number
increments by one from 0 to 65,536, then resets to 0. You
can reset this number to any value by clicking on Event
and resetting the number in the dialog box. You may also
enter notes for each event, up to 255 characters long. See
Figure 3-4.
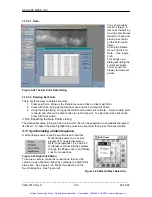
Figure 3-4 The Set Event Dialog Box.
3.5.2.2 The Record Rate
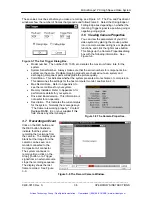
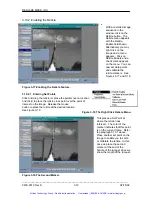
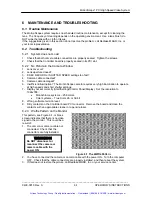
The Record Rate button indicates the number of frames recorded each second, measured in
Frames per Second (fps). Click on the Record Rate button to
see the range of record rates available on your model. As the
record rate increases, the system needs more bandwidth to
transmit more pixel data. At the higher rates the image size must
be reduced to retain the resolution of the picture. The suffix ‘S’
indicates images that are reduced to half height in order to
present the picture on the monitor. Refer to Appendix A for the
number of pixels and the aspect ratio of the video image.
Click on the button and click on another rate to change the value.
See Figure 3-5.
3.5.2.3 Extended Record Rate
The Extended Record increases the recording time at frame
rates up to 500 fps. This feature displays an additional range of
frame rates in the Record Rate list with the suffix E, 60E, 125E,
250E and 500E.
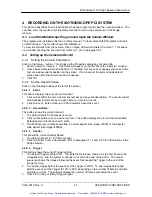
Figure 3-5 The Record Rate Table.
3.5.2.4 The
Shutter
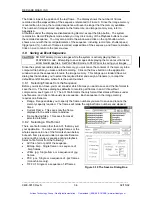
The
Motion
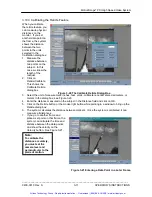
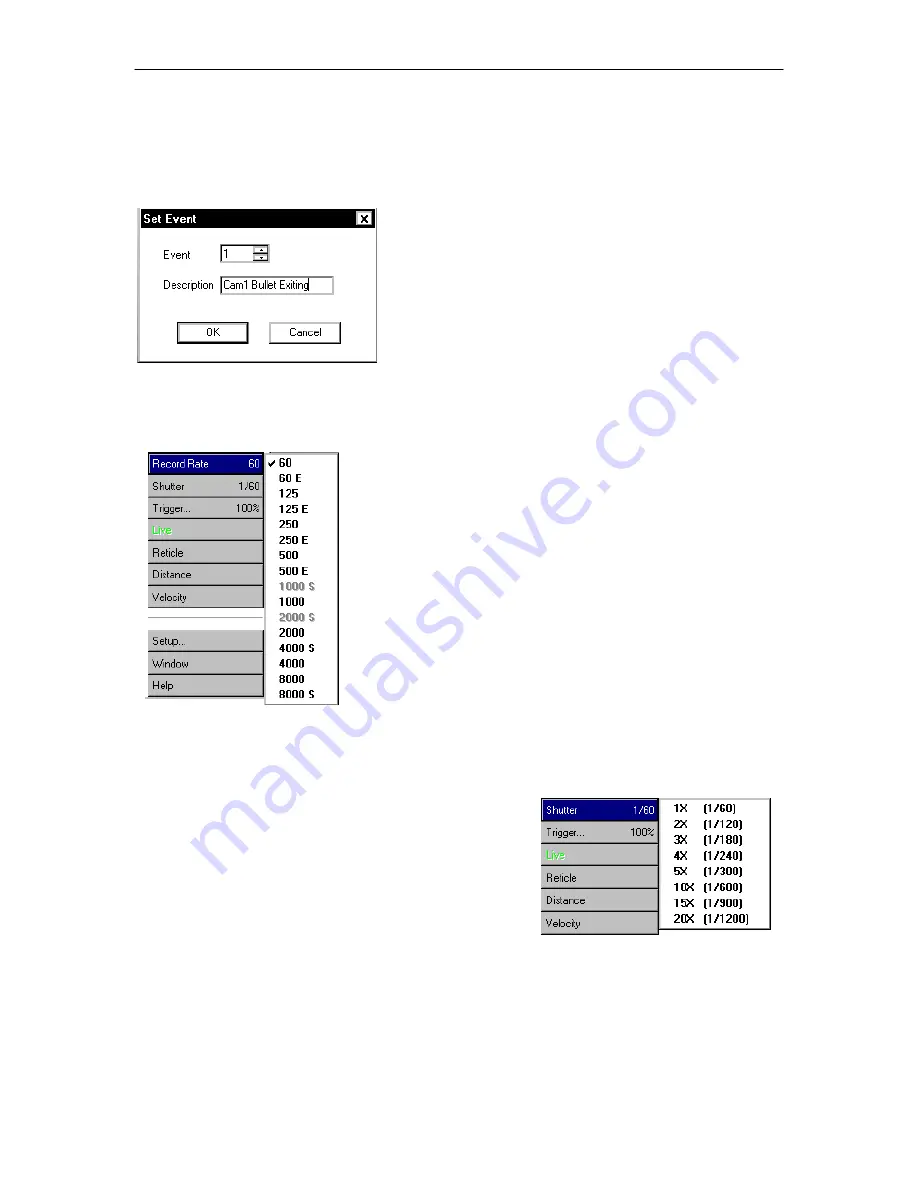
Scope Camera Head has an electronic shutter with speeds of 1X, 2X, 3X, 4X, 5X, 10X
and 20X, where X is the record rate that divides the
exposure time. The Shutter Speed sets the exposure time
for each frame to eliminate blurring due to motion. See
Figure 3-6 and refer to Appendix C. Note that the picture
brightness decreases as the shutter setting reduces
exposure
time.
When you click on the Shutter button in the application
window the monitor displays the range of Shutter values.
Click on a value to select a new value.
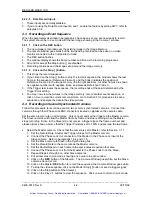
Figure 3-6 The Shutter Dialog Box.
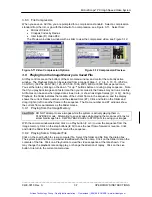
3.5.2.5 Trigger
Point
The TRIGGER POINT sets reference Frame 0 when the system receives the Trigger Signal to
stop the record sequence. Use the Up and Down Arrows to select a Trigger Point value from 0%
to 100% in 10% increments.
_____________________________________________________________________________
9400-0010 Rev S
3-4
02/15/02
Artisan Technology Group - Quality Instrumentation ... Guaranteed | (888) 88-SOURCE | www.artisantg.com


