


25
10. Maintenance - cont.
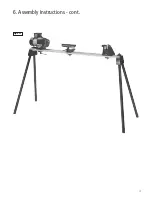
14. Slide the spindle back into the headstock
and into the pulley. Ensure that the drive belt is
fitted around the spindle pulley,
Fig.10.11
.
15. While the spindle and bearing is being
knocked into place, one hand must be used to
keep rotating the spindle a 1/4 turn at every
strike of the mallet,
Fig.10.12
. This ensures that
the spindle seats correctly in the bearings. You
will feel the spindle seat against the headstock
and there will be a dull thud as the mallet
strikes the thread protector. This stage is now
complete.
16. Replace the Allen bolt and large washer into
the back of the headstock. Do not over tighten
this, the bolt should only be turned until finger
tight,
Fig. 10.13
, then apply a 1/4 of turn with
an Allen key.
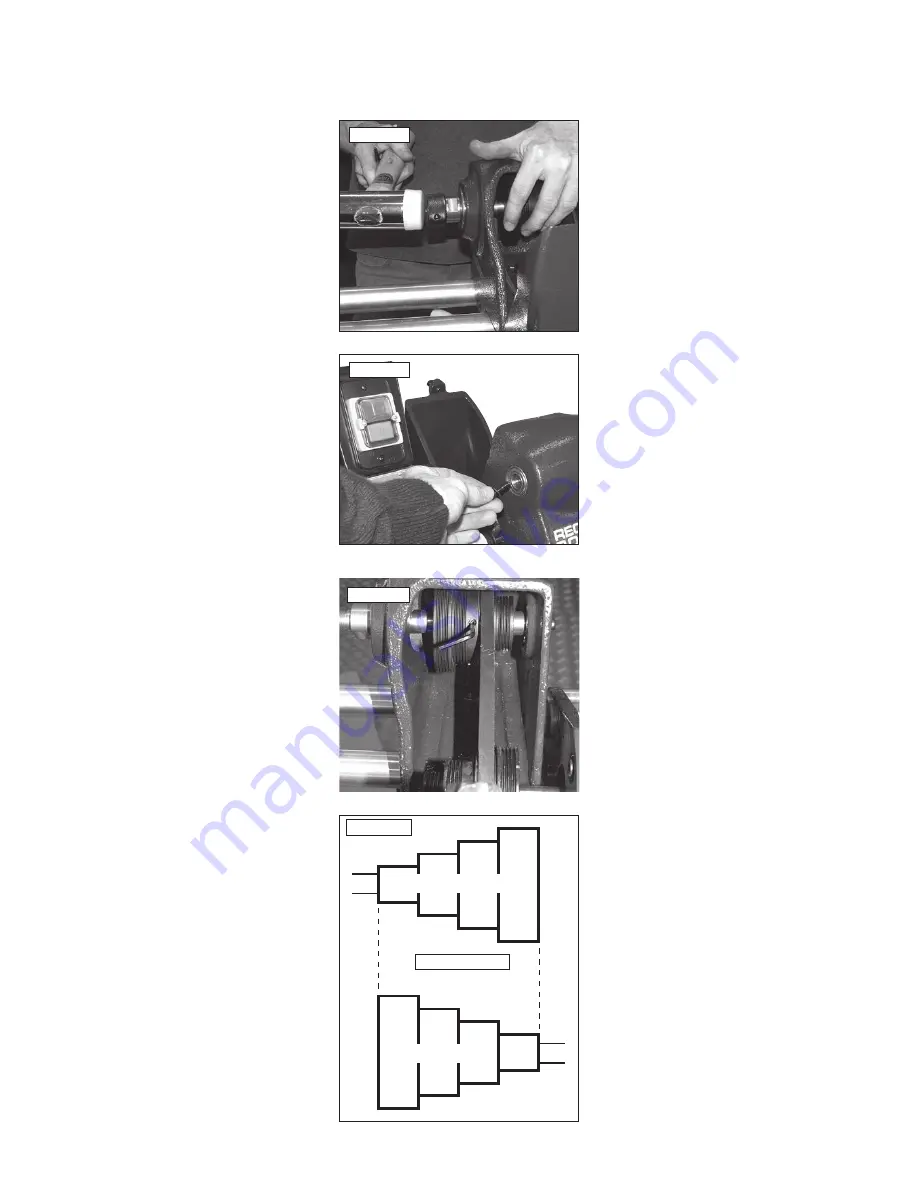
17. If not already done the drive belt should now
be placed on the motor pulley and the spindle
pulley adjusted so as to line up with the motor
pulley, finally tighten the two grub screws into
the spindle pulley,
Figs 10.14
&
10.15
.
18. Re-tension belt by applying slight downward
pressure on motor then tighten the tension lever.
With the belt in position and the headstock
cover replaced the machine should be run for a
little time to enable the belt to bed in.
Ensure that the lathe is switched off, the
machine is unplugged and all tools and
other items are clear of the machine.
Make sure that the headstock cover is
firmly locked in position before starting
the lathe.
Fig.10.13
Fig.10.12
Fig.10.14
Fig.10.15
Pulleys aligned
Spindle Pulley
Motor Pulley


