ReChargX
™
RX292
8am - 8pm ET Mon - Fri
© 1995-2014 ReChargX, EmptyX, TonerRefillKits, TonerRefillKits.com, the TonerRefillKits logo, the
V1.01 - 2014.06.24
800.527.3712 or 352.343.7533
ReChargX and EmptyX logos are trademarks owned by TonerRefillkits.com, LLC. All rights reserved.
Page 7 of 12
Step 15: Reheat the ReChargX
TM
hole-making tool
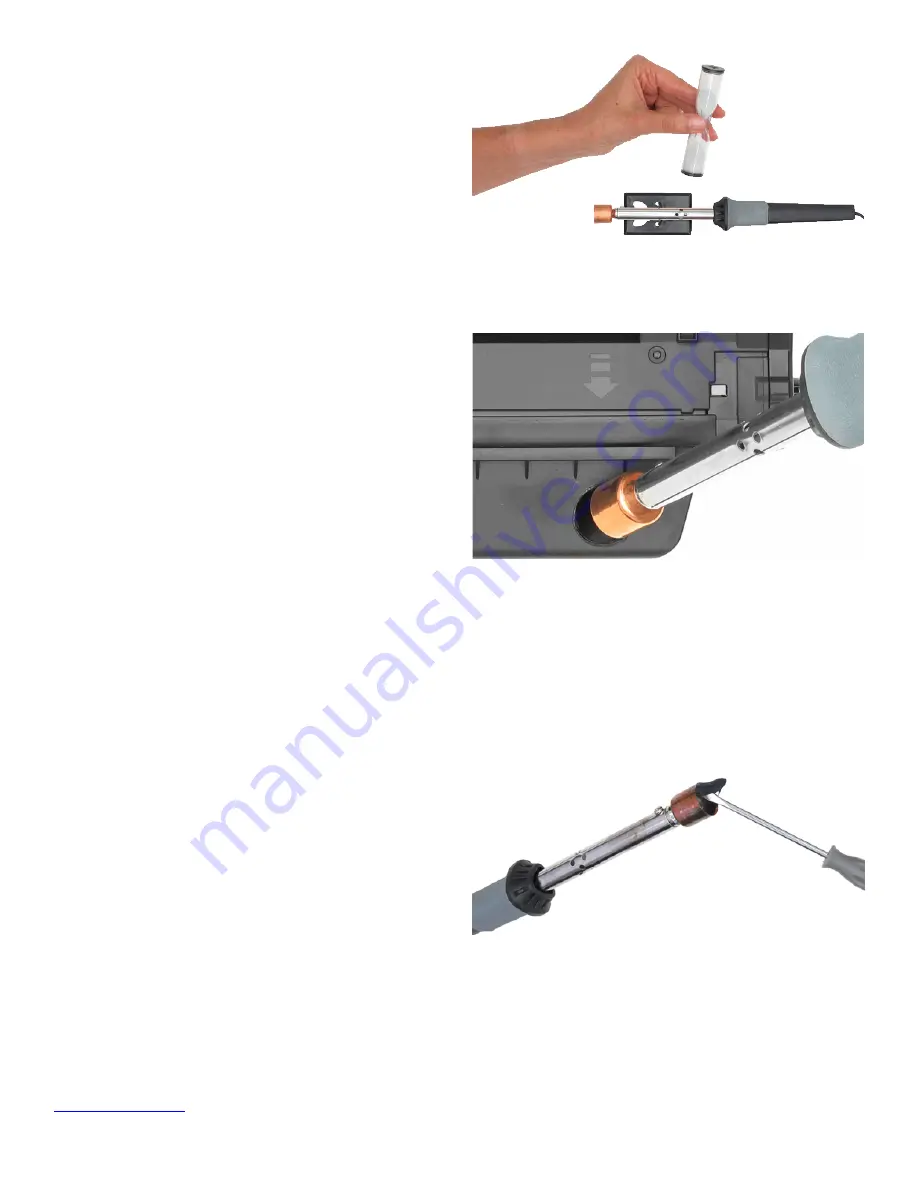
Plug in and reheat the ReChargX™ hole-making tool.
Turn the sand timer over and wait the full 3 minutes
before undertaking the next step
(figure 15-1).
Step 16: Create the waste hopper hole
After waiting the full 3 minutes for the tool to heat up
completely, place the ReChargX™ hole-making tool
directly over the hole location and firmly press the
hole-making bit against the top surface of the toner
cartridge (figure 16-1).
There is no need to use excessive force; let the
hole-making tool do the work with a minimal amount
of pressure.
Since these toner cartridges have a relatively thick
housing, a slight rocking motion of the tool will help
the hole-making bit penetrate the surface of the toner
cartridge.
Once the copper tip of the hole-making tool
penetrates the top surface of the toner cartridge,
immediately withdraw the tool and unplug it.
Step 17: Remove the plastic disc from the tool
While the bit on the hole-making tool is still hot, use
the tip of the flat-blade screwdriver (included in the
ReChargX™ tool kit) to remove the small, circular
plastic disc (figure 17-1).
At this time you can also remove any plastic on the
exterior of the bit with the green pad (included in the
ReChargX™ tool kit).
Tip
: If the disc has fallen into the hopper opening,
use the needle-nose pliers to retrieve it.
Figure 15-1:
Reheating the ReChargX™ hole-making tool
Figure 16-1:
Creating the waste hopper hole
Figure 17-1:
Removing the plastic disc from the hole-making tool


