


9
Setting Up the VCR
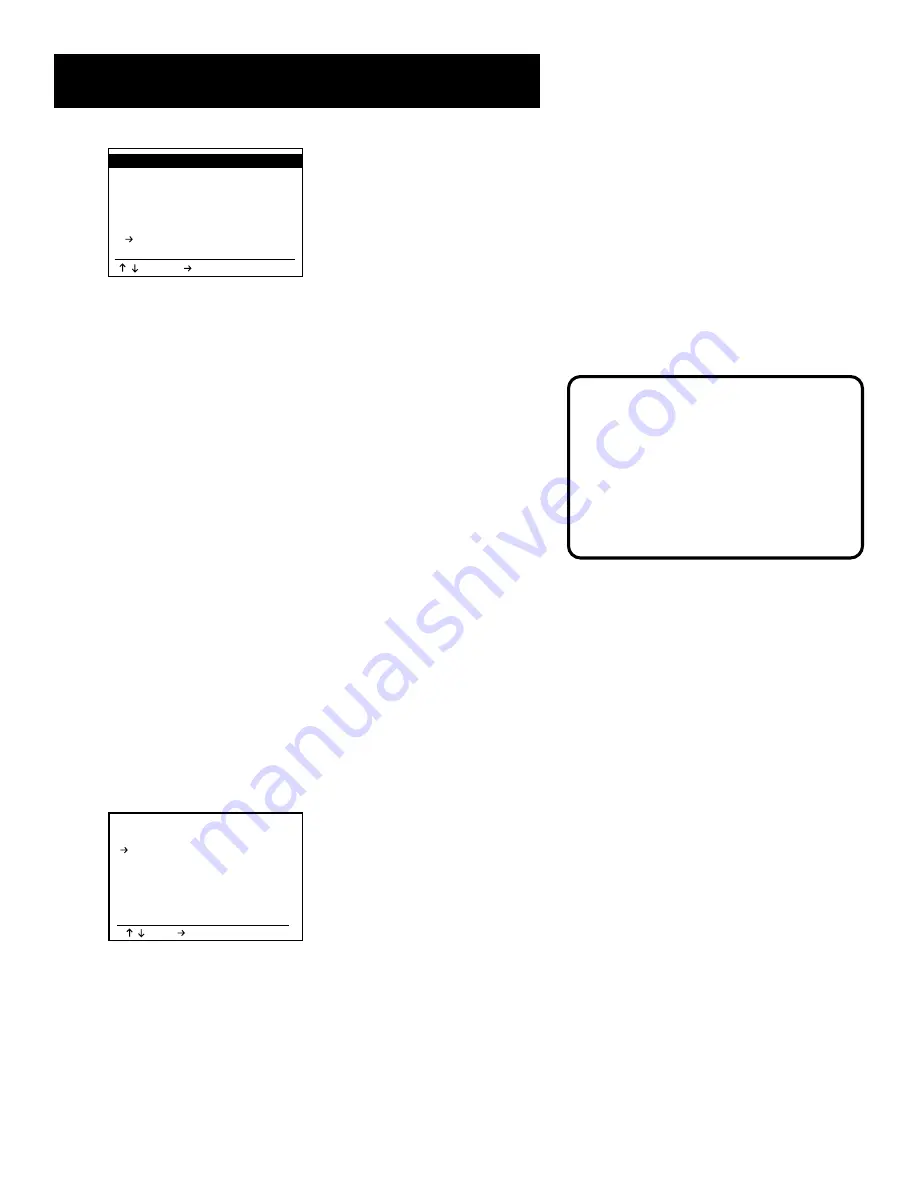
SETUP MENU
1 : Set Clock Menu
2 : Copy/Record Settings
3 : Tuner and Channel List
4 : Dual-Deck Features
5 : Advanced Features
6 : Reset Factory Settings
7
Cable Box Setup
Off
/ =Move =Sel MENU=Quit
3. In the Setup Menu, select
Cable Box Setup
. Each press
of the 7 button or the right arrow button will toggle
through the cable box setup’s choices:
•
Channel 3/ Channel 4
sets the cable box display
channel to 3 or 4. Tune the VCR to the respective
channel to see the cable broadcast.
•
Line 1/ Line 2
sets the cable box display to either the
front or rear Audio/Video (A/V) input jacks. If the cable
box has RCA-type A/V jacks, use them for a picture and
sound quality better than RF cable can provide.
•
Off
will turn off cable box access from the VCR.
Selecting the Tuner Band
Selecting the tuner band determines what kind of signal to
which the VCR will tune channels. You can select between
cable, antenna, or auto. Selecting automatic will determine
which kind of signal the VCR should look for without any
further prompting.
To Change the Tuner Band:
1. Press the menu button on the remote control to display
the MAIN MENU.
2. Press 4 to display the SETUP MENU.
3. Press 3 to display the TUNER/CHANNEL LIST menu.
TUNER/CHANNEL LIST
CH03
Tuner Band
Cable
Auto Channel Search
Add Channel
Remove Channel
Show Weak Channels Yes
Tuner Audio
Stereo
=Move =Sel MENU=Quit
/
4. Tuner Band should already be highlighted. If not, use
the up and down arrow buttons to highlight the
selection. Press the right arrow button to switch
between AUTO, ANTENNA, or CABLE.
Video Line Input
You can make the VCR tune to its
video line input by pressing the INPUT
button on the remote control while in
VCR mode. For more information on
this feature, see, “How to Find the
TV’s Video Input Channel” in the
Reference
section of this manual.
Summary of Contents for VRD120
Page 24: ...This page left blank intentionally ...
Page 32: ...This page intentionally left blank ...
Page 46: ...This page left blank intentionally ...
Page 52: ...This page intentionally left blank ...
Page 87: ......


