40
Menu System
Turn on Progressive Scan from the Front Panel
1.
With your DVD player turned on, and your TV turned on, press and hold the PREV/video
button for at least 3 seconds (this puts you into Video Output mode).
2.
Press the PREV/video button to access different video output options.
3.
Each time you press PREV/video, the type of video being displayed appears next to the
Display
menu.
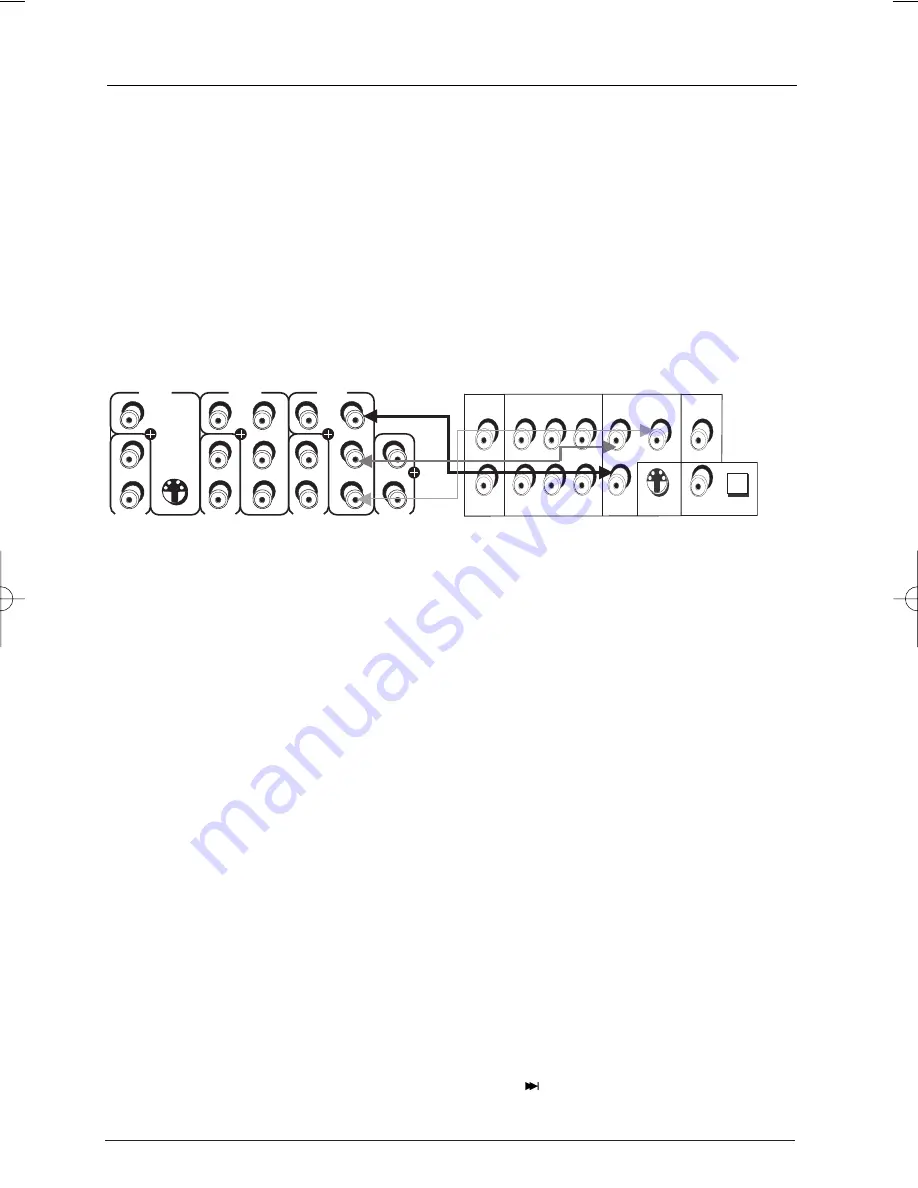
Connect the DVD Player to the Progressive Scan TV via the COMPONENT VIDEO jacks
Make sure you connect the DVD player properly for progressive scan.You must also connect
audio (not shown). Find out which Input Jacks on your Progressive Scan TV to use to ensure
display of progressive scan signal.
TV
DVD Player
Progressive Scan Troubleshooting
Some high-end HDTVs and multimedia monitors offer progressive scanning of the video signal
instead of interlace. Proponents of Progressive Scan say it provides a crisper picture because it
eliminates the “flicker” or “jitter” at the edges of the screen.Your DVD player is equipped to send
a progressive scan signal.
IMPORTANT:
If you don’t have a Progressive Scan TV or you don’t have the DVD player connected to the
correct Input Jacks, and you activate Progressive Scan in the DVD player you won’t see a
picture! Don’t panic—try the following:
First, make sure the yellow cable (attached to the white and red cable called audio/video cables) is
connected to the DVD player’s VIDEO jack and the TV’s Video Input jack. Change your TV channel
to your TV’s Video Input channel that activates the TV’s Video Input jack (page 9 has more
information).
If that doesn’t work, press the PREV/video button on the front of the DVD player (it will go to
the next video output option, which is an interlace output so a picture should appear on the TV
screen).
If that doesn’t work, follow the directions at the top of this page (it will go to the next video
output option, which is an interlace output so a picture should appear on the TV screen).
As a last resort, you can reset the DVD player to the factory default settings:
Press
the
STOP button on the front of the player then the
(NEXT)
button on the front of
the player. Make sure you press these buttons within a few seconds of each other. Each of
the buttons must be pressed in this order. Release both buttons.
VIDEO
INPUT 1
AUDIO
S-VIDEO
VIDEO
INPUT 2
AUDIO
L/
MONO
R
V
L/
MONO
R
V
P
B
Y
P
R
L/
MONO
R
VIDEO
INPUT 3
AUDIO
AUDIO
L/
MONO
R
V
P
B
Y
P
R
L
R
AUDIO OUT
SUBWOOFER
FRONT
SURROUND CENTER
(5.1 CHANNEL)
OPTICAL
S-VIDEO OUT
Y
Pr
Pb
COAXIAL
DIGITAL AUDIO OUT
COMPONENT VIDEO OUT
VIDEO
OUT
DRS720.body 7/13/04 5:36 PM Page 40


