40
Chapter 4: Playing Discs (JPEG files)
Viewing JPEG files
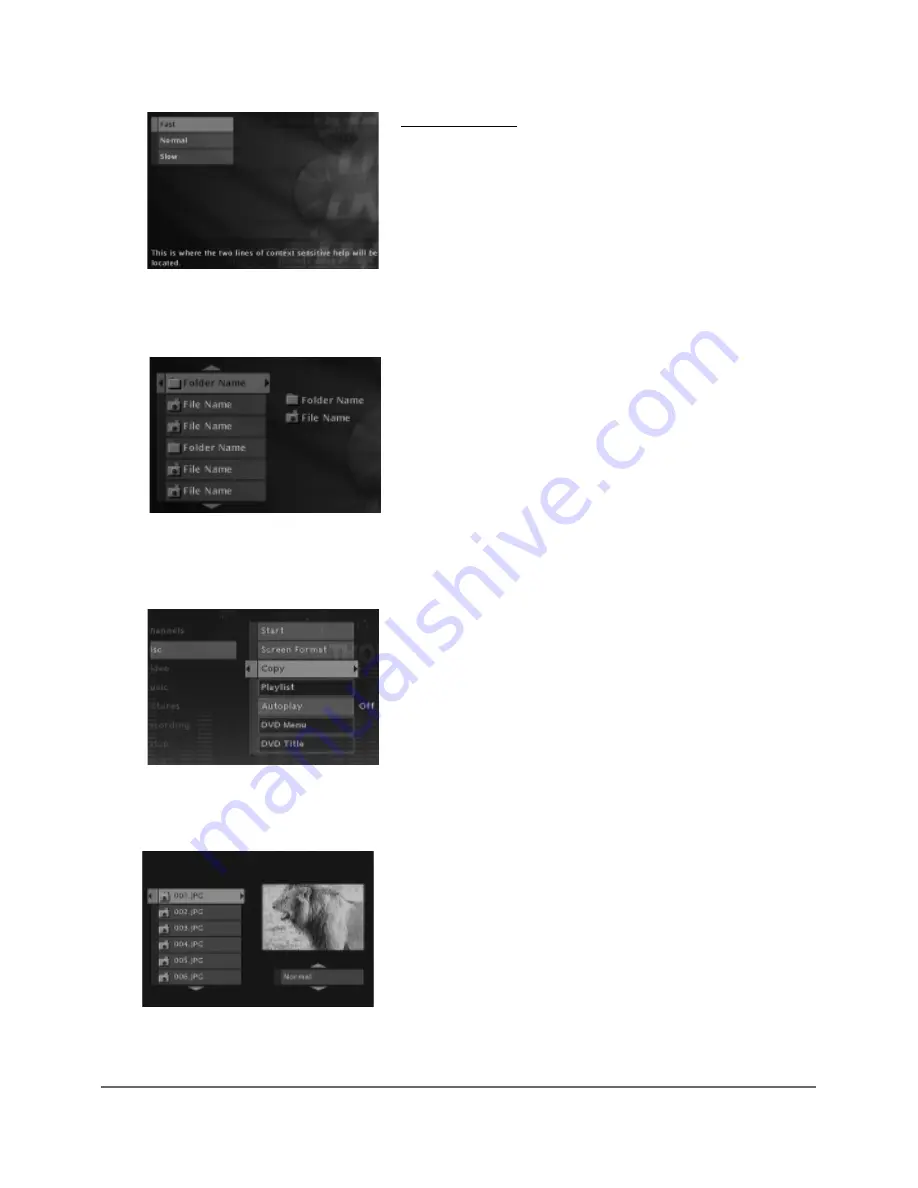
The Digital Media Recorder can play discs with JPEG files on them. You can use the
Digital Media Recorder to show the pictures in a slide show format.
Slide Show
After you put the disc in the Digital Media Recorder and it detects there are JPEG
files on the disc, the slide show menu appears.
1. Use the up or down arrow buttons on the remote to highlight how fast you
want the slide show to play.
2. Press OK (the folders and/or JPEG files appear on the screen). Use the up and/or
down arrow buttons to highlight a folder, and press PLAY (the slide show
begins). To stop the slide show, press the STOP button.
3. If the picture appears upside down or sideways, press the PAUSE button. To
rotate clockwise, press the right arrow button. To rotate the image counter-
clockwise, press the left arrow button.
Notes:
There isn’t an Info Display when you’re playing JPEG files.
You can’t play other types of pictures in the Digital Media Recorder — only JPEG files.
If the Digital Media Recorder isn’t reading the disc, one or more of the files might be too large.
Recommended size is less than 2MB (megabytes).
Saving JPEG files to the hard disk drive
1. Press MENU (the main menu appears).
2. Highlight Disc, and press OK.
3. Highlight Copy, and press OK.
Note: All JPEG files will be saved to the hard disk drive — you can’t select
particular files and/or folders. You won’t be able to use your Digital Media
Recorder while JPEG files are being saved to the hard disk drive.
4. When you copy JPEG files to the Digital Media Recorder’s hard disk drive, they
are saved in the Pictures menu. For more information about viewing, renaming,
and/or deleting JPEG files, go to page 26.
The slide show menu appears
automatically when you put a disc in the
player that has JPEG files on it.
Use the arrow buttons to highlight the
folder than contains the JPEG files you
want to view, and press PLAY.


