background image


MODEL NO.: 

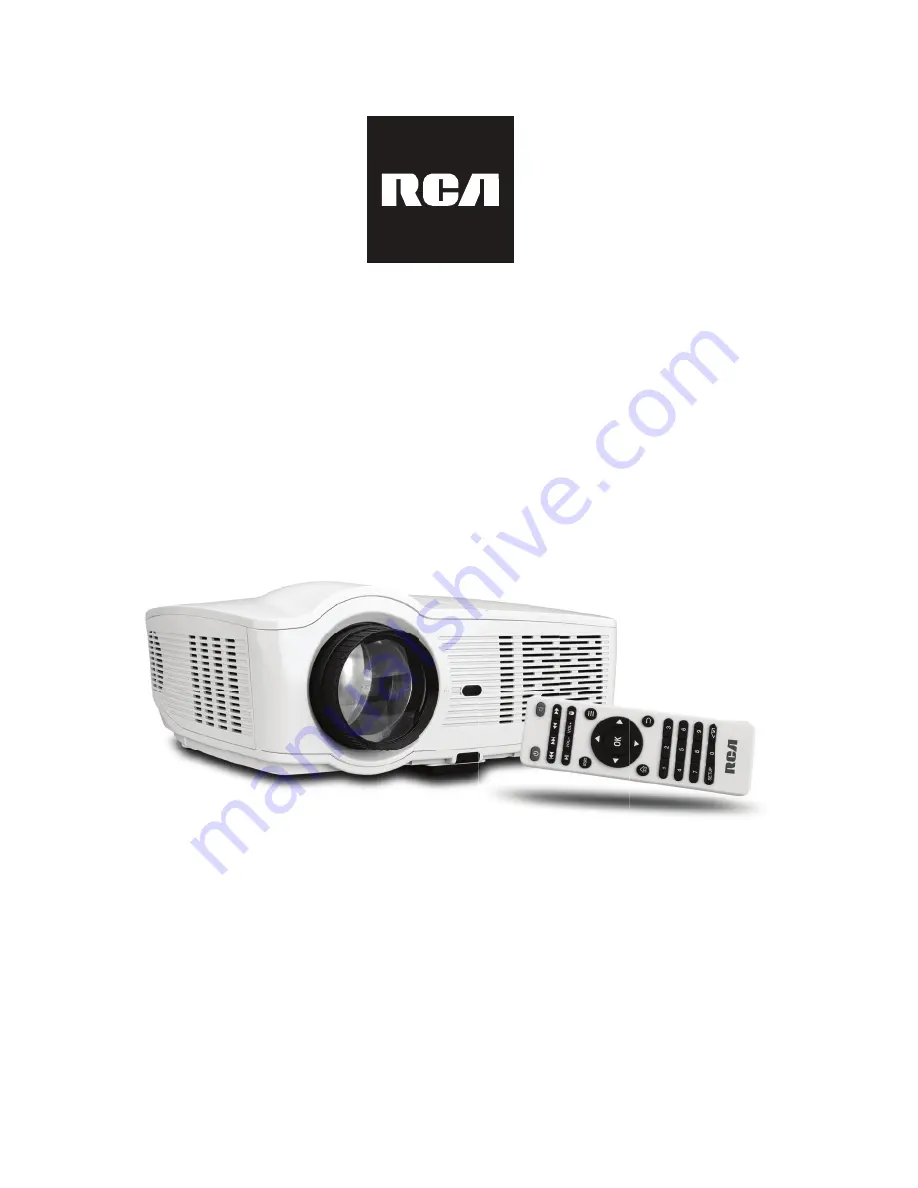
RPJ129

Smart Android Wi-Fi Home Theater Projector

INSTRUCTION MANUAL


PLEASE READ BEFORE OPERATING THIS EQUIPMENT

This product is manufactured and sold by Curtis International Ltd. 
RCA,  the  RCA  logo,  the  two  dogs  (Nipper  and  Chipper)  logo,  are registered trademarks 
or trademarks of RCA Trademark Management and are used under license by Curtis 
International Ltd. Any other product, service, company, trade or product name and logo 
referenced herein are neither endorsed nor sponsored by RCA Trademark Management or 
its affiliates.

Summary of Contents for RPJ129

Page 1: ...Curtis International Ltd RCA the RCA logo the two dogs Nipper and Chipper logo are registered trademarks or trademarks of RCA Trademark Management and are used under license by Curtis International Ltd Any other product service company trade or product name and logo referenced herein are neither endorsed nor sponsored by RCA Trademark Management or its affiliates ...

Page 2: ...e point where they exit from the apparatus 10 Only use attachments accessories specified by the manufacturer 11 Unplug this apparatus during lightning storms or when unused for long periods of time 12 Refer all servicing to qualified service personnel Servicing is required when the apparatus has been damaged in any way such as power supply cord or plug is damaged liquid has been spilled or objects...

Page 3: ...re 5 WARNING Changes or modified to this unit not expressly approved by the party responsible for compliance could void the user s authority to operate the equipment 6 WARNING Use of this unit near fluorescent lighting may cause interference regarding use of the remote If the unit is displaying erratic behavior move away from any fluorescent lighting as it may be the cause 7 WARNING Shock hazard D...

Page 4: ...e equipment off and on the user is encouraged to try to correct the interference by one or more of the following measures 噝 Reorient or relocate the receiving antenna 噝 Increase the separation between the equipment and receiver 噝 Connect the equipment into an outlet on a circuit different from that to which the receiver is connected 噝 Consult the dealer or an Remote AC Power Adapter Lens Cover Use...

Page 5: ... P9 Install Power Adapter P10 Main Button Operation P10 Connect HDMI show the Image On Projector Screen P11 Connect AV Show The Image On Projector Screen P11 Connect VGA Show The Image On Projector Screen P12 Connect Audio Output Aux Out Line Out P13 Install USB Device P13 Using USB Playback Media Player P14 Using Projector Menu 1 P15 Using Projector Menu 2 P16 Using Projector Menu 3 P17 Using Pro...

Page 6: ...tor placed near the floor behind the screen NOTE A special rear projection screen is required Front Ceiling Select this location with the projector suspended upside down from the ceiling in front of the screen NOTE A projector mount is required to install the projector in a ceiling Rear Ceiling Select this location with the projector suspended upside down from the ceiling behind the screen NOTE A ...

Page 7: ...ing the projector in the ceiling please purchase a projector mount recommended by an installation professional and follow the instructions that come with the mount Before installing the projector in the ceiling please check to make sure the ceiling structure can support the weight of the projector and the mount If in doubt please ask the advice from an installation professorial NOTE Projector moun...

Page 8: ...reen Adjust the focus by turning the lens while observing the image pixels near the center of the screen Optimal focus is obtained when the pixels are clearly visible Depending on the projected screen size the focus near the screen edges may be less sharp than the screen center SCREEN VERTICAL DIMENSION PROJECTOR VERTICAL DIMENSION PROJECTOR SCREEN VERTICAL DIMENSION PROJECTOR SCREEN Press the PUS...

Page 9: ...UDIO SOUND SEARCH FORWARD OR REWIND SHOW MOUSE CURSOR ENTER TO MENU NAVIGATOR EXIT THE MENU 0 9 NUMERIC BUTTON BACK SPACE SKIP NEXT PREVIOUS FILE PLAY PAUSE SOURCE SELECTOR SELECT VOLUME SOUND TO HOME PAGE TO SETUP PAGE OK OK SETUP Batteries shall not be exposed to excessive heat such as placing under the sunlight or near a fire Please make sure the batteries are installed with their correct polar...

Page 10: ...tton 9 SOURCE Button 10 SETUP Button 11 KEYSTONE ADJ Knob 12 VIDEO IN Jack 13 USB1 USB2 Port 14 HDMI 1 HDMI 2 Port 15 DC IN jack 16 AUDIO OUT R L Jack 17 IR Sensor Rear Side 18 AUDIO IN R L Jack 19 VGA IN Jack Controls of Projector PUSH 3 2 1 4 5 7 6 8 9 5 10 DC IN KEYSTONE USB 1 USB 2 HDMI 1 HDMI 2 VGA VIDEO 11 12 13 15 16 14 17 18 19 ...

Page 11: ...ress the button to play pause the Press the button to return to Streaming Apps Home Screen playback Press the button to projector SETUP menu Press the button to delete character and backspace in Streaming Apps mode 0 9 Press the button to enter numbers in Streaming Apps mode Press the button to mute the audio Press again to resume Install Power Adapter Follow below picture to connect power adapter...

Page 12: ...able to connect follow below figure 3 After connect press the button to turn on unit and power indicator will light GREEN 4 Press the SOURCE button to select AV mode and the video of AV device will show on projector screen 5 Press the button to turn off unit power CABLE NOT INCLUDE Connect HDMI Show The Image On Projector Screen D DC IN KEYSTONE USB 1 USB 2 HDMI 1 HDMI 2 VGA VIDEO HDMI CABLE Video...

Page 13: ...gnal from computer Type Resolution Frequency Field Frequency PC VGA 640x480 31 5 60 34 7 70 37 9 72 37 5 75 SVGA 800x600 31 4 50 35 1 56 37 9 60 46 6 70 48 1 72 46 9 75 XGA 1024x768 40 3 50 48 4 60 56 5 70 NOTE In order to get the sound from the unit please connect AV in cable when you connect VGA input 1 Turn off the unit before connect VGA cable Connect VGA Show The Image On Projector Screen Fol...

Page 14: ...et top box or the player s digital audio settings and make sure it is set to PCM Stereo mode Install USB Device Follow below picture to install USB Turn the unit off before install USB 1 Press the button to turn off power of your projector before connection Connect Audio Output Aux Out Line Out Follow below picture to connect audio cable and device 2 Use audio cable to connect follow below figure ...

Page 15: ...ice OK OK OK OK OK OK OK OK OK OK OK OK Pause Prev Next Stop Repeat Rotate PList Info ZoomI Move Slide Rotate ZoomO Pause FB FF Prev Next Stop Set A MUTE PList Info GoTime Pause FB FF Prev Next Stop Repeat Set A Aspect PList Info SlowF StepF GoTime ZoomI ZoomO Move Pre Nex Prev Next Stop PList Info 1 When photo playback press the button and more function screen show on lower figure 1 2 Use the but...

Page 16: ...ly Use the button to show below information and press SETUP button to return Native inf Model RPJ129 RCA SW Ver 2 0 LOGO RCA TM058 ET058 IC MINILVDS MMM DD YYYY HH MM SS Software Update USE TO SELECT PRESSGOK PRESSGOK USE TO SELECT Native information Software Update Native information NOTE MMM DD YYYY is representative date of software HH MM SS is representative time of software ...

Page 17: ...dard Color Temper Aspect 16 9 MPEG Noise Panel Flip Rotate 1 Noise Reduction USE TO SELECT PRESSGOK Projector Zoom Picture Mode Standard Color Temper Aspect Noise Reduction MPEG_ Noise Panel Flip Rotate 1 Projector Zoom Use to select different picture effect to Standard Soft User Vidid Use or to select Contrast Brightness Color Sharpness digit If chose User item Follow below figure Use to select d...

Page 18: ... Movie Sports User Use or to select Treble and Bass digit If chose User item Follow below figure to set digit Use to select different sound effect to Off SRS TruSurrou Surround Use to select Balance level to 50 to 50 sound menu showed on right upper of view screen Sound Mode Standard Balance USE TO SELECT USE TO SELECT PRESSGOK PRESSGOK USE TO SELECT PRESSGOK Balance 0 Surround Sound Off Surround ...

Page 19: ...nd press button to enter 2 Enter password for your selected network Use button to select character numbers symbols and so on Press button to confirm in the virtual keyboard 3 Press button to exit virtual keyboard enter state 4 Use button to select CONNECT to connect Wi Fi network Projector Home Screen OK OK OK OK OK NOTE For easy operation or key in the password you can connect an Android keyboard...

Page 20: ... l Apps will list out the Apps which is installed l Storage rest show internal shared storage status and Factory data reset l Date time with the following menu for setup Ø Set time zone Use button to set the time zone press button to confirm Ø Use 24 hour format Press button to set On or Off l Languages Use button to set the language press button to confirm l Security restrictions with the followi...

Page 21: ...dress or something what you want to search Use button or button to move the cursor in the virtual keyboard to select character numbers symbols and so on press button to confirm in the virtual keyboard In Projector Home Screen use button to select Settings icon and press button to enter Settings menu In Projector Home Screen start the app store by selecting one of the following app stores and searc...

Page 22: ... different mobile models with different names You can find the name of the projector Android_xxxx in the mobile screen sharing click the link then click the projector to accept this connection The mobile device will be transferred to full screen projector this feature is only supported by Android system 4 2 or above IOS devices do not support Miracast Note Please note that depending on the mobile ...

Page 23: ... output 2W RMS x2 DC5V 100mA Net Weight USB 2 32 KG Product dimensions 310 mm x 234 mm x 128mm Specifications are typical individual units might vary They are subject to continuous improvement without notice and without incurring any obligation Light Source Type Lumen LED Specifications LED 3100 Color Brightness 2000 White Brightness Display Native Resolution 1280 x 800 HDMI Input Supported Video ...

Reviews: