20
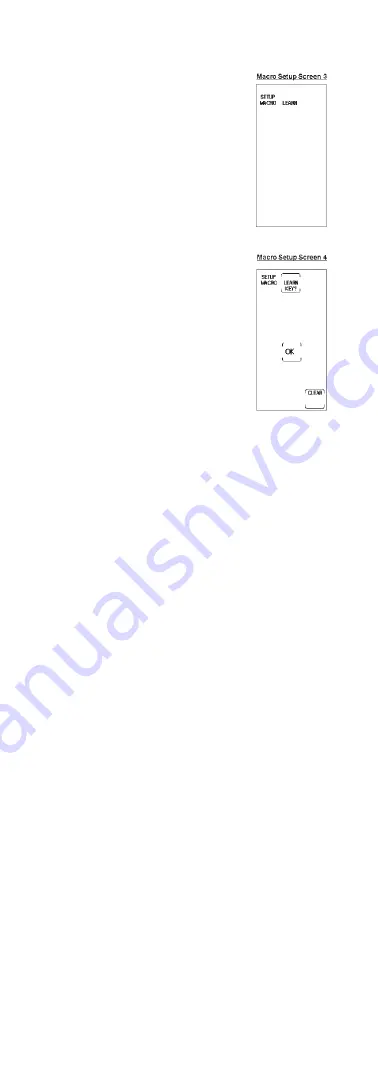
8. Macro Setup Screen 3 now appears
on the touchscreen. Press and hold
the key on the original remote until
the LED indicator light on the
RCU900RF blinks off once. This process
takes 2-3 seconds to complete.
9. The touchscreen now shows Macro
Setup Screen 4. Release the original
remote key.
10. Program additional commands in the
order you want them to be stored in
the Smart Macro. To add commands
to the Smart Macro, repeat numbers 7
and 8 above, using original remotes
to program.
Note:
It may be necessary to add
a delay in between the Macro
commands to allow your TV
warm-up time. The default delay
between each Macro command is 0.5
seconds. Delays can be added by
pressing and releasing the
SETUP
key during the Macro learn sequence.
The Digit Select Screen is shown.
Press and release a digit key (1-9) to
indicate the delay time required (1=1
second; 2=2 seconds; 3=3 seconds,
etc.). The maximum delay is 9
seconds. Pressing the
CLEAR
key
will give the default delay of 0.5
seconds. Any delay added to the
Macro sequence is counted as one
keystroke of the possible 20
keystrokes for a Smart Macro.
11. Continue to repeat this procedure for
other keys to be stored. You can store
up to 20 learned commands under
one Smart Macro.
Note:
If a problem occurs with the
Learning, the LED indicator light
flashes for two seconds but remains
in the Smart Macro routine.
12. Once you are finished programming
the macro, press and release the
LCD OK
key.
13. The touchscreen returns to the Main
Setup Screen.
14. The Smart Macro programming
is complete.
15. If you program all 20 keys into a
Smart Macro, the Macro is
automatically stored after the 20th
learned command is completed.
Program a Smart Macro (continued)
Summary of Contents for RCU900RF
Page 15: ...15 Device Device ...


