10
9. Once the component to be controlled responds to the
commands, press and release the LCD
OK
key to save the
code. After you install its code, all key labels and any
previously Learned commands will be reset.
Note:
If your component responds to the command, and the
RCU1010 sends the next code before you have a chance to
press and release the LCD
OK
key, you can backtrack through
the Code List by pressing
CH-
or the LCD
DOWN ARROW
.
You can change the direction to forward once again by
pressing the
ON•OFF
,
CH+
, or LCD
UP ARROW
keys.
10. After pressing the LCD
OK
key in step nine, the LCD displays
the Code Search Mode? Screen. Code Autosearch is now
complete. To exit the Setup Mode, press and release the LCD
EXIT
key, followed by the LCD
OK
key on the Exit Setup Screen.
Code Autosearch (continued)
Code Identification allows you to find out what code is currently programmed in the remote
under a given mode (
TV
,
VCR
,
DVD
, etc.).
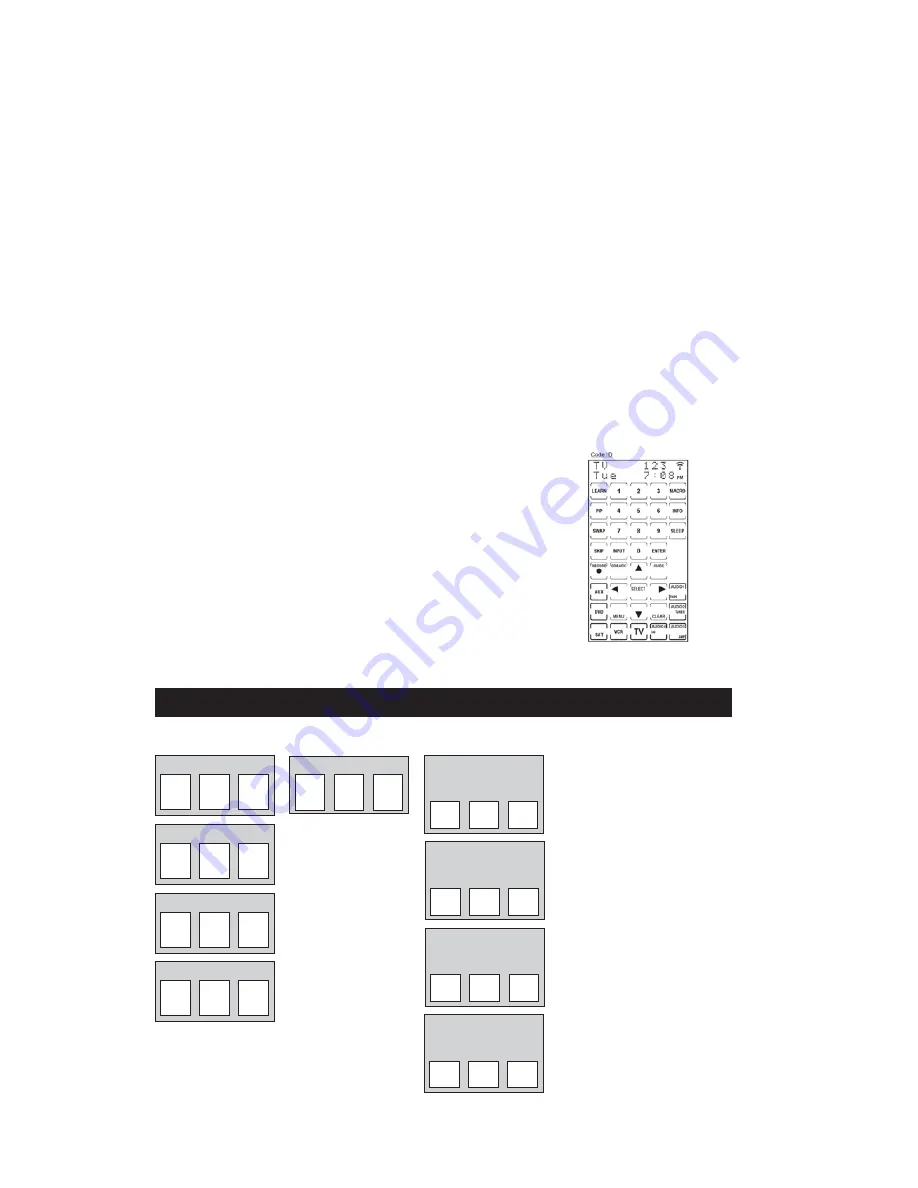
To find the currently programmed code, follow these steps:
Code Identification
1. Press and release the
SETUP
key. The last active screen that
was displayed appears.
2. Press and hold any LCD component key. The top right corner
of the LCD touchscreen shows the current code programmed
for that component.
Code Identification Chart
TV CODE
Enter your codes here for easy reference:
VCR CODE
SAT CODE
DVD CODE
AUDIO 1
Tuner
❒
CD
❒
AMP
❒
Tape
❒
✓
AUDIO 2
Tuner
❒
CD
❒
AMP
❒
Tape
❒
✓
AUDIO 3
Tuner
❒
CD
❒
AMP
❒
Tape
❒
✓
AUDIO 4
Tuner
❒
CD
❒
AMP
❒
Tape
❒
✓
AUX
component:______
NOTE:
CABLE is the default for AUX.
Summary of Contents for RCU1010
Page 1: ...Limited 90 Day Warranty Universal Learning Remote with TOUCHSCREEN User s Guide ...
Page 39: ...39 ...
Page 40: ...40 ...


