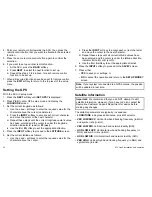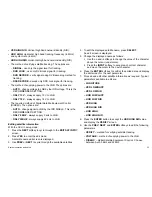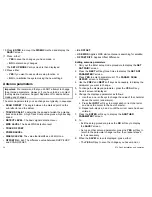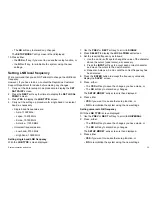
3.1 Introduction
This section of the handbook describes how to set up your
Raymarine Satellite TV system after installation using the ACU or the
Graphical User Interface (GUI), and includes the following functions:
• System start up
• Editing satellite information
• Change the default satellite
• Setting antenna parameters
• Monitor the antenna status
• Setting the local frequency
• Enter set up mode
• Setting the DiSEqC method
• Setting your operating region
• Display versions
• Setting the default satellites
• Setting antenna go position
• Setting up Remote Control
• Setting antenna move step
• Setting the GPS
Many of the above functions will only be required at initial installation
of your system.
Important:
Raymarine does not recommend changing the
satellite information unless advised to do so by the satellite
provider.
Note:
The satellite names shown on the ACU screen are
dependent on geographic location and therefore may be different
to the names in this manual.
Note:
Vertical and horizontal polarization applies to regions with
linear polarization only
3.2 Getting started
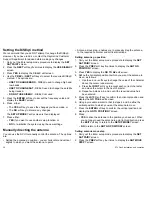
Switching on
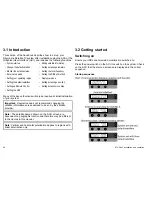
Ensure your IRDs and television monitors are switched on.
Press the power switch on the ACU to switch on the system. Check
on the ACU that the start-up screens are displayed in the correct
sequence.
Startup sequence
INITIALIZE ANT
ENNA
RAYMARINE 45 S
TV
INITIALIZE ACU
RAYMARINE 45 S
TV
Start of communication between antenna and the
ACU.
Antenna initialized.
Antenna is searching for Satellite
A.
Operating mode - antenna tracking satellite
SEARCH A:
HOTBIRD
SETUP
ASTRA2
B:HOTBIRD
SETUP
TRACKING A:
ASTRA2
B:HOTBIRD
TURKSAT
TRACKING A:
ASTRA2
System set with two
default satellites
System set with three
default satellites
28
STV Gen2 installation and operation

