7
SETTING THE ALARM TIMER
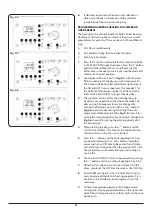
The alarm timer allows cooking to be timed up to a period
of 99 minutes. (it does not turn the oven on or off) The alarm
can be set by following the procedure below:
1.
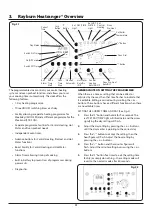
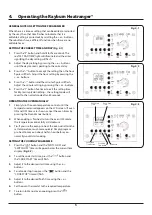
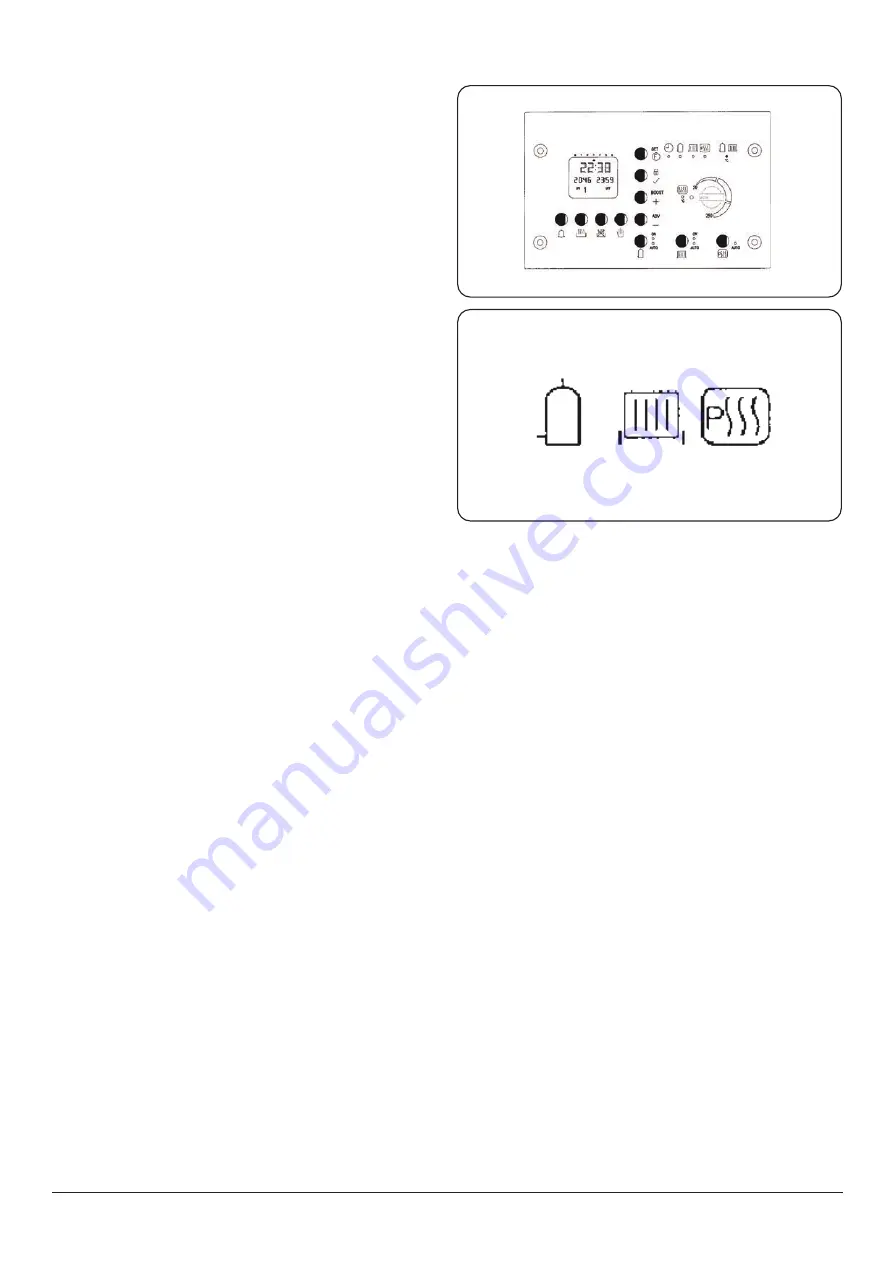
Press the “alarm” button and a “00 ALARM” will flash on
the display (
).
2.
Adjust the alarm time to the desired setting using the +
or - buttons.
3.
The timer will start immediately when the s or -
button is released.
4.
When the time has elapsed, the acoustic signal will
sound for 60 seconds and the word Alarm flashes. It can
be cancelled by pressing the Alarm button. Note: This
timer operates only when the oven is set to “manual”
mode.
BOOST FUNCTION
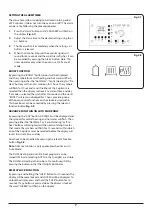
By pressing the “BOOST” button, boost will be displayed
and the symbols for central heating and hot water will flash.
Then pressing either the “Hot Water”, “Central Heating” or “Pre
Heat” buttons will turn this mode on for 1 hour. The symbols
will flash for 10 seconds and if neither of the 3 options are
selected then the display will revert to current time and day.
If a mode is selected the symbol for this mode and the word
“BOOST” will remain displayed for 1 hour, providing none
of the oven control functions on the clock are used within
this hour. Boost can be cancelled by pressing the relevant
function button
.
ADVANCE FUNCTION (IN AUTO MODE ONLY
By pressing the “ADV” button, ADVANCE will be displayed and
the symbols for central heating and hot water will flash. Then
pressing either the “Hot Water” or “Central Heating” or “Pre-
heat” buttons will bring forward the next switching time for
that mode. The symbols will flash for 10 seconds within which
one of the 3 options must be selected before the display will
revert to current time and day.
Advance can be cancelled by pressing the relevant function
button
Note
: Advance function is only applicable when timer is in
‘Auto Mode’.
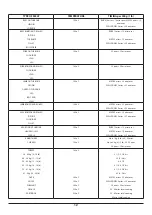
The DHW, Heating and oven Pre-heat programs can be
turned OFF by de-selecting AUTO, so that no lights are visible.
The DHW and Heating can also be set to continuous ON by
pressing the button so that the ON light illuminates.
DISPLAY LOCK FUNCTION
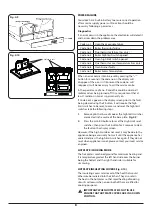
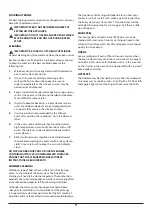
By pressing and holding the “LOCK” Button for 10 seconds the
display will become locked, and LOCKED will be displayed. To
unlock the display press and hold the “LOCK” button for 10
seconds. If any button is pressed while the display is locked
the word “LOCKED” will flash on the display.
Fig. 4.7
Fig. 4.8


