2 M
ASTER
C
ONSOLE
MX4
I
NSTALLATION AND
O
PERATION
G
UIDE
Quick Installation and Test
Chapter 4 specifies a detailed installation procedure. For a quick installation and test of MX
4
, perform the following:
1.
Plug the power cord into the MX
4
, and turn the power switch to ON.
2.
Observe the LCD display on the front panel as the MX
4
goes through a power-on self-test. When the LCD
displays a circulating
“Raritan MX48: Base MX48”
message, the unit is ready.
3.
Locate user console cable—CCPnnF. Plug the DB25 connector to a user port on the back panel of the MX
4
unit.
4.
Plug a user console-keyboard, monitor, and mouse-into the connectors at the other end of the user cable.
5.
Login Menu
will now be displayed on the monitor. The keyboard’s
<Scroll Lock>
LED will be blinking.
6.
Enter
usera
as user name, and press
<Enter>.
A
Selection Menu
will be displayed on the monitor.
7.
Unwrap a universal cable—CCPnnU. Plug the DB25 connector into a channel on the back panel of the MX
4
unit.
8.
Plug the other end of the cable to a PC’s keyboard/mouse/VGA ports.
9.
Power on the PC.
10.
The PC channel on the
Selection Menu
will turn green.
11.
Use the keyboard
<
Ç
>
and
<
È
>
keys to
select the green line, and press
<Enter>.
12.
You will now be able to operate the PC connected to MX
4
.
Congratulations! This quick test is complete.
To go back to the MX
4
selection menu, press the
<Scroll Lock>
key twice rapidly. This activates the on-screen user
interface. The
<Scroll Lock>
LED on the user console keyboard blinks, indicating the on-screen user interface has
been activated.
MX
4
On-Screen User Interface
The MX
4
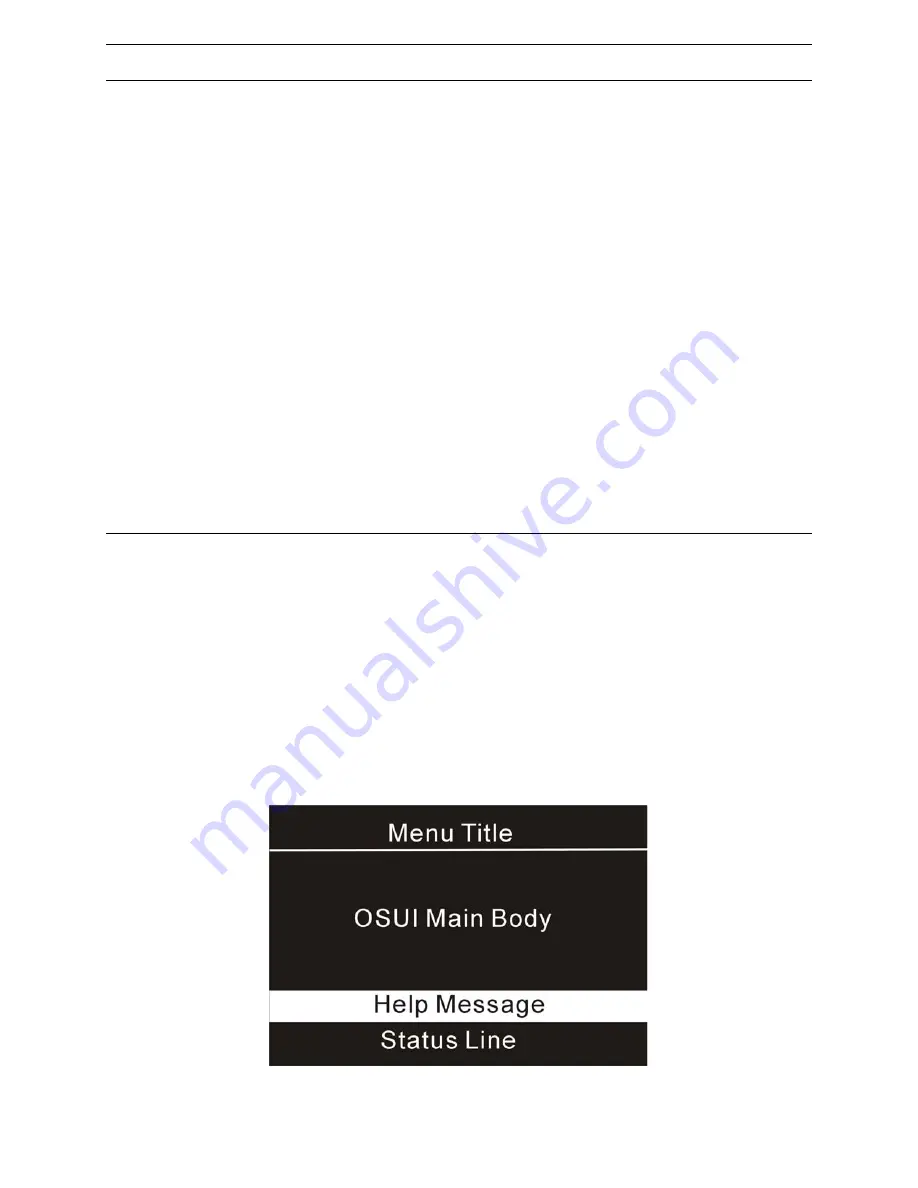
on-screen user interface (OSUI) consists of a simple hierarchy of menus and screens. Each menu (except
Login Menu) contains the following sections (Figure 1):
•
Title Line
•
Menu/Screen Body (for text and fields)
•
Help Messages
•
Status Line (displays Skip/Scan status, OSUI activator, and P-View indicator if appropriate)
Function keys F1, F2, F4, and F5 switch between different first-level menus.
•
Pressing <F1> while the on-screen user interface is active invokes the Help Screen, which details all options
available to the user.
•
Whenever the on-screen user interface is activated on a user console, that console keyboard’s <Scroll Lock>
LED indicator blinks.
Figure 1 OSUI Menu Structure
Summary of Contents for MasterConsole MX48
Page 2: ...This page intentionally left blank...
Page 4: ......
Page 9: ......
Page 10: ......
Page 18: ...8 MASTERCONSOLE MX4 INSTALLATION AND OPERATION GUIDE...
Page 24: ...14 MASTERCONSOLE MX4 INSTALLATION AND OPERATION GUIDE...
Page 32: ......
Page 34: ......
Page 45: ...APPENDIX C MCUPDATE PROGRAM 35...
Page 46: ...36 MASTERCONSOLE MX4 INSTALLATION AND OPERATION GUIDE...
Page 50: ...40 MASTERCONSOLE MX4 INSTALLATION AND OPERATION GUIDE Figure 47 Edit User Profile...
Page 60: ......
Page 62: ...52 MASTERCONSOLE MX4 INSTALLATION AND OPERATION GUIDE 255 23 0000...


