


Chapter 5: Using the Web Interface
56
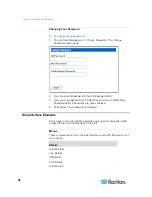
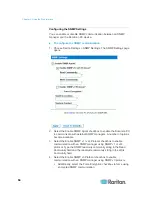
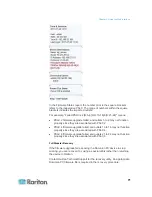
Tip: Device name shown in the web interface should be identical to the
SNMP system name. However, the SNMP system name becomes
inconsistent with the device name when the device name is changed. To
make both names identical, you must restart the Dominion PX device or
restart the SNMP agent after changing the device name in the web
interface.
Modifying the Network Settings
The Dominion PX was configured for network connectivity during the
installation and configuration process. See
Configuring the Dominion
PX
(on page 17). If necessary, you can modify any network settings using
the web interface.
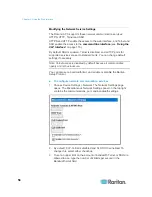
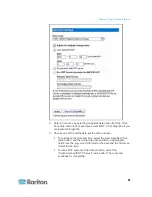
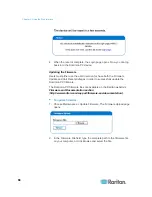
To modify the network settings:
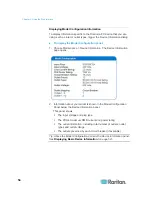
1. Choose Device Settings > Network. The Network Settings page
opens. The left side of the page consists of the Basic Network Settings
panel, which shows the current network settings. See
Naming the
Dominion PX Device
(on page 55) for details on this panel.
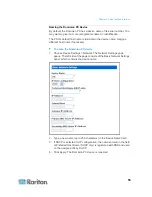
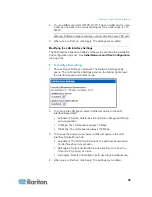
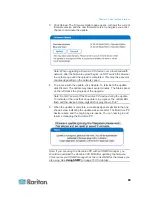
2. Do either of the following:
Auto configuration: To auto-configure the Dominion PX device,
select DHCP or BOOTP from the IP Auto Configuration
drop-down list.
- With DHCP selected, you can enter a preferred DHCP host
name, which is optional.
Static IP: To enter a static IP address, select None from the IP
Auto Configuration drop-down list, and then enter:
- IP address
- Subnet mask
- Gateway address
- Primary and (optional) secondary DNS servers' addresses
3. When you are finished, click Apply. The network settings are modified.