background image

Introduction

Please read this manual to get the most from your TTM 57SL 

and the included Scratch 

LIVE

 software. If you ever lose this, a 

new copy may be downloaded at 

www.rane.com/ttm57sl.html

To keep up with the latest tips and software updates, visit the 

Official Scratch 

LIVE

 Forum at 

scratchlive.net.

Minimum system requirements

• At least one turntable or CD player.

• Computer with USB 1 port supporting Full Speed Mode (USB 1.1).

• Screen resolution 1024 x 768 or higher.

• Hard drive space for storing music.

Mac

• 1 GHz G4 with 1 GB RAM 

• OSX 10.3.9 or higher (Intel Mac compatible)

Windows


• 1.5 GHz PC with 1 GB RAM 

• Windows XP with Service Pack 2 or higher, or Vista. We 

recommend Windows XP over Vista for performance reasons. 

By using XP, you can have a lower latency (for a better vinyl 

feel) and better performance in general. 

Note:

 This is the 

minimum

 requirement to run Scratch 

LIVE

. We 

recommend a higher spec computer, and particularly if you 

have a large library, you will benefit from having more RAM.

Note:

 No sound card is necessary.

Check List

These items are included with the TTM 57SL in the box:

• Scratch 

LIVE

 software install disc.

• 2 (two) control CDs.

• 2 (two) control records.

• 1 USB cable.

• IEC C5 line cord.

• Package of 4 rubber feet.

• Quick Start Guide and this manual.

Copyright notices

© 2007 Rane Corporation. All rights reserved. Scratch 

LIVE

 and 

the Scratch 

LIVE

 logo are trademarks of Serato Audio Research. 

Trademarked in the U.S. and other countries. Licensed exclu

-

sively to Rane Corporation. This software is based in part on the 

work of the Independent JPEG Group, and uses libpng code, 

copyright © 2000-2002 Glenn Randers-Pehrson. Control vinyl 

and CDs are available for single use only — any further copying 

or unauthorized reproduction is strictly prohibited. Windows 

XP and Vista is either a registered trademark or a trademark of 

Microsoft Corporation in the United States and/or other coun

-

tries. Apple, Mac, Macintosh and iTunes are trademarks of Apple 

Computer, Inc., registered in the US and/or other countries.

Important Safety Instructions

1. Read these instructions.

2. Keep these instructions.

3. Heed all warnings.

4. Follow all instructions.

5. Do not use this apparatus near water.

6. Clean only with a dry cloth.

7. Do not block any ventilation openings. Install in accordance 

with manufacturer’s instructions. 

8. Do not install near any heat sources such as radiators, registers, 

stoves, or other apparatus (including amplifiers) that produce heat.

9. Do not defeat the safety purpose of the polarized or grounding-

type plug. A polarized plug has two blades with one wider than 

the other. A grounding-type plug has two blades and a third 

grounding prong. The wide blade or third prong is provided for 

your safety. If the provided plug does not fit into your outlet, 

consult an electrician for replacement of the obsolete outlet.

10. Protect the power cord and plug from being walked on or 

pinched particularly at plugs, convenience receptacles, and the 

point where it exits from the apparatus. 

11. Only use attachments and accessories specified by Rane.

12. Use only with the cart, stand, tripod, bracket, or table 

specified by the manufacturer, or sold with the apparatus. 

When a cart is used, use caution when moving the cart/

apparatus combination to avoid injury from tip-over. 

13. Unplug this apparatus during lightning storms or when 

unused for long periods of time.

14. Refer all servicing to qualified service personnel. Servicing is 

required when the apparatus has been damaged in any way, 

such as power supply cord or plug is damaged, liquid has been 

spilled or objects have fallen into the apparatus, the apparatus 

has been exposed to rain or moisture, does not operate 

normally, or has been dropped.

15. The plug on the power cord is the AC mains disconnect 

device and must remain readily operable.

16. This apparatus shall be connected to a mains socket outlet 

with a protective earthing connection.

17. When permanently connected, an all-pole mains switch with 

a contact separation of at least 3 mm in each pole shall be 

incorporated in the electrical installation of the building. 

18. If rackmounting, provide adequate ventilation. Equipment 

may be located above or below this apparatus, but some 

equipment (like large power amplifiers) may cause an 

unacceptable amount of hum or may generate too much heat 

and degrade the performance of this apparatus.

19. This apparatus may be installed in an industry standard 

equipment rack. Use screws through all mounting holes to 

provide the best support.

WARNING

: To reduce the risk of fire or electric shock, do not 

expose this apparatus to rain or moisture. Apparatus shall not 

be exposed to dripping or splashing and no objects filled with 

liquids, such as vases, shall be placed on the apparatus.

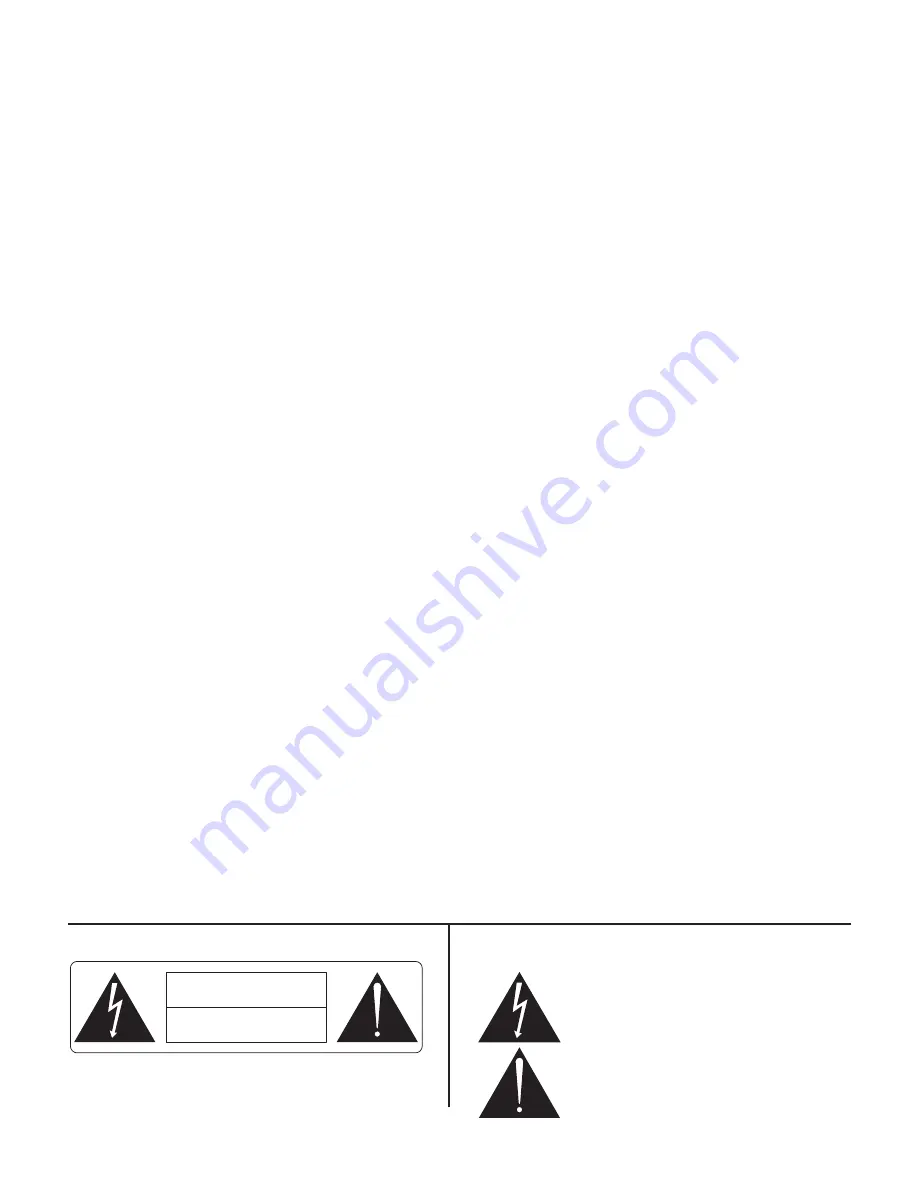
RISK OF ELECTRIC SHOCK

DO NOT OPEN

CAUTION

To reduce the risk of electrical shock, do not open the unit. 

No user serviceable parts inside. Refer servicing to qualified 

service personnel.

The symbols shown below are internationally accepted symbols that 

warn of potential hazards with electrical products.

This symbol indicates that a dangerous voltage 

constituting a risk of electric shock is present 

within this unit.

This symbol indicates that there are important 

operating and maintenance instructions in the 

literature accompanying this unit.

WARNING

Summary of Contents for TTM 57SL

Page 1: ...1xxxx SCRATCHLIVE TTM 57SL OPERATORS MANUAL 1 8 0...

Page 2: ...lades with one wider than the other A grounding type plug has two blades and a third grounding prong The wide blade or third prong is provided for your safety If the provided plug does not fit into yo...

Page 3: ...acks 19 The control record 19 Vinyl Scroll 19 Virtual Deck 19 Visual aids 20 Tempo track main beat matching displays 20 Tracking indicator 22 Autoplay 22 Master gain 22 Track gain 22 Key Lock 22 33 45...

Page 4: ...fastest most accurate and longest lasting on the planet The TTM 57SL uses the same faders and performance oriented layout that made the TTM 56 famous Hardware features Internal universal power supply...

Page 5: ...if a source has been selected for vinyl emulation control by the Scratch LIVE software the number is back lit as a reminder that the source is selected for control See the Aux input as described on p...

Page 6: ...nputs These controls have a built in Limiter that prevents the signal from clipping regardless of the Gain setting If increas ing the Gain does not increase the signal level then the signal is already...

Page 7: ...ement METER The Meter has two modes of operation The METER switch toggles between dual mono CUE and STEREO HOUSE When the green indicator is lit the Meter displays Stereo Mix which is being sent to al...

Page 8: ...tput is a balanced output on XLR connectors the Booth out put is a balanced signal on TRS connectors and the AUX output is an unbalanced signal on RCA connectors This combination of jacks allows you t...

Page 9: ...assigned to the AUX BUS This has the advantage of allowing one of the two internal effects to be as signed to the AUX BUS and then assigning PGM 1 and or PGM 2 to the FlexFX Loop USB USB Streaming Aud...

Page 10: ...Effects Processors and what controls are assigned to what functions the Effects are very usable without the software The function of the controls has been standardized to help keep stand alone operat...

Page 11: ...nd recording functions These are shown in the Groups section on pages 36 to 39 See page 48 for details on compatible footswitches Effects Cueing You can cue an effect before you turn it on so that you...

Page 12: ...ncs the sweep to the BPM The primary function of P1 indicator off is Cutoff Fre quency which starts at 722 Hz and is adjustable from 31 5 Hz to 16 kHz 9 octaves The full sweep of the filter is reached...

Page 13: ...Delay adjustable from 0 to 11 6 milliseconds The Base Delay sets the high frequency point of the sweep The Depth control P2 sets the range of the swept comb filter If the track has a BPM tag the sweep...

Page 14: ...is useful for adding PGM 2 Echo to the fading PGM 1 Echo To clear the loop and start a fresh Echo immediately rapid double click on the insert point B1 B2 B3 or B4 Echo Effect Differences Feedback st...

Page 15: ...d double click on the insert point B1 B2 B3 or B4 Hold Echo Effect Differences Feedback starts with 100 but adjustable to 0 with P2 Feedback generates as long as it is inserted and B6 is on Delay stil...

Page 16: ...on occurs when clipping P1 has no second function when using the Desecrator J1 has no function when using the Desecrator P2 Sample Rate Bit Depth Sample Rate is the primary function of P2 indicator of...

Page 17: ...device Choose Browse my computer for driver software 4 Browse to the location that you extracted the ScratchLIVE zip file to Choose the Drivers folder 5 Click next and Windows will say Windows can t...

Page 18: ...programs on your Mac or PC When you load Scratch LIVE for the first time you will see the screen below Troubleshoot The TTM 57SL mixer is not recognized It takes five seconds for Scratch LIVE to dete...

Page 19: ...ore sensitive to slow record movement but also more sensitive to background noise Tip If the slider jumps to the far right then you have a prob lem with noise in your turntables CD players mixer Check...

Page 20: ...d files are not able to be played back using Scratch LIVE Preparing your files Build overviews If you run Scratch LIVE with the hardware interface disconnected you will notice a button labeled build o...

Page 21: ...playlist Once you have found the track you wish to play put the needle back at the beginning of the record and it will load automatically This feature is available to CD users Go to track 2 on the con...

Page 22: ...of sync Track Overview display This view provides a complete overview of the waveform of the track and includes a marker to show the current position within the track This view is useful for finding...

Page 23: ...um Beat Matching display This view shows the position of beats within the track When beat matching this view helps align the downbeats of the two tracks The markers are matched up when the two tracks...

Page 24: ...ing from the con trol record or CD The length of the bar indicates the speed of the record or CD The color indicates the amount of position information Scratch LIVE is receiving When you are playing t...

Page 25: ...account the position within the record Relative mode disables needle dropping but allows skip free scratching Relative mode adds additional speed controls Rewind The rewind function speeds up the lon...

Page 26: ...d There is a temporary cue point that can be used like the Cue button on many DJ CD players Press ctrl I to set this tempo rary cue point on the left deck and ctrl K to set it on the right deck This t...

Page 27: ...trol key and press the loop button To adjust the in point of the loop click the in button You can use the arrow keys to move the in point towards the start of the track to move the in point towards th...

Page 28: ...e introduced in Scratch LIVE 1 8 1 Note If you have a MIDI controller designed for DJing which includes platter controls assigning them to the Scratch LIVE decks may be possible by installing a custom...

Page 29: ...n click the column header so it highlights For example clicking on the album column header will sort your library alphabetically by album title To move a col umn drag the header to the left or right T...

Page 30: ...the keyboard shortcut ctrl f to jump to the search box This keyboard shortcut will also take you out of any crate or playlist that you might be in and into your main library so you can find any track...

Page 31: ...of each track The image to the left shows 5 tracks with differing statuses From top to bottom Scratch LIVE has detected some corruption in the MP3 file If possible re encode the MP3 The track has been...

Page 32: ...simply click the record button again Record Meter Input Select Recording Time Elapsed Save File Name Box Save File Recordings can be loaded onto the decks renamed and man aged like other files Recordi...

Page 33: ...cannot be deleted this way ctrl shift Toggle the input reverse switch esc Clear search string if searching or exit Scratch LIVE Note Playback cue and speed controls use Shift or Caps Lock Left Deck A...

Page 34: ...hich results in a lower overall system latency However this requires more processing and therefore a higher CPU load so lower buffer size settings require a more powerful computer to produce uninterru...

Page 35: ...k this if you want to use the calculated auto gain value while playing songs There is also a target gain dropdown menu next to this option that sets the target gain that you would like This can be tur...

Page 36: ...the control record The first knob sets the number of whole minutes to offset by the second knob sets the number of whole rota tions within that minute Library Read iTunes library Existing iTunes users...

Page 37: ...ond This setting applies to the entire screen i e the Virtual Decks the Waveforms the library and the setup screen audio cache seconds Use the slider to set the amount of audio that is loaded into mem...

Page 38: ...are panel are grayed out Groups Functions are organized in a series of groups Each group con tains a bank of software controls The first two groups are custom groups designed to contain the commands y...

Page 39: ...ck Control looping from the footswitch Push to load track on left Deck Hold the joystick up to play the track backwards momentarily then release to jump ahead with timing intact Group B2 library custo...

Page 40: ...ck down Zoom out the waveform Hold the joystick up to play the track backwards momentarily then release to jump ahead with timing intact Play the track reverse from the current position Rewind Fast fo...

Page 41: ...ffect to PGM 1 PGM 2 AUX BUS MAIN Select effect Cue effect Effect on off BPM multiplier Wet Dry control more dry more wet up all wet down all dry Group B6 effects The TTM 57SL has two built in effects...

Page 42: ...instant doubles instead of input reverse When using Instant Doubles with internal mode the pitch will get transferred to the second deck as well as the playhead posi tion This makes it easier to DJ u...

Page 43: ...ged MP3 files in the future Scratch LIVE freaks out when I use the master tempo key correction function on my CD player Scratch LIVE interprets the signal coming out of the CD player and uses this inf...

Page 44: ...t your turntables directly to the TTM 57SL Bad Turntable Vibration Bass is reaching the stylus Try to isolate the turntable from the speakers Dusty Needle Dust is preventing the stylus from track ing...

Page 45: ...eck the cable and cartridge connections Left Channel is Noise Left signal has been lost with a noisy loose connection Bad Record Burn Your record is very badly worn and the TTM 57SL is unable to track...

Page 46: ...ported file This MP3 contains multiple layers While scanning this file Scratch LIVE found frames belonging to multiple MPEG layers Scratch LIVE does not support MP3s that contain frames from multiple...

Page 47: ...he way to one side b Use a soft lint free cloth to wipe off the rails c Add a drop of silicone lubricant or quick spray from aerosol to the center of each rail d Move the carrier back and forth to dis...

Page 48: ...Fader If you do make sure the parts are standing straight before reinstalling 8 NOTE In order to achieve the highest possible accuracy each magnetic fader is factory calibrated for the location in wh...

Page 49: ...r ch fader ON OFF EFFECTS SEND EFFECTS RETURN ON OFF EFFECTS SEND EFFECTS RETURN GAIN BLOCK xfader ch fader ON OFF EFFECTS SEND EFFECTS RETURN ON OFF EFFECTS SEND EFFECTS RETURN ON OFF EFFECTS SEND EF...

Page 50: ...LINE ADC ANALOG 2 L R RIAA ANALOG 3 PHONO LINE ADC ANALOG 3 L R RIAA ANALOG 4 PHONO LINE ADC ANALOG 4 L R Analog diagram Simplified block diagram of the analog inputs and outputs around the DSP Only o...

Reviews: