5. Tighten the locking nut to the specified torque setting. See table below.
6. Turn the locking plate and plug to the correct positions.
Follow the product's greasing instructions and avoid excessive greasing.
Dispose of empty grease containers appropriately.
Manual greasing is always possible even if the hammer is equipped with the
automatic greasing device. Manual greasing is necessary if there is no grease
available for the greasing device, greasing device has malfunction or pressure hose
is damaged. Check also the grease hose conditions inside the housing.
1. Tool shank must be well lubricated before installing tool.
2. 5-10 strokes from grease gun to tool bushings and tool at regular intervals.
3. Adapt interval and amount of grease to wear rate of tool and working
conditions. This can be anything between two hours and daily, depending on
material (rock/concrete) to be broken. See “Recommended greases” on page 40.
Insufficient greasing or improper grease may cause:
Abnormal wear of tool bushing and tool
Tool breakage
1. Position the hammer standing upright resting on the tool on firm surface.
2. Stop carrier engine and wait 10 minutes for oil pressure to drop inside hammer.
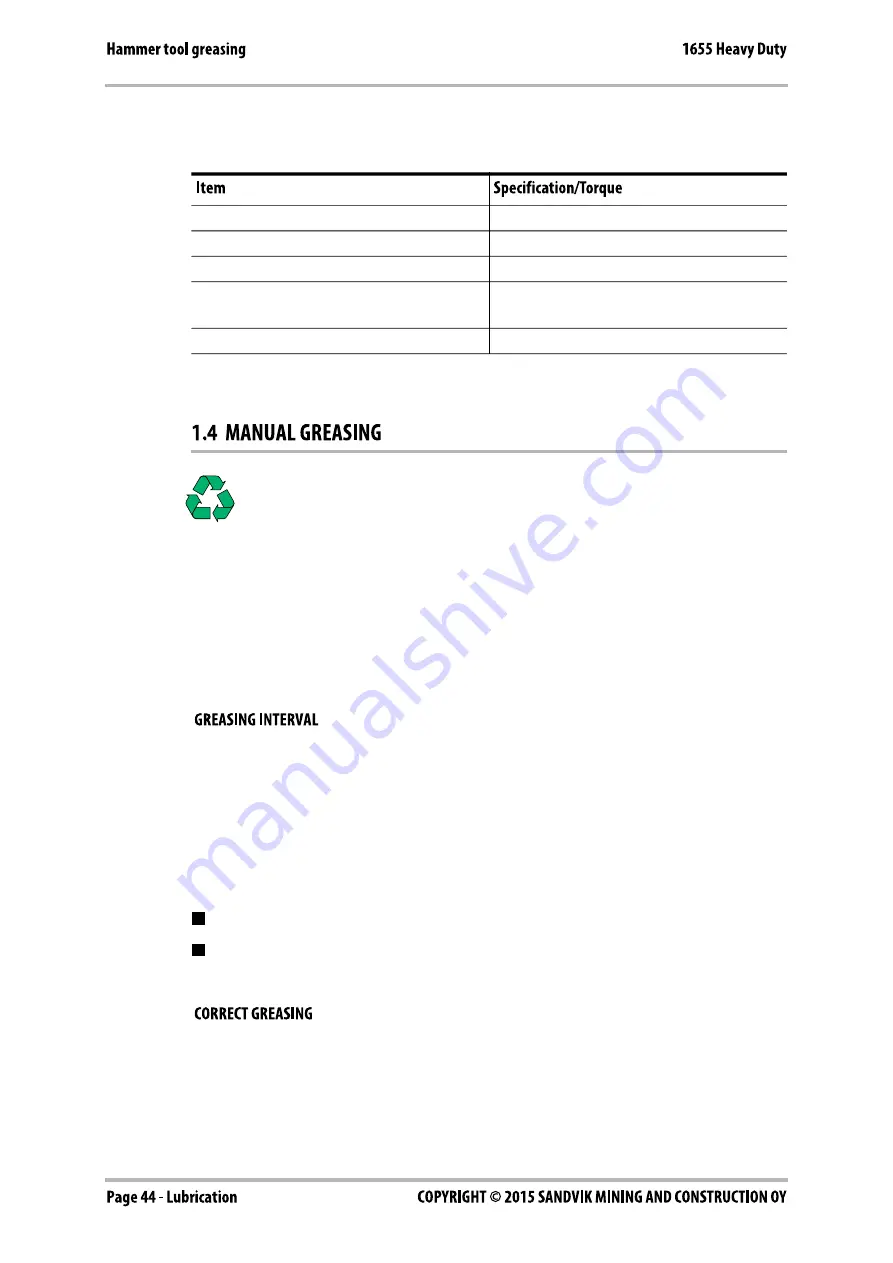
Shield screws
175 Nm (129 lbf ft)
Adjusting screw locking nut
50 Nm (37 lbf ft)
Adjusting range
Linear 0 ... 7 turns (7 mm)
Basic adjustment
4 turns open / means 0.25 g grease/
impact period
1-turn adjustment
0.053 g grease/impact period


