


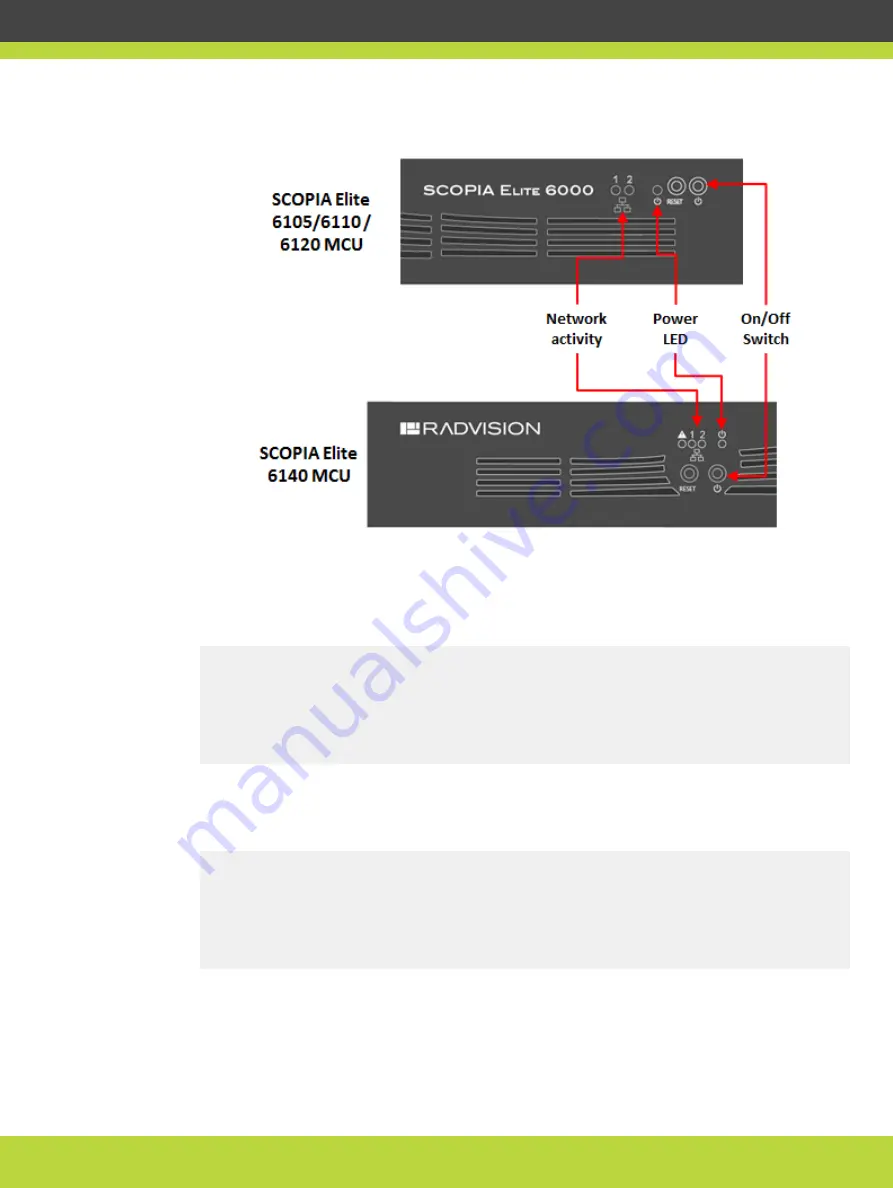
Figure 4-8
Device front panel
A log of the auto-boot events is displayed in the terminal emulator.
Step 6
When the message
Press any key to start configuration
appears on the screen,
press a key and wait for the following message:
Main menu
Main menu
N: Configure network port values
R: Restore to factory defaults
T: Set the XML connection mode to TCP (Reboot is not required)
S: Set Board Security Level
Q: Quit
If you do not see this output, contact customer support.
Step 7
Enter N at the prompt to configure network port values.
The terminal displays the following message:
Configure network port values
1: Show current network configuration
2: Change network configuration
0: Return to main menu
Select:
Step 8
Enter 2 to change the network configuration.
Step 9
Enter the new information at each prompt:
•
IP address
RADVISION | Installation Guide for Scopia Elite 6000 Series MCU Version 8.0
Setting up the MCU | 26


