Section IV - Operating Procedures
The CP 243-1 IT Module, provides the connectivity to an Ethernet system, to provide the
eMail notifi cation option on QSIi series compressors. The module contains the fi rmware
that establishes the connection and protocol for communication, but needs to be setup
according to the local conditions.
Power down the compressor (lock-out and tag-out), and install the IT module. The short
connector cable plugs into the controlling PLC (end door similar to one shown above),
and wires need to be added to connect the DC power to the module. The source from
the PLC will be similarly located as above as well. Once connected, then restore power
to initialize.
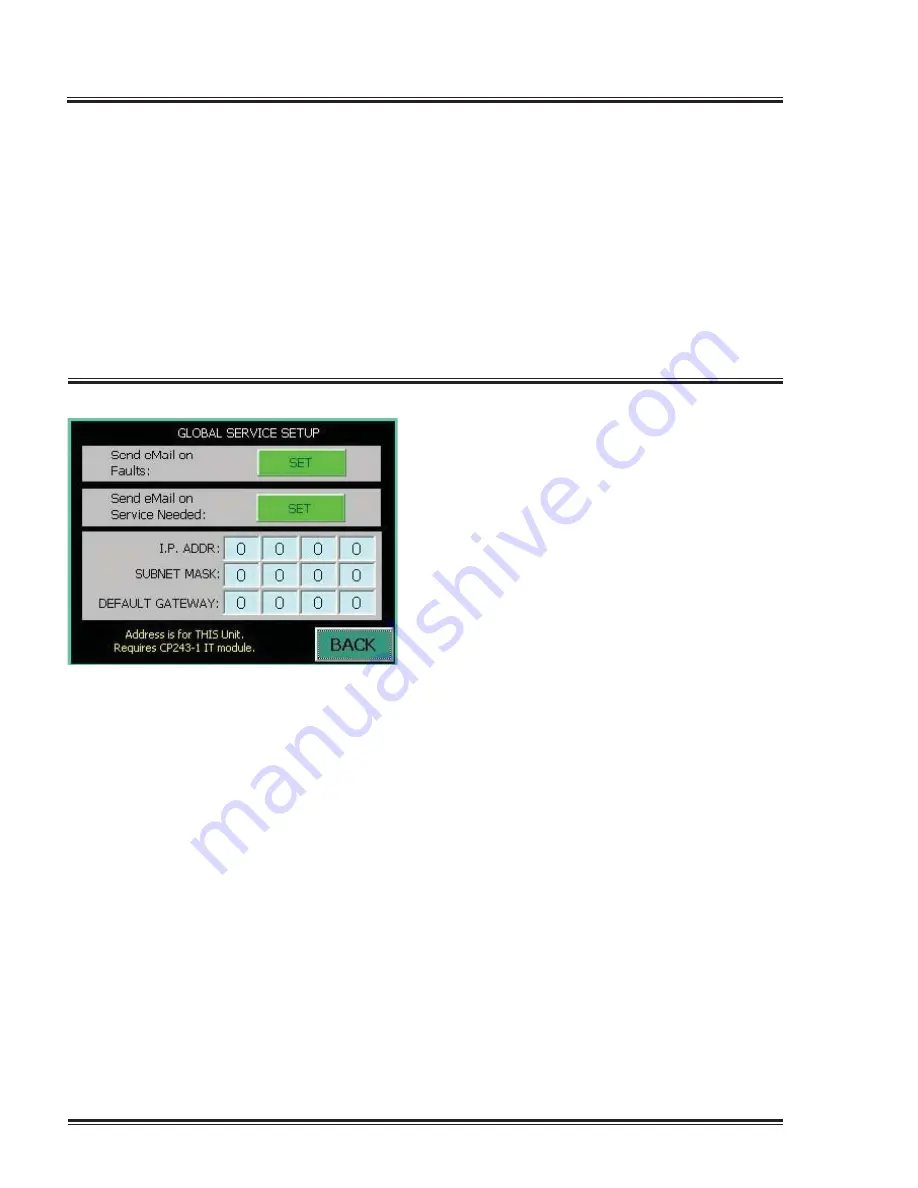
NOTE: The local address may not be as
shown here.
Touch each section of the address setup
to enter the IP Address, Subnet Mask, and
Default Gateway.
This will setup the IT module, to tell it that
it is part of the local factory network.
If the IT domains are not setup properly,
then the module will not function as
expected. Cycle the power on the
compressor to cause the IT module to get
the new setup information.
Next is the more diffi cult part, and most
likely will require a person with experience
in networking with PC’s.
A laptop or other computer will be needed
to do the second setup step, and you will
need a Ethernet cross-over cable.
Now for the setup process that has 2
distinct steps. The fi rst step is to assign
the module, its IT address that makes it
part of the factory system. Consult your IT
department for the proper settings.
Go to the eMail setup menu to enable
the eMail messaging and enter the IT
information.
This is through the ‘SETUP’ button on the
main menu.
30
Summary of Contents for QSI-90
Page 2: ......
Page 70: ...Appendix A Dimensional Drawings QSI 90 120 140 micro 66...
Page 71: ...Appendix A Dimensional Drawings QSI 90 120 140 micro dry 67...
Page 72: ...Appendix A Dimensional Drawings QSI 90 120 140 micro tank mounted 68...
Page 73: ...Appendix A Dimensional Drawings QSI 90 120 140 micro dry tank mounted 69...
Page 74: ...Appendix A Dimensional Drawings QSI 90 120 140 guage 70...
Page 75: ...Appendix A Dimensional Drawings QSI 90 120 140 guage dry 71...
Page 76: ...Appendix A Dimensional Drawings QSI 90 120 140 guage tank mounted 72...
Page 77: ...Appendix A Dimensional Drawings QSI 90 120 140 guage dry tank mounted 73...
Page 78: ...Appendix A Dimensional Drawings QGV 20 25 30 460V 74...
Page 79: ...Appendix A Dimensional Drawings QGV 20 25 30 460V dry 75...
Page 80: ...Appendix A Dimensional Drawings QGV 20 25 30 460V tank mounted 76...
Page 81: ...Appendix A Dimensional Drawings QGV 20 25 30 460V dry tank mounted 77...
Page 91: ......


