QR-25 Series
Quincy Compressor
52201-107, December 2012
28
3501 Wismann Lane, Quincy IL - 62305-3116
*Not applicable to models without oil pumps.
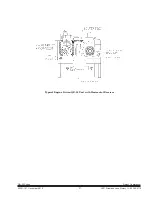
Pix 1068
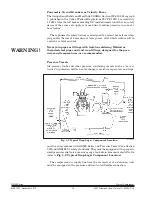
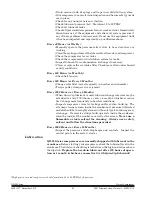
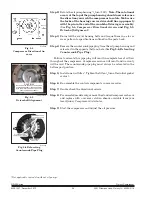
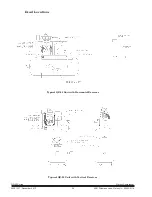
Fig. 5-4
Compressor Directional Ar-
rows
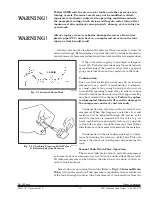
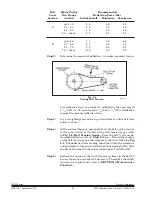
OIL RETURN PORT
FROM THE OIL FILTER
COUNTERSUNK
PIPE PLUG
OIL SUPPLY PORTS
TO THE OIL FILTER
Pix 1154
Fig. 5-6 Relocating
Countersunk Pipe Plug
5120_31.TIF
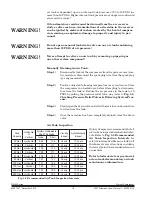
Fig. 5-5
Driveshaft Alignment
CAUTION!
MAKE SURE THE FORKS OF THE BEARING
CARRIER DRIVESHAFT LINE UP PROPERLY
WITH THE PIN IN THE END OF THE CRANK-
SHAFT DURING REASSEMBLY!
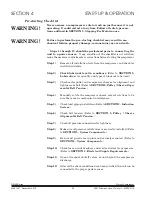
Step 2) Rotate the oil pump housing
1
/
2
turn (180°). Note: The rota tional
arrow at the top of the pump housing should now reference
the direction you wish the compressor to rotate. Make sure
the forks of the bearing carrier driveshaft line up properly
with the pin in the end of the crankshaft during reassembly.
(See Fig. 5-4,
Compressor Directional Arrows
and Fig. 5-5,
Driveshaft Alignment.
)
Step 3) Reinstall the six (6) housing bolts and torque them in a star or
cross pattern to specifications outlined in the parts book.
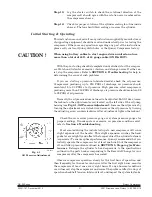
Step 4) Remove the countersunk pipe plug
*
from the oil pump housing and
relocate it in the opposite (bottom) hole. (See Fig. 5-6,
Relocating
Countersunk Pipe Plug
)
Failure to relocate this pipe plug will re sult in complete loss of oil flow
throughout the compressor. Compressor seizure will result and warranty
will be void. The countersunk pipe plug must always be relocated in the
bot tom port position.
Step 5) Install a new oil filter*. Tighten the filter
1
/
2
turn after initial gasket
con tact.
Step 6) Reassemble the control components in reverse order.
Step 7) Double check the directional arrows.
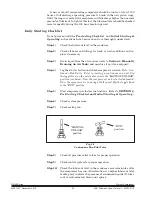
Step 8) For aircooled models only, remove the standard compressor sheave
and replace with a reverse rotation sheave available from your
local Quincy Compressor distributor.
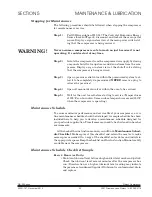
Step 9) Start the compressor and adjust the oil pressure.
Summary of Contents for QR-25 210
Page 42: ......


