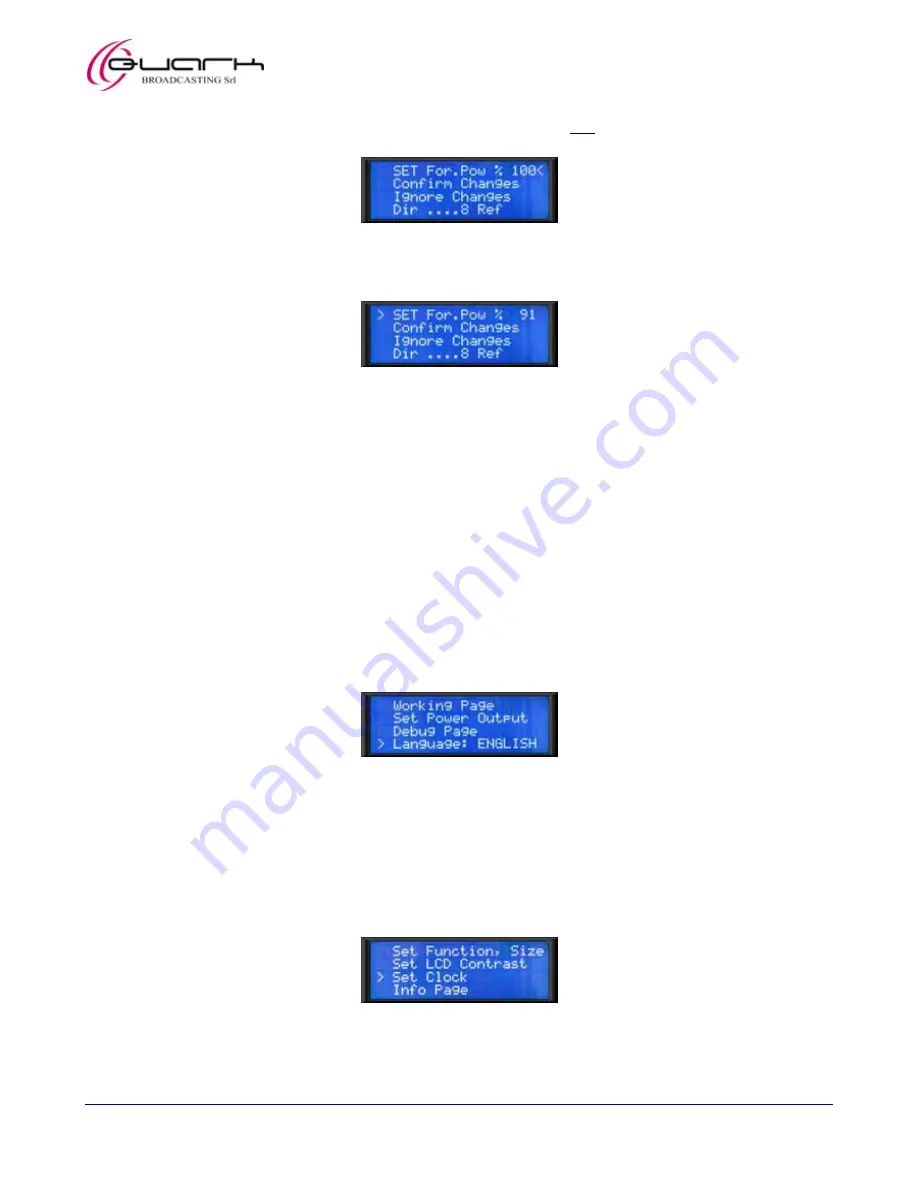
Eagle 2000 – 2kW FM Broadcasting Amplifier
User’s manual – Page 24 of 66
11) Press the multifunction knob to select this menu and move the
>
cursor on the right of the power value (in this example 100 –
see the following note):
12) Gradually turn the multifunction knob until you set the needed output power (clockwise to increase the value,
counterclockwise to reduce it). The forth line (
Dir ....Ref…
) will show the measured direct and reflected power values.
13) Press the multifunction knob to enter the selected power. The cursor will be moved on the left side of the option (in the
following image the power was set to 91 %):
14) Turn the knob counterclockwise in order to move the
>
cursor to
Confirm Changes
, then press the knob to save the
settings and come back to the main menu.
,
IMPORTANT: do not exceed the rated output power (2000W or 100% in Stand-by mode).
,
When setting output power with the equipment in normal operation (ON status), if the reflected power exceeds the
200W value, the system will release an alarm because of the excessive V.S.W.R. (Voltage Standing Wave Ratio). In this
case check the antenna system to reduce as much as possible the reflected power.
,
Warning: operation without antenna, or with a faulty antenna, may cause degradation and possible destruction of the
R.F. power stage. Such failures are not covered by our standard warranty.
Step 11 - the previous images refer to the first switch on with the equipment in stand-by mode. In this condition power value is
in percentage and referred to a logarithmic scale – meaning, for example, that the setting
50
will be about ¾ of the rated power
level (1500W). When the equipment is normally working, the
SET For.Pow
value will be given in W. The forth row (
Dir
....Ref
) will also show the direct and reflected power levels in W.
7.1.c
Setting the display language
15) Should you wish to change the language used on LCD display, from the main menu turn the knob counterclockwise in order
to move the cursor
>
downward to the left of
Language
as per the following picture:
16) With
the
>
cursor still on the left of
Language
(showing also the current used language), press the knob. Every time the knob
is pressed an alternative language is selected.
Note that you are still inside the main menu, so no operations are necessary to come back to it.
7.1.d
Setting date and time
Setting date and time is important to manage some time-related functions (e.g.
Ö
10.1.a and
10.1.d). Do that in the following way:
17) To change the date and time, from the main menu turn the knob counterclockwise in order to move the cursor
>
downward
and access the second page of the main menu as per the following picture. Keep on rotating the knob till moving the cursor
>
to the left of
Set Clock
:


