Installing the DXi6701 or DXi6702 System
11
DXi6701/DXi6702
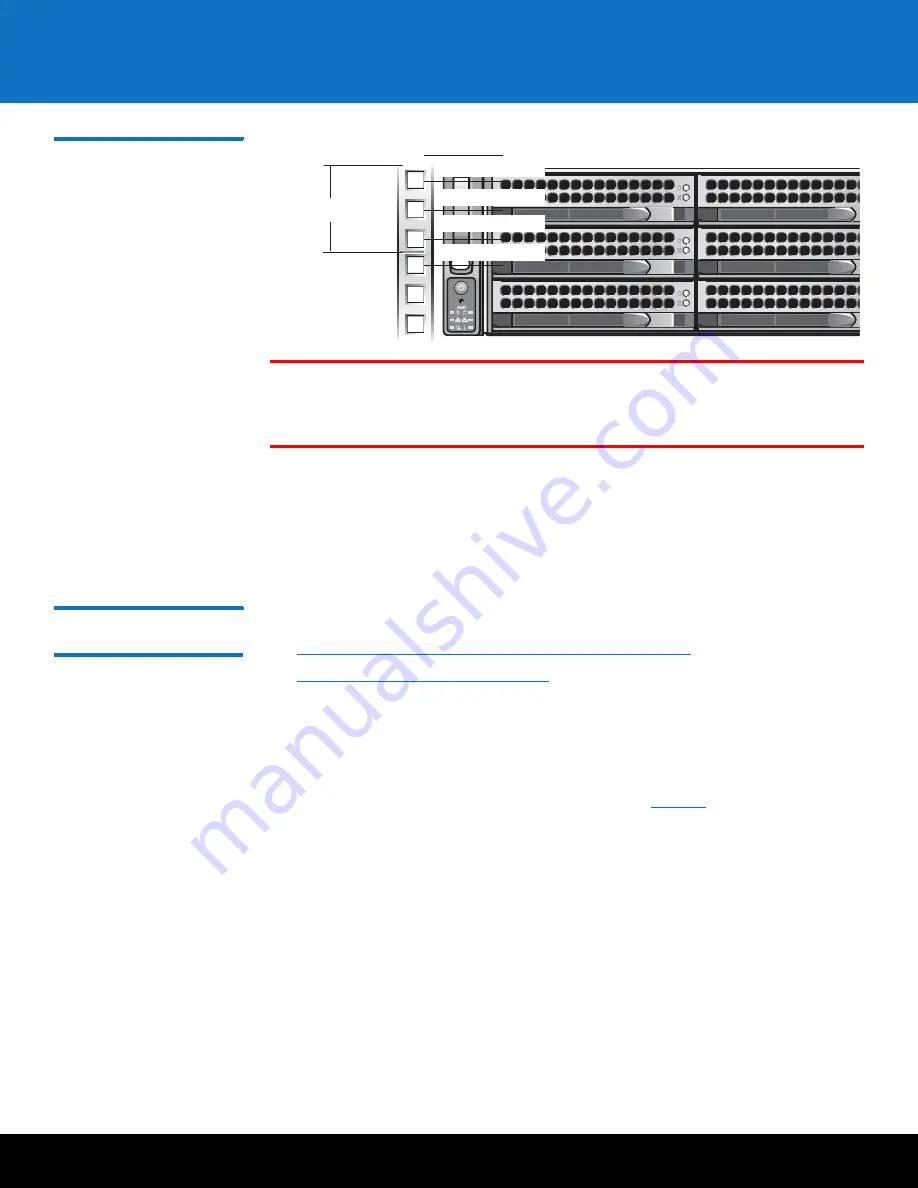
Figure 4 Rail Hole Pattern
(Expansion Module)
WARNING:
If the rack is empty at the time of installation, do NOT install the DXi6701/
DXi6702 chassis too high in the rack. The weight of the chassis may cause
the rack to become “top heavy” and unstable if installed in the top of an
empty rack.
To mark the rack, perform the following step:
1
Place a mark (or tape) on the rack's front vertical rails where you want to locate the
bottom of the system you are installing in the rack. The bottom of each 1-U space is
at the middle of the narrowest metal area between holes (marked with a horizontal
line on some rack cabinets.
Installing the DXi6701
and DXi6702 Node
Installing the DXi6701 and DXi6702 node consists of the following steps:
1
Installing the DXi6701/DXi6702 Node Rack Mounting Rails
2
Installing the DXi6701/DXi6702 Node
Installing the DXi6701/DXi6702 Node Rack Mounting Rails
Follow these steps to install the DXi6701/DXi6702 node rack mounting rails:
1
Expand each rack mounting rail, disengage the quick release latch, and remove the
internal chassis rail from the rack mounting rail (see
1 U (44 mm [1.75 inches])
12.7 mm (0.5 inch)
15.9 mm (0.625 inch)
15.9 mm (0.625 inch)
12.7 mm (0.5 inch)


