background image

www.quantum.com

DXi4000

Contents

DXi4000 Configurations.........................2
Choosing a Location...............................2

Installation Requirements ..................2
Rack Space Requirements ..................3
Environmental Conditions .................3

Preparing for the Installation.................4

Necessary Tools ..................................4
Taking ESD Precautions ......................4

Unpacking the DXi4000 .........................4
Installing the DXi4000 System ...............7

Locating the Mounting Position ........7
Installing the DXi4000........................8
Cabling the DXi4000 ........................11

Initial Configuration.............................12

Accessing the DXi4000, Remote 
Management Console ......................12
Completing the Getting Started 
Wizard ..............................................15
Connecting the Ethernet Cables ......21
Creating a Typical Backup 
Configuration...................................23

DX

i

4000 Installation and 

Configuration Guide

This guide provides basic installation and configuration instructions for the 

DXi4000 system (see 

Figure


1

). Make sure to read the DXi4000 Site 

Planning Guide before starting your installation. The Site Planning Guide is 

included on the documentation CD provided with your DXi4000 system.

Note:

Make sure to take the online training for the DXi4000 in order to 

make the best use of your product. The online training is available 

at 

www.quantum.com/ServiceandSupport/StorageCareLearning/

Index.aspx

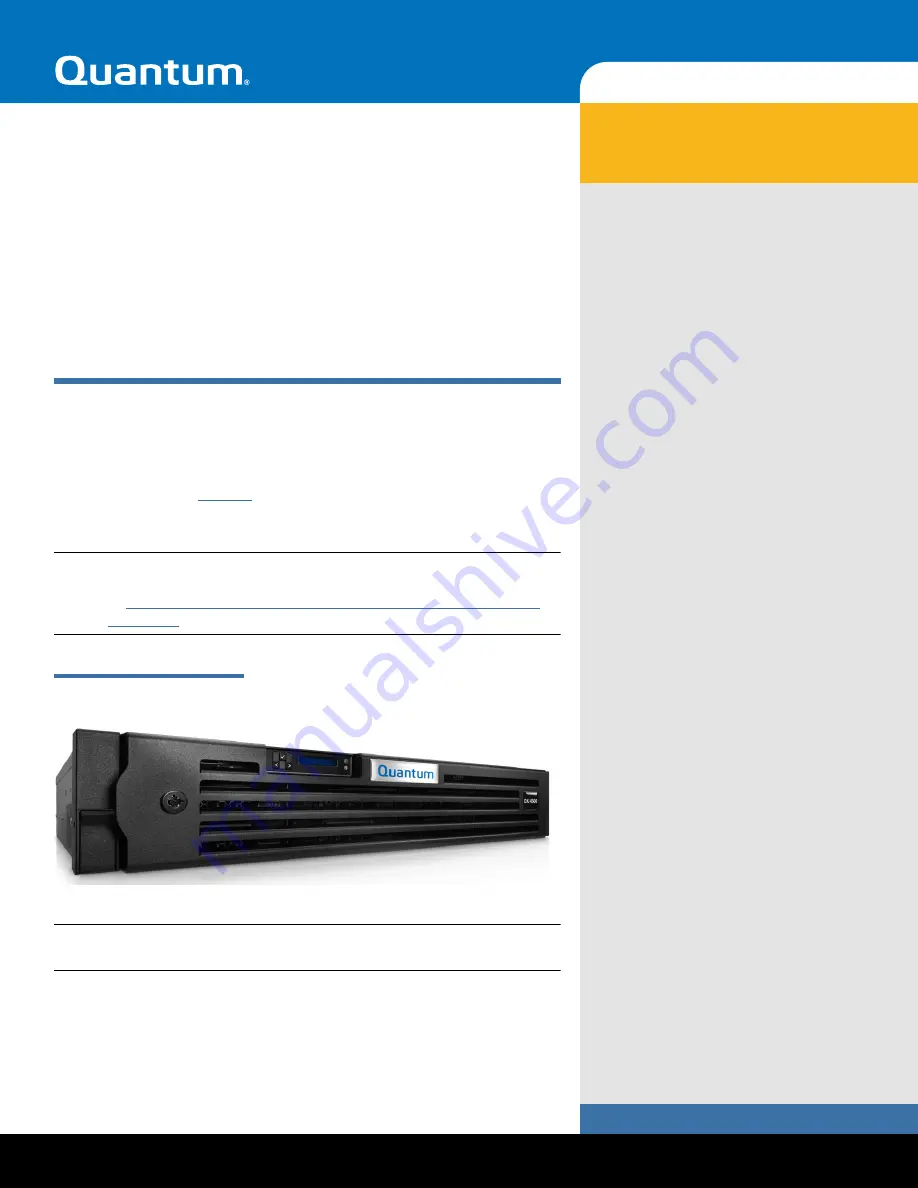
Figure 1  DXi4000 System

Note:

This Installation and Configuration Guide is intended for DXi4000 

with DXi 2.1.1 Software.

Summary of Contents for DXi4510

Page 1: ...net Cables 21 Creating a Typical Backup Configuration 23 DXi4000 Installation and Configuration Guide This guide provides basic installation and configuration instructions for the DXi4000 system see F...

Page 2: ...ooting the system To purchase a storage capacity upgrade license contact your Quantum sales representative After you obtain the storage capacity license refer to the section Adding a License Key in th...

Page 3: ...learance Open 4 in 10 2 cm behind unit for proper air flow Environmental Conditions The installation site must have the following environmental conditions Humidity 20 to 80 non condensing Temperature...

Page 4: ...cautions Keep the DXi4000 system turned off during all installation procedures Keep static sensitive parts in their original shipping containers until ready for installation Do not place static sensit...

Page 5: ...Configuration Instructions Advanced Reporting User Guide CD User essentials document Registration card Terms and conditions Caution Do NOT discard the packing materials after the system is unpacked Th...

Page 6: ...6 Unpacking the DXi4000 DXi4000 Installation and Configuration Guide Figure 1 Unpacking the DXi4000 DXi4000 Slide rails Tie bands Chassis rails Front bezel...

Page 7: ...a 1 U space of 15 9 mm 15 9 mm and 12 7 mm 0 625 inch 0 625 inch and 0 5 inch for the front and back vertical rails see Figure 2 Rack cabinets may have round or square holes Figure 2 Rail Hole Patter...

Page 8: ...labeled FRONT facing inward and orient each end piece to seat in the square holes on the front side of the vertical rack flanges Align each end piece to seat the pegs in the bottom hole of the first...

Page 9: ...e system Slide the chassis rails towards the back of the system until each one locks into place see Figure 5 WARNING The DXi4000 weighs 49 5 lbs 22 5 Kg Two people are required to lift the chassis Not...

Page 10: ...e slide rails on both sides 1 To install the DXi4000 chassis see Figure 6 WARNING The DXi4000 weighs 49 5 lbs 22 5 Kg Two people are required to lift the chassis a Pull the slide rails out of the rack...

Page 11: ...s Blue tab Chassis rails Cabling the DXi4000 To cable the DXi4000 see Figure 7 1 Connect a power cable to each power supply two Note It is recommended that you connect each power cord to a separate AC...

Page 12: ...ge 12 2 Completing the Getting Started Wizard on page 15 3 Connecting the Ethernet Cables on page 21 4 Creating a Typical Backup Configuration on page 23 Note You will need a computer and an Ethernet...

Page 13: ...he Ethernet port on the computer to Ethernet port 2 on the back of the DXi4000 Ethernet port 2 is in the far left hand Ethernet port in the middle PCI slot slot 2 as you face the back of the system se...

Page 14: ...Internet Protocol TCP IP Properties Window d Select Use the following IP Address and then enter the following information Caution Before changing the IP address information write down the original set...

Page 15: ...tact information is located on the last page of this document Continue with the next section to log on to the system and complete the Getting Started wizard Figure 11 Login Window Completing the Getti...

Page 16: ...and then click Next to continue The License Agreement page displays see Figure 13 Figure 13 Getting Started Wizard License Agreement 3 Select the I have read and accept this License Agreement check bo...

Page 17: ...ntum DXi4000 User s Guide 6 67092 located on the documentation CD for details Caution For effective bonded network use a properly configured network switch is required A network switch is not supplied...

Page 18: ...rmation as provided by your network administrator a Enter the Hostname used to identify the DXi4000 system b Optional Enter the Default Gateway IP address Specifying a default gateway is optional if a...

Page 19: ...click the Show link to show the bonding details table b In the bond0 interface row select all Ethernet ports This bonds all Ethernet ports into a single network interface logical port c In the bond0...

Page 20: ...manually set the system date and time Specify the New System Date by clicking Calendar Specify the New System Time using the drop down boxes Note You can also choose to synchronize the system time wi...

Page 21: ...tings back to its default values 18 Wait for the system to fully restart This can take up to 30 minutes Continue with the next section to create a typical backup configuration Connecting the Ethernet...

Page 22: ...2 1 2 Gb 2 Gb 1 2 3 4 5 Ethernet ports Service port not for customer use Not used Not used 2 Install a bezel on the front of the DXi4000 The bezel snaps into place on the front of the DXi4000 to prev...

Page 23: ...Deduplication License NAS connectivity License OST Open Storage License Replication License OST Configuration The following components are required for OST Open Storage operation with the DXi4000 Syma...

Page 24: ...ate a NAS share you can configure your backup application to back up data to the share Use the following procedure to set up a basic NAS share Note Do not use this procedure if you are using OST to pe...

Page 25: ...click NAS The About page displays see Figure 19 Figure 19 NAS Wizard About 3 Read the information about the wizard and then click Next to continue The Protocol page displays see Figure 20 Figure 20 NA...

Page 26: ...Workgroup Name box enter the name of the workgroup the DXi4000 is joining 6 Click Next to continue The Add Share page displays see Figure 22 Figure 22 NAS Wizard Add Share 7 Enter information about t...

Page 27: ...tep to make changes b To make changes to a NAS share you added first select the share and click Delete to delete the share Then click Previous to return to the previous step and add a new share c Afte...

Page 28: ...OST Wizard Helps you configure the DXi to present its storage as one or more OST OpenStorage storage servers for use with a backup application Replication Wizard Helps you configure the DXi to send r...

Reviews: