background image


 DPM5500 Quick Start Guide

9

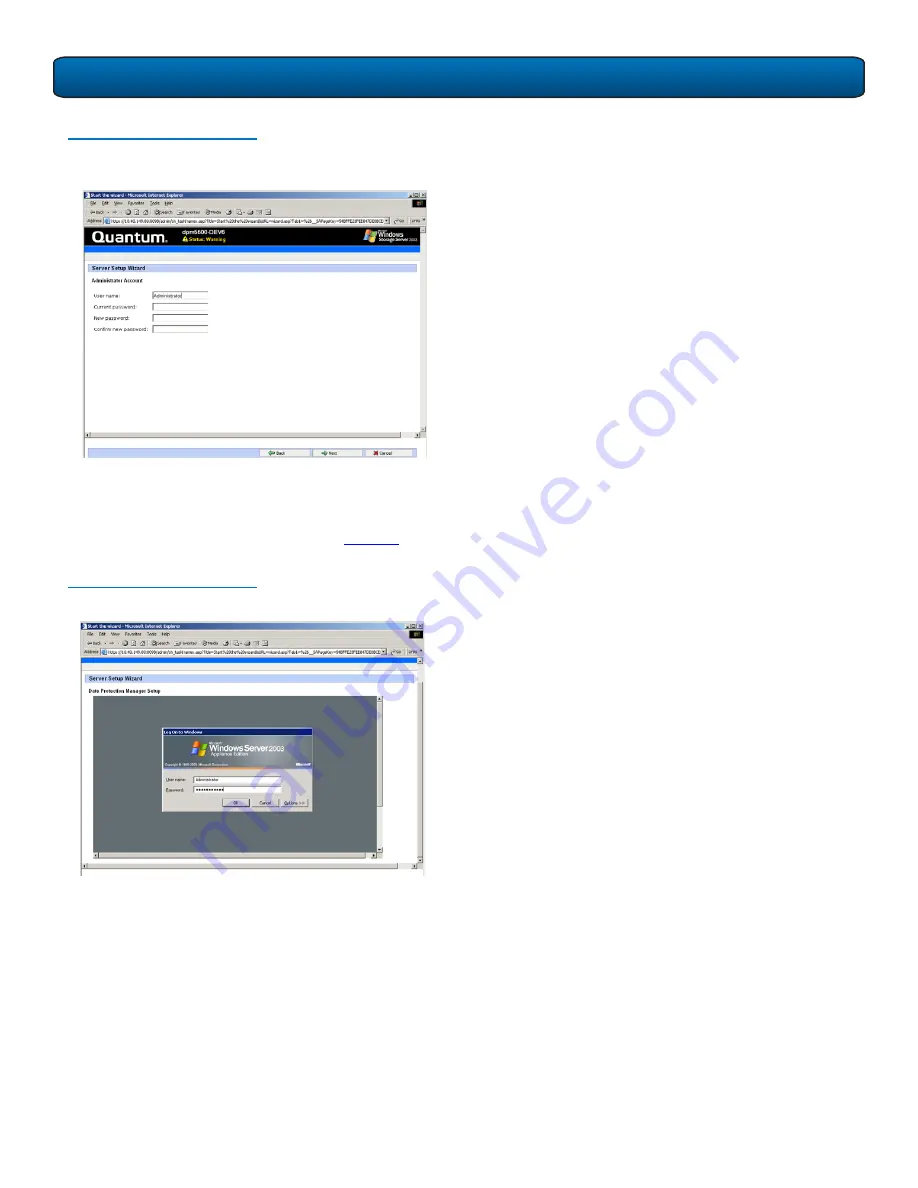
Figure 15  Administrator Account 
Configuration

16

Enter the administrator information and click 

Next

 to 

continue. This information is used to log into the 
DPM5500.
The 

DPM Remote Desktop

 displays (see 

figure 16

).

Figure 16  DPM Remote Desktop

17

Enter your username and password to login.

18

Configure DPM per the Microsoft® documentation. 
When completed, click 

Next

 to continue.

The 

Finished Setup

 screen displays.

The DPM5500 is initially configured and ready for 
operation. Refer to the Microsoft® documentation for 
information on configuring the Microsoft® System 
Center Data Protection Manager.

Summary of Contents for DPM 5500

Page 1: ...n Microsoft DPM see http www microsoft com windowsserversystem dpm default mspx Choosing a Location 0 When choosing an installation site for the DPM5500 system consider the following requirements Rack...

Page 2: ...lace static sensitive parts on a metal surface Place them inside their protective shipping bag or on an antistatic mat Avoid touching connectors and other components Unpacking the DPM5500 0 This secti...

Page 3: ...ing hardware is installed on the rack rails prior to installing the chassis Installing the DPM5500 Chassis 0 1 Assemble the DPM5500 rack rails as shown in figure 3 You must pull the slide out of the s...

Page 4: ...tion DX5000 support brackets 10 32 x 50 PHILLIPS screws Clip nuts Figure 5 DPM5500 Chassis Mounting Holes 5 Carefully slide the storage array into the rack 6 Secure the DPM5500 chassis to the rack wit...

Page 5: ...e number The hard drives must also be installed in the array in which it was configured DPM5500 chassis DPM5500 Drive 0 Drive 1 Drive 2 Drive 3 Drive 4 Drive 5 Drive 6 Drive 7 Drive 8 Drive 9 Drive 10...

Page 6: ...The Microsoft DPM application software is installed on the system however the software is not initially configured Refer to the Microsoft DPM documentation for information on DPM configuration NOTE Th...

Page 7: ...1 Start wizard link Next Figure 11 License Agreement 6 You must select I agree with the Terms specified in the EULA for all three license agreements to continue with the DPM5500 configuration Click Ne...

Page 8: ...onnection 2 correspond to Ethernet ports 1 and 2 located on the back of the DPM5500 chassis NOTE If the network settings were unchanged the DPM5500 will not reboot Continue with the next step Figure 1...

Page 9: ...esktop displays see figure 16 Figure 16 DPM Remote Desktop 17 Enter your username and password to login 18 Configure DPM per the Microsoft documentation When completed click Next to continue The Finis...

Page 10: ...ape logo are all registered trademarks of Quantum Corporation SDLT and Super DLTtape are trademarks of Quantum Corporation Other trademarks may be mentioned herein which belong to other companies 81 8...

Reviews: