3. Operation
28
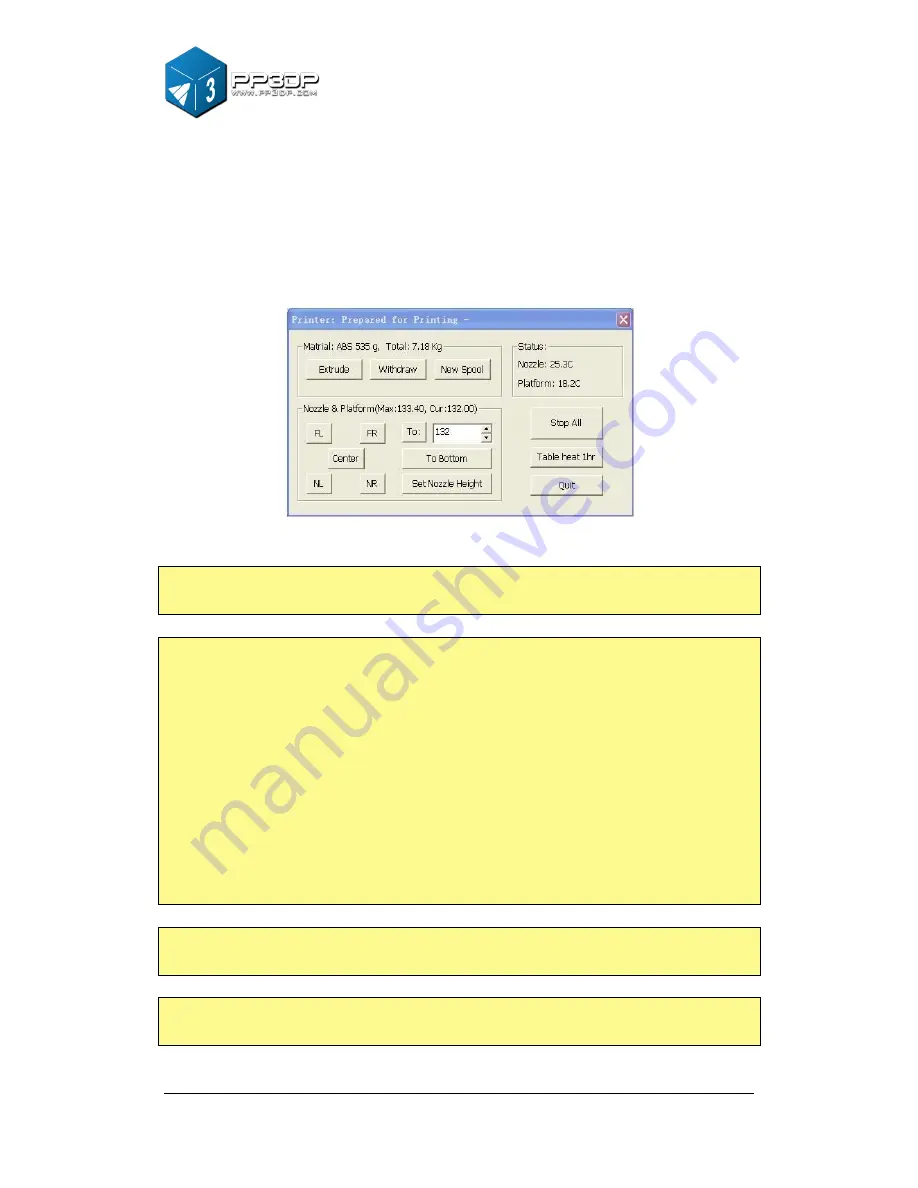
4 - Once the platform is about 1mm away from the nozzle, start increasing the
number in the text box by 0.1mm increment and click the “To” button.
Repeat this step, until the platform is within 0.2mm away from the nozzle.
5 - Click the “Set Nozzle Height” in the Maintenance dialogue
Figure 3-24 Click the "Set Nozzle Height"
NOTE: Once you setup the nozzle height, you do not need to do it again,
as it is automatically recorded in the “Setup” Screen.
Tip: If you want to check if the distance between the platform and the
nozzle is ok or not, you can fold a piece of paper (the thickness of a
paper is about 0.1mm), and put it between the nozzle and platform.
NOTE:
The maximum height of print platform will be set 1mm higher than the
value set in the text box. For example, if the nozzle height displays
135.9mm in the setting dialog, the maximum height of the platform is set
to 136.9mm, which means the print platform can only move up to
136.9mm in maximum.
TIP:
If you find that the platform cannot move as high as you want it to, you
can enter a fake number bigger than the current setting, and click "set
as nozzle height”.
TIP:
After you move your printer to another location, you may need to
recalibrate nozzle height
TIP:
If you find models are not adhering to the platform properly, you may need
to recalibrate nozzle height.
Summary of Contents for Q150
Page 1: ...www com ly ita k o USER MANUAL 150...
Page 46: ...5 Model Removal 46...


