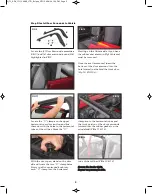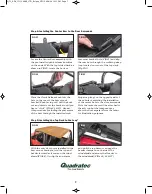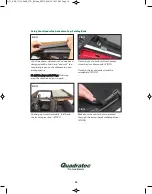
Under the fabric, locate the over door
bow installed in step one and place the
quick release end in the top-front hole of
the pre-installed bow mount bracket
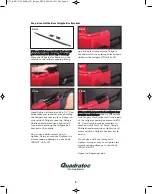
pulling the knob out until you hear a
“click” (FIGs 16, 17, 18 & 19). Repeat
this on the opposite side of the vehicle
and fold back the front portion of the
top as shown in FIG20.
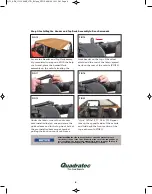
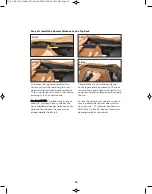
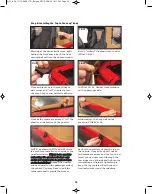
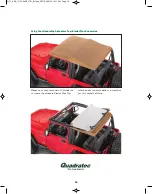
Locate the Header and Top Deck assem-
bly completed in step one. With the help
of a friend, place the header/Deck
assembly on the vehicle locating the
front header on the top of the wind-
shield and the rest of the fabric spread
back on the rear of the vehicle (FIG15).
6
FIG15
FIG16
Step 3: Installing the Header and Top Deck Assembly to Door Surrounds
FIG17
FIG18
FIG19
FIG20
After installing the side tubes to the door surround brackets please
check the location of the front header to make sure it its snug and does
not "over-hang" the front of the windshield. Please see page 14, Step 11
for a visual representation of the correct header location.
Q_TJ_ADV_11113.00XX_LTR_BU.qxp_QTOP 6/16/20 12:11 PM Page 6


