3
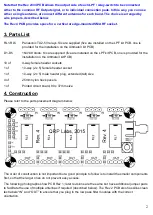
One suggested order of construction is described in the following sections.
1)
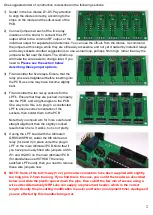
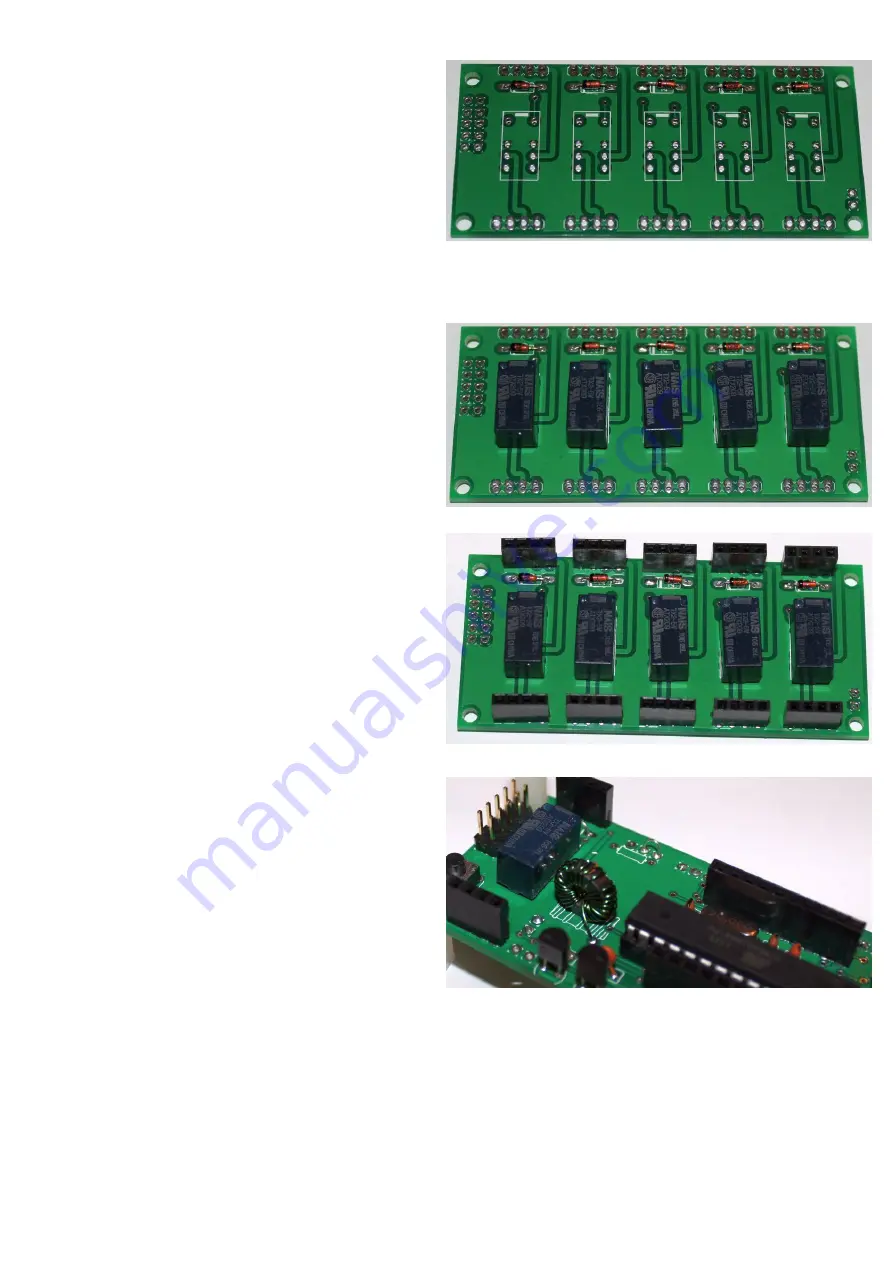
Solder in the five diodes D1-D5. Pay attention
to align the diodes correctly, according to the
stripe on the diode and the silk-screen of the
PCB.
2)
Connect jumpers at each of the five relay
locations on the board, to connect the LPF
output either to the common RF output, or the
individual output for separate band antennas. You can use the offcuts from the diodes. I recommend
the jumpers at this stage, while they are still easily accessible, and not yet crowded by installed relays
and 4-way sockets. Another suggestion is to use a small loop, perhaps 5mm high, rather than lay the
jumper wire flat near the board. The small loop
will make the wire easier to change later, if you
need to.
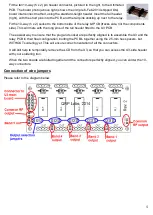
Please see the section below
describing these jumper options.
3)
Fit and solder the five relays. Ensure that the
relay pins are straightened before inserting into
the PCB, as some may have become slightly
bent.
4)
Fit and solder the ten 4-way sockets for the
LPF's. Ensure that they are pushed in properly
into the PCB, and at right-angles to the PCB.
One way to do this, is to plug in a constructed
LPF to ensure correct orientation of the
sockets, then solder them to the PCB.
Note that you should aim for more careful and
straight alignment than the slightly crooked
result shown here. It works, but is not pretty.
5)
If using the LPF board with the Ultimate3
QRSS/WSPR kit, solder the 6th diode and
relay (for band 0) in place under the plug-in
LPF on the main Ultimate3 PCB. Note that if
you have previously fitted wire jumpers at W0-
W1 and W2-W3 on the main Ultimate3 PCB
(for standalone use WITHOUT the relay-
switched LPF board), then you need to remove
these wire jumpers now.
6)
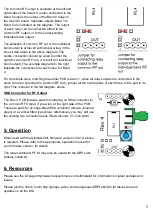
NOTE: Some of the tall 10-way (5 x 2) pin header connectors have been supplied with slightly
too long pins, 2-5mm too long. If you find this is the case, you can fit the header as described
below, and slide the plastic spacer down the pins, then cut off the few mm of excess using a
wire cutter. Alternatively QRP Labs can supply a replacement header, which is the correct
length. Usually the pin-cutting modification is easier and faster (no shipment time). Apologies if
you are affected by this manufacturing error.


