176
6.4.4
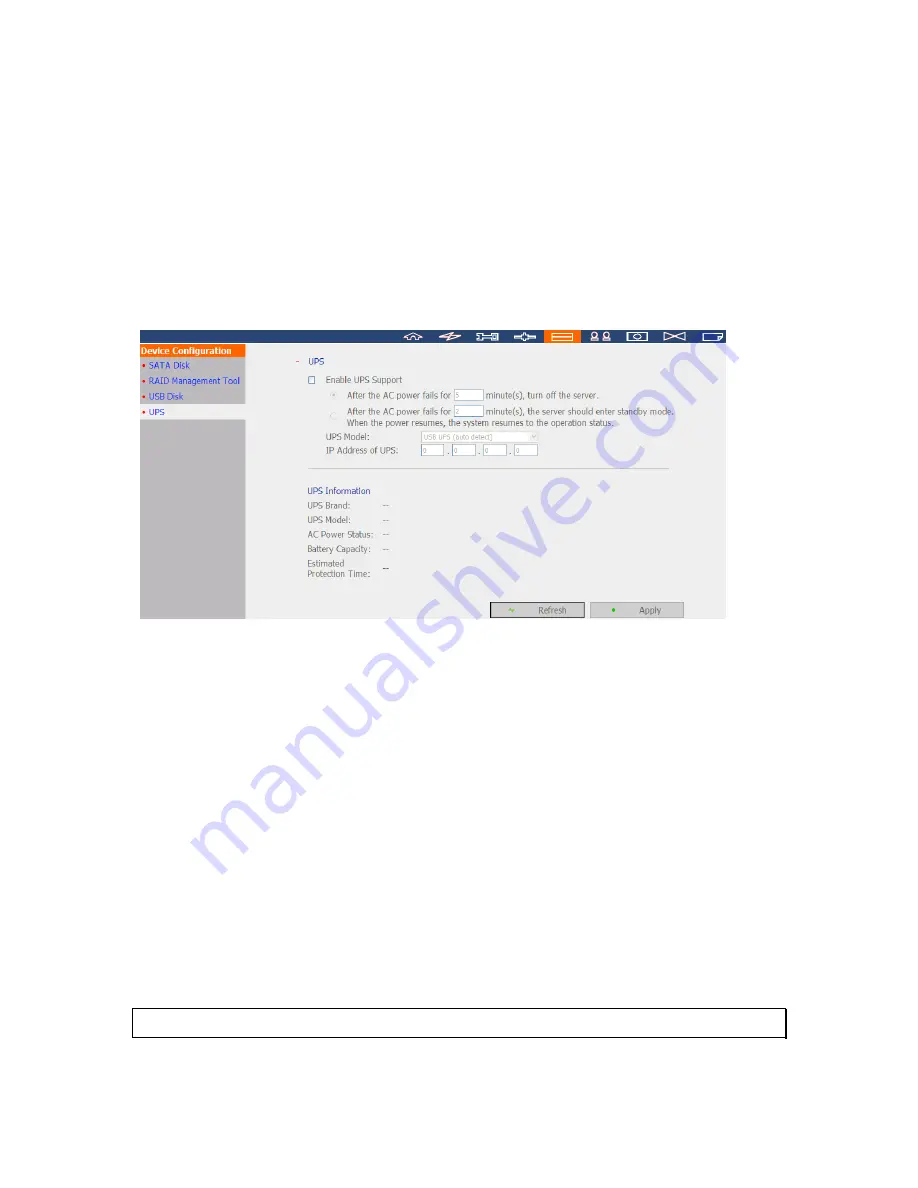
UPS
The NVR supports UPS (uninterruptible power supply). When an expected power outage
occurs, the UPS is able to supply the power to the NVR continuously. Configure the
settings to turn off the NVR after the AC power fails. If the power of the UPS is insufficient
to last for the time specified, the NVR will shut down immediately for optimized server
protection.
* It is recommended to connect the UPS to one of the USB ports on the rear side of the NVR.
Enable UPS Support
Select this option to enable the UPS support. Enter the time the NVR should wait before
shutting down after the AC power fails. In general, the UPS can supply the power for 5-10
minutes when AC power fails depending on the maximum load and the number of
connected devices.
UPS Model
Select the UPS model on the list. If the UPS is not available on the list, please contact the
distributor or QNAP technical support.
IP Address of UPS
If ‘APC UPS with SNMP Management’ is selected, enter the IP address of the UPS.
Note:
It is recommended to use APC Smart-UPS 700+ APC Network Management Card.
Summary of Contents for VIOSTOR NVR
Page 73: ...73 ...
Page 80: ...80 ...
Page 95: ...95 4 3 6 Enable Disable Event Alert To enable event alert on an E map click ...
Page 103: ...103 2 The following dialog will be shown To add more NVR servers for playback click Edit ...
Page 109: ...109 ii Click the Event entry tab iii Select the event type ...
Page 111: ...111 vii The events will be shown Click OK ...
Page 115: ...115 2 Browse and select the video files from the computer ...
Page 116: ...116 3 The playlist will be shown Click Play to play the videos ...
Page 118: ...118 5 To control all the playback windows at the same time click to enable Control All Views ...
Page 121: ...121 6 The video files will be divided evenly by 16 windows ...
Page 132: ...132 9 Click Search to start searching the video by IVA The results will be shown ...
Page 135: ...135 2 If no NVR servers or IP cameras are shown click Edit to add an NVR server manually ...
Page 153: ...153 7 Click Start Installation to apply the changes and initialize the system ...
Page 157: ...157 6 2 3 View System Settings View the system settings such as the server name on this page ...
Page 200: ...200 ...
Page 212: ...212 ...
Page 264: ...264 ...


