TissueLyser II User Manual 05/2016
30
The engaged locking pin prevents automatic opening of the adapter or grinding jar. If the
locking pin cannot be pulled upward to release it, do not force it upward using a hammer or
other tool, as damage may occur. To release the locking spin, turn the handwheel slightly
clockwise: the locking pin should then be freely moveable.
To remove the adapter or grinding jar, lift the locking pin (A) and turn the handwheel (B) in
the opposite direction.
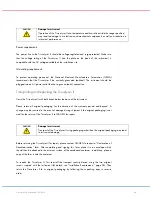
CAUTION
Damage to the instrument
Use of adapters and plasticware other than those described in this user manual may lead to
damage to the clamps of the TissueLyser II.
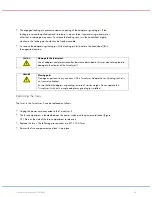
WARNING
Moving parts
Damage or personal injury can occur if the TissueLyser Adapter Set or Grinding Jar Set is
not securely attached.
Ensure that both adapters or grinding jars are of similar weight. Do not operate the
TissueLyser II with only a single adapter or grinding jar installed.
Replacing the fuses
The fuses in the TissueLyser II can be replaced as follows:
Unplug the power cord connected to the TissueLyser II.
The fuse compartment is located between the power switch and the power cord socket (Figure
12). Press at the side of the fuse compartment to release it.
Replace the fuses. The following are required: two MT 3.15 A fuses.
Reinsert the fuse compartment and lock it into place.


