26
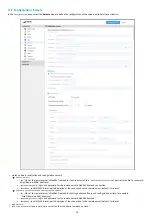
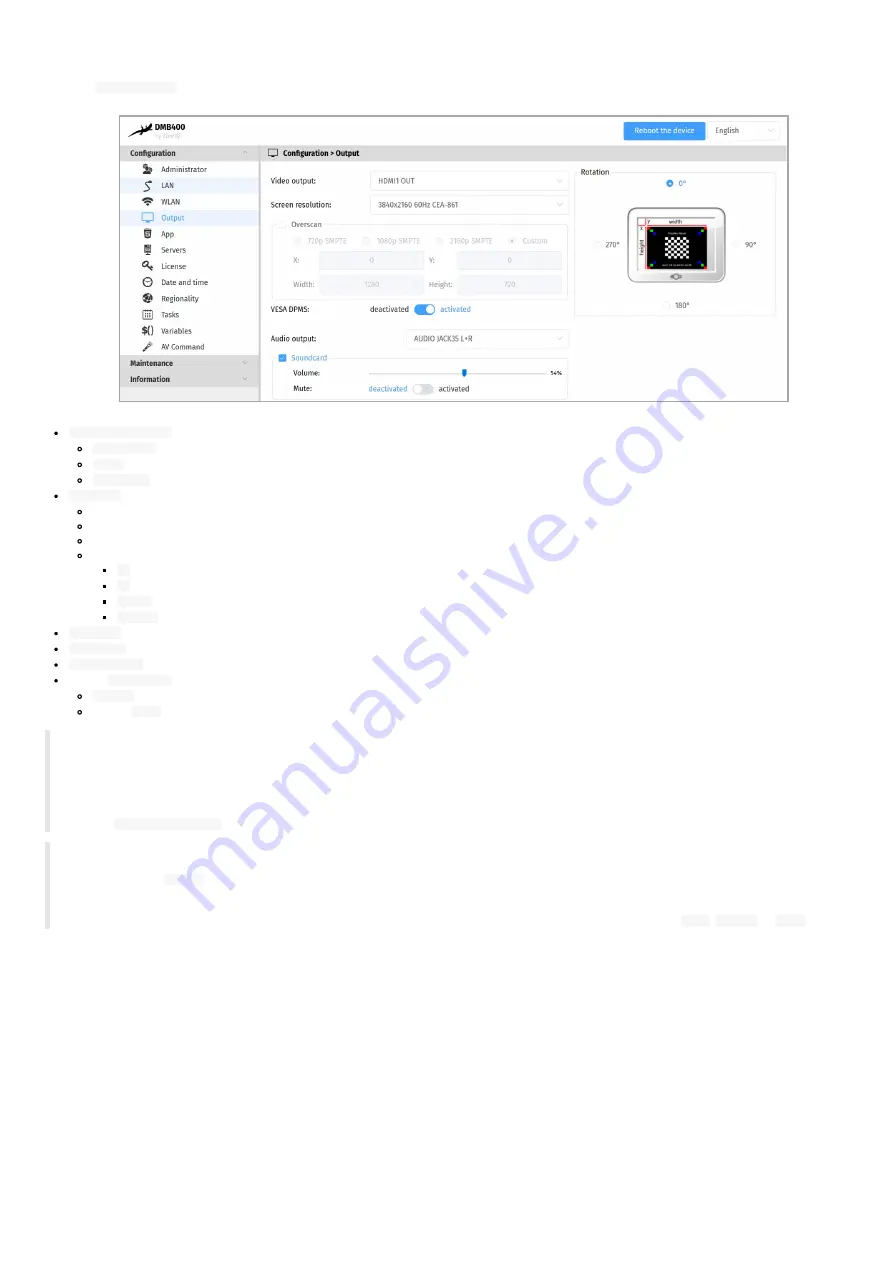
3.1.4 Configuration > Output
From the
Configuration
pane, select the
Output
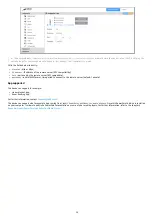
menu to configure, among other things, the unit' s video and audio output.
Screen resolution
:
Resolution
:
96x96
to
3840x2160
.
Mode
:
SMPTE
,
VESA
,
CEA-861
,
SONY
,
SAMSUNG
,
CGV CPLine AV-HD
,
PC
,
DENSITRON
,
XGA
,
LESTEL
,
LINSN
, …
Freq uency
:
25 Hz
,
30 Hz
,
45 Hz
,
60 Hz
,
50 Hz
.
Overscan
:
720p SMPTE
,
1080p SMPTE
,
2160p SMPTE
,
Personalized
:
X
: horizontal origin of the viewport in pixel,
Y
: vertical origin of the viewport in pixel,
Width
: width of the viewport in pixel,
Height
: height of the viewport in pixel.
Rotation
:
0°
,
90°
,
180°
,
270°
.
VESA DPMS
:
on
(vertical sync standby on) or
off
(vertical sync standby off) ¹ .
Audio output
:
AUDIO JACK35 L+R
.
option
Sound card
: allows to activate or deactivate the sound card:
Volume
:
0..100%
,
option
Mute
:
on
(mute) or
off
(mute on).
☛
The rotation is not supported for resolutions higher than 1920x1080.
☛
Some screens may not support certain display modes. In this case, try another mode with the same resolution.
☛
When supported by your screen and your device, if possible use a 60 Hz mode which is the smoothest mode for scrolling text.
¹ VESA DPMS sleep and standby output is performed either by a screen sleep task programmed into an App, or by a power management task
with the
strongly optimized
mode.
Some screen, due to their construction, have been designed with an overscan, which means that the edges of your broadcast content on your
device may not be visible on your screen even when choosing the right optimal resolution for your screen. To alleviate this problem, use the
overscan on your
Qeedji
device to slightly reduce the width and height of your viewport. While doing so, it is recommended to display the test
pattern of the device.
◬
When using the overscan, for a good configuration of your device, please make sure that your screen is not in
Wall
,
Mozaic
or
Tile
mode.
Summary of Contents for 4.13.15 002E
Page 1: ...U ser manual DMB 400 4 13 15 002E...
Page 4: ...4 Part I Description and installation...
Page 7: ...7 1 2 1 Device xture...
Page 8: ...8 1 2 2 Device dimensions...
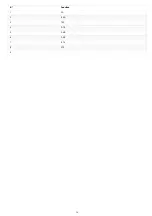
Page 15: ...15 N Function 1 CD 2 RX D 3 TX D 4 DTR 5 GND 6 DSR 7 RTS 8 CTS 9...
Page 17: ...17...
Page 19: ...19 Part II Applicative user interface...
Page 21: ...21 Part III Administration console user interface...
Page 49: ...49 Part IV Con guration b y script...
Page 51: ...51 Part V Technical information...
Page 55: ...55 Part VI Contacts...
Page 57: ...57 Part VII Appendix...
Page 62: ...62 15 16 17...

