NAVIGATION AND CONTROLS
QC40198/QC40196 User Manual
39 |
P a g e
4.7.2 Backup Device
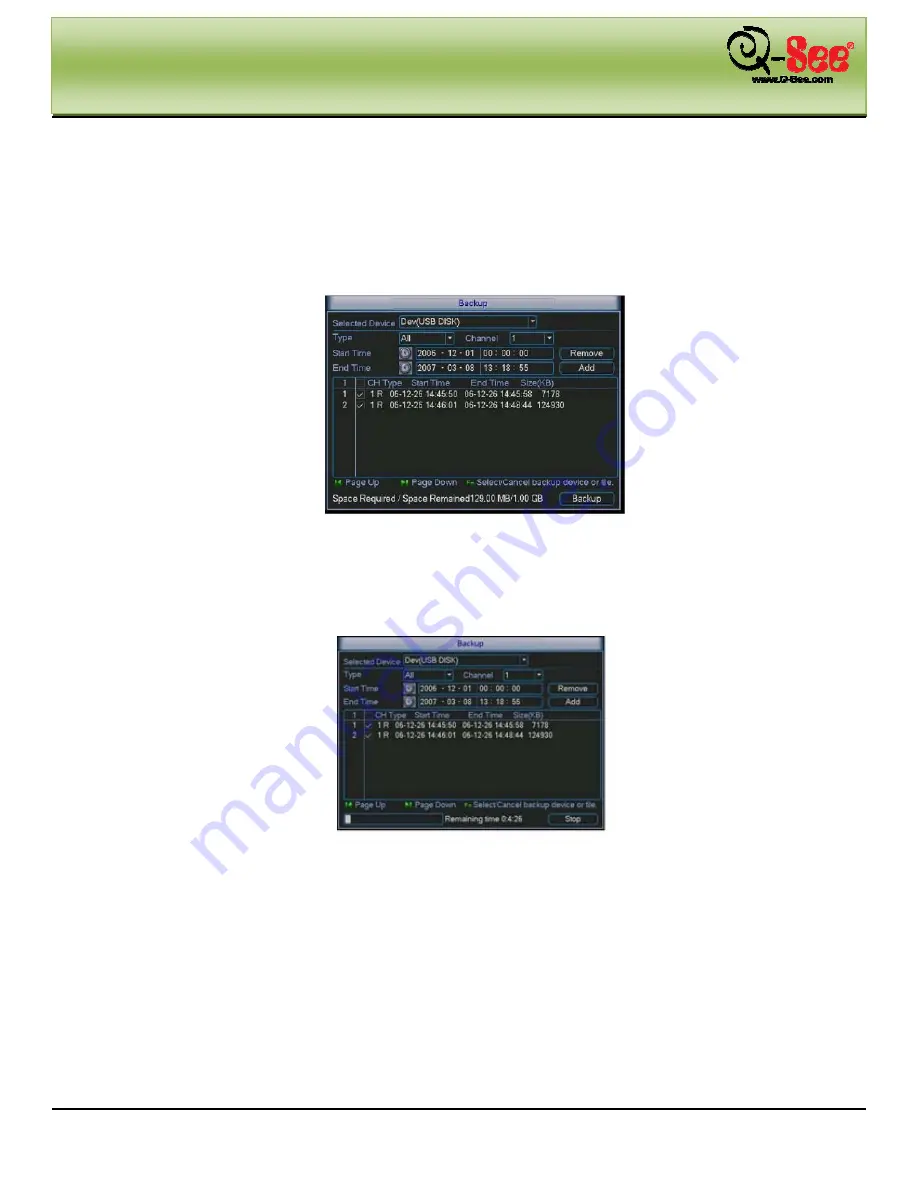
Select backup device and then set channel, file start time and end time.
Click add button, system begins search. All matched files are listed below. System automatically calculates the
capacity needed and remaining as illustrated in Figure 4-32. Note that the system will only back up files with a
√
before channel name. You can use Fn on remote or cancel button to delete
√
next to the file number. Click
the backup button and you will backup selected files. A progress bar will be displayed showing your progress in
the backup. When the system completes backup, you will see a dialogue box notifying you the files have been
successfully backed up.
Figure 4-32
After you click backup button, and system begins the backup, the backup button will function as a stop button.
You can view the remaining time and process bar at the left bottom as shown in Figure 4-33.
Figure 4-33
The file name convention is as follows: SN_CH+channel time Y+M+D+H+M+S. In the file name, the
YDM format is the same as you set in general interface. (Main Menu ->Setting ->General). File extension type
is dav. The files can be played back using the player on the CD that comes with the DVR.
Tips:
During backup process, you can click ESC to exit current interface for other operation. The system will not
terminate backup process.
Note:
When you click stop button during the backup process, the stop function becomes activated immediately. For
example, if there are ten files, when you click stop if system has just backed up five files, system only save the
previous 5 files in the device (But you can view ten file names).


