NAVIGATION AND CONTROLS
QC40198/QC40196 User Manual
25 |
P a g e
4.2
Manual
Manual
Manual
Manual Record
Record
Record
Recording
ing
ing
ing
4.2.1
Live Viewing
After you log in, the system is in live viewing mode. You can see system date, time and channel name. If you
want to change system date and time, you can refer to general settings (Main Menu->Setting->General). If you
want to modify the channel name, please refer to the display settings (Main Menu->Setting->Display)
4.2.2
Manual Record
Note:
You have to have access rights to access to the Manual Record menu and a hard drive needs to be
properly installed.
4.2.2.1
Manual Record Menu
There are two ways for you to get to the manual record menu.
Right click mouse or in the main menu, Advanced->Manual Record.
In live viewing mode, push record button on the front panel or record button on the remote control.
4.2.2.2
Basic Operation
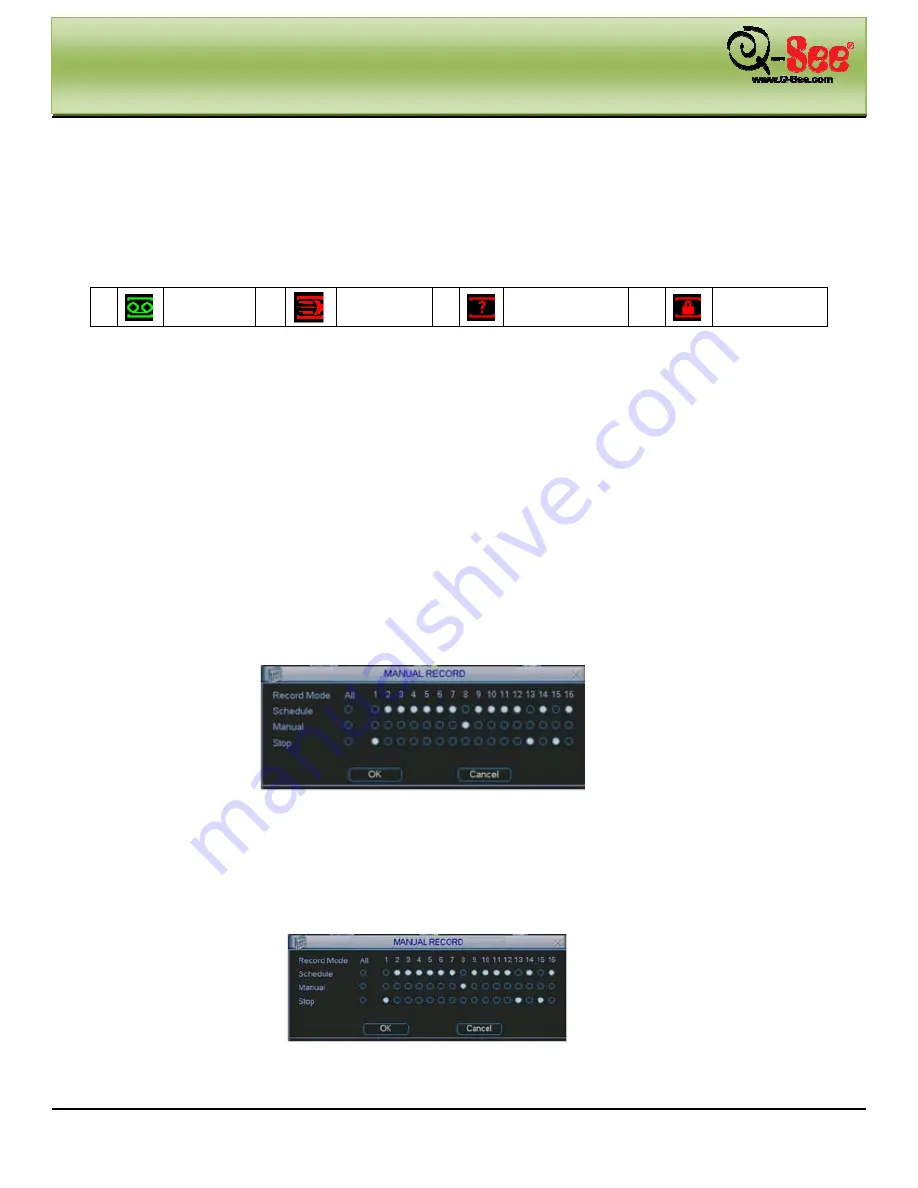
There are three status modes: schedule/manual/stop. Highlight icon
“○”
to select corresponding channel.
Manual: The highest priority. After manual setup, all selected channels will begin ordinary recording.
Schedule: Cameras record as you have set in recording setup (Main Menu->Setting->Schedule)
Stop: All channels stop recording.
Figure 4-5
4.2.2.3
Enable/Disable Record
Please check current channel status: “
○
” means it is not recording, “
●
” means it is recording. You can use
mouse or direction keys to highlight channel number as illustrated in Figure 4-6.
Figure 4-6
1111
Recording
status
2222
Motion
detection
3333
Video loss
4444
Camera lock


