NAVIGATION AND CONTROLS
QC40198/QC40196 User Manual
23 |
P a g e
4.
4.
4.
4.
NAVIGATION AND CONTROLS
NAVIGATION AND CONTROLS
NAVIGATION AND CONTROLS
NAVIGATION AND CONTROLS
Overview
Overview
Overview
Overview of Navigation and Controls
of Navigation and Controls
of Navigation and Controls
of Navigation and Controls
Before operation, please make sure:
You have properly installed a hard drive and all the cable connections.
The provided input power and the device power are matched.
The external power source is within 100
-
240V-50-60HZ 1.7A (60W) and the current is stable.
NOTE: We also STRONGLY recommend that you plug the DVR and cameras into a Transient Voltage Surge
Protector (UL-1449 rating). Look for a clamping voltage of 330 or lower, Joule rating of at least 400, and a
response time of 10 nanoseconds or less.
4.1
Login, Logout & Main Menu
Login, Logout & Main Menu
Login, Logout & Main Menu
Login, Logout & Main Menu
4.1.1
Login
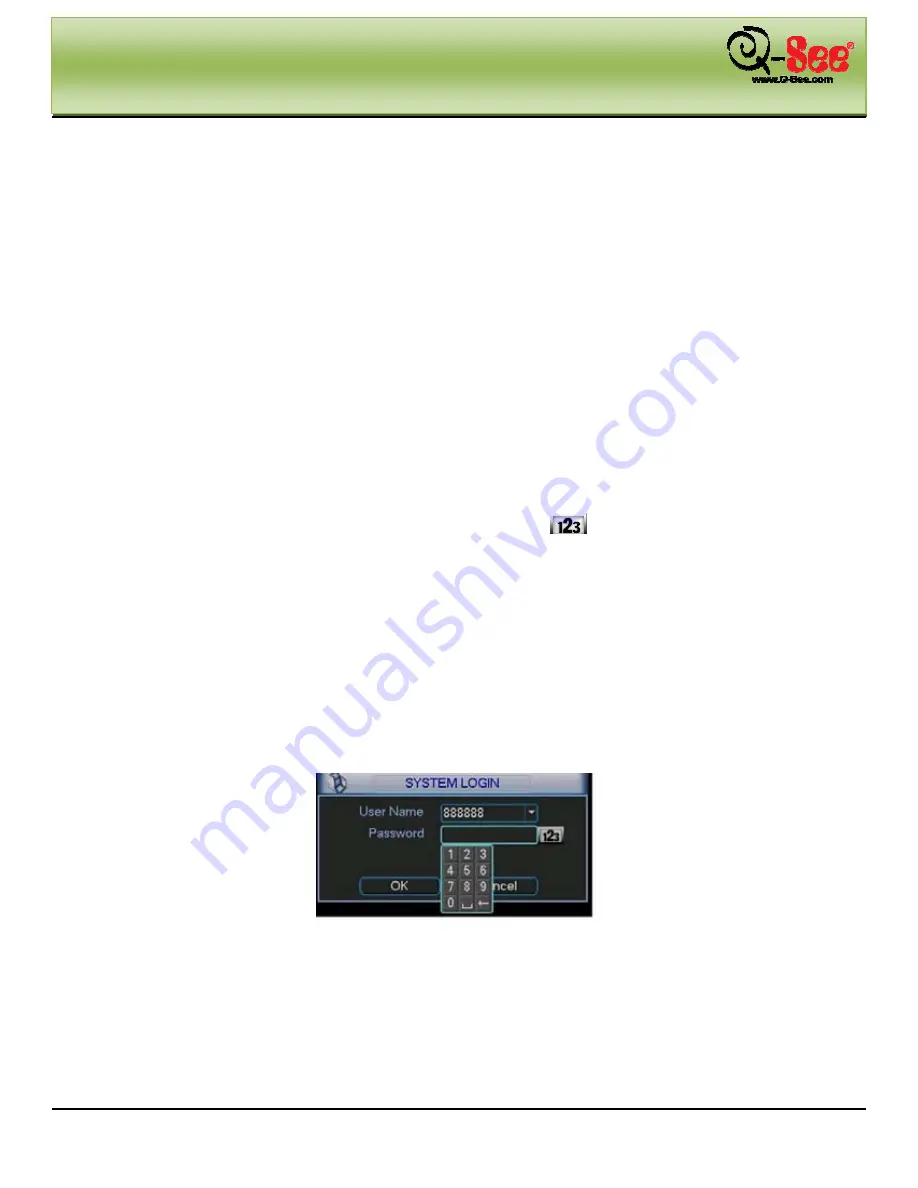
After system boots up, the default video display is in multiple-window mode. Click Enter or left click mouse and you
will see the login interface illustrated in Figure 4-1. Use the USB mouse, front panel buttons, remote control or
keyboard to navigate through the system log in screen. Click
to switch between numbers, letters
(small/capitalized) and symbols.
There are four types of account access you can assign to users who log in to your DVR:
Username:
admin.
Password:
admin. (administrator, local and network)
Username:
888888.
Password:
888888. (administrator, local only)
Username:
666666.
Passwords:
666666 (Lower authority user who can only monitor, playback, backup etc.)
It is highly recommended that you change your system password after you log on for the first time. Write
your changes down or keep them in a safe place because the system will lock you out if you login in
incorrectly three times within a 30 minute period. If this occurs, wait 30 minutes, reboot the DVR, and try to
log in again.
Figure 4-1
4.1.2
Main Menu
After you log in, you will access the system main menu shown in Figure 4-2.
There are six icons: search, information, setting, backup, advanced and shutdown.
You can move the cursor to highlight an icon, and then double click mouse to enter the sub-menu.


