PZRacing Start Basic User Manual Download Page 6

4.4 – Menu and icons

To access the menu, touch any part of the display. As previously described, all actions and menu entries are
represented by descriptive icons which can be divided into 3 categories: 

MENU ICONS

EXIT

LAPS

DATA

TRACK

SETUP

GEAR

INFO

LAPS: to view the sessions and lap times stored on the memory card
DATA: to view the meters, speedometers and highest values stored
TRACK: circuit and conditions of use settings
SETUP: general device settings
GEAR: gear settings
INFO: general information about the product and system (manufacturer, model and firmware version)

SUBMENU ICONS

VALUE

SAT

TEST

EXIT

VALUE:  real time visualisation of values
SAT: visualisation of used and queued satellite signals
TEST: self-diagnosis to verify the features of the product
EXIT: to go back to main menu

EXIT: to go back to the main screen

ICON SELECTION

UP

DOWN

NEXT

SHIFT

ERASE

NEW

YES

NO

UP: scrolls upwards
DOWN: scrolls downwards
NEXT: scrolls to next entry
SHIFT: changes the selected entry
ERASE: deletes the selected entry 
NEW: button to create a new file with the coordinates of a new finish line
YES: to confirm the selected command
NO: to reject the selected command

4.5 – GPS Signal

GPS signal acquisition can take from a matter of seconds to a couple of minutes. If the device has been switched off for days or the circuit has changed,
the time required for the first satellite retrieval can take 4/5 minutes; when used regularly, detection takes very little time. Acquisition of the GPS signal
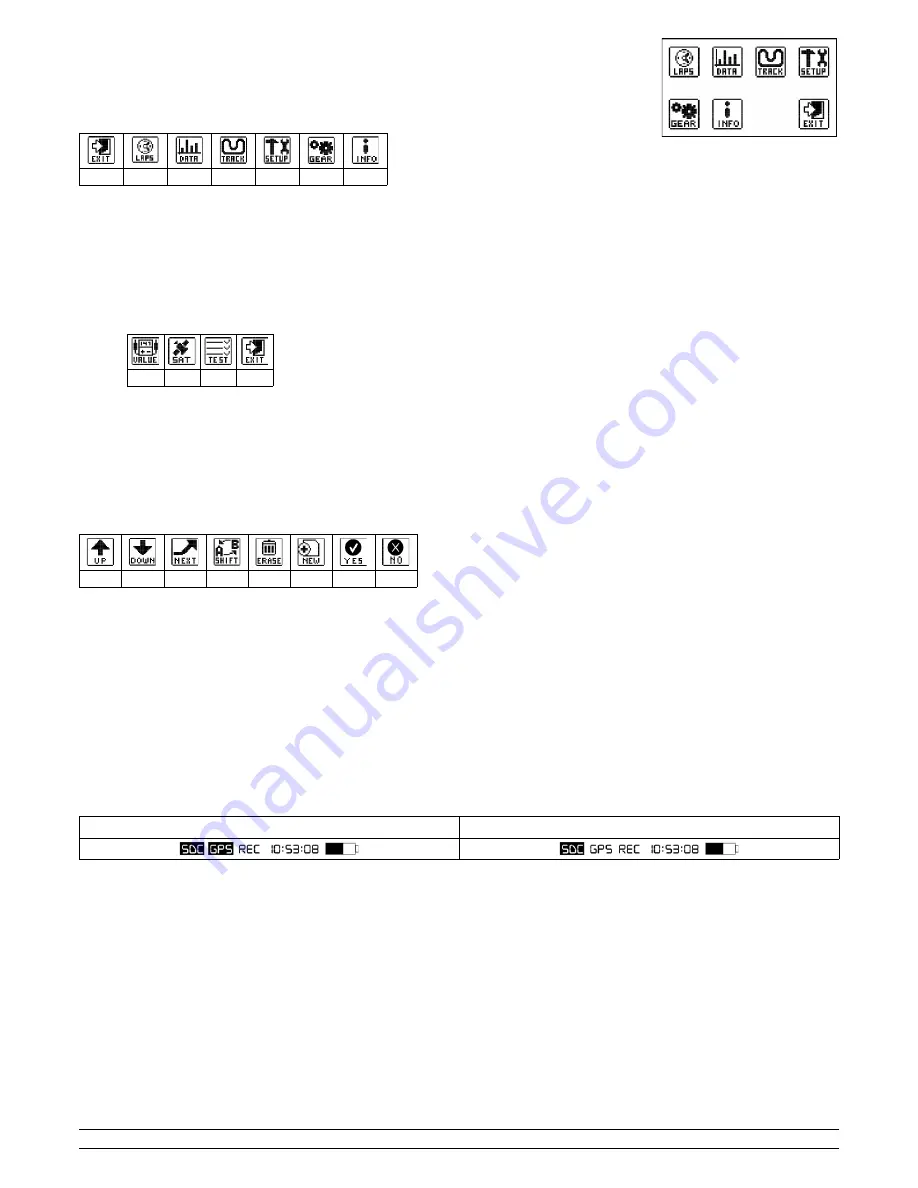
is indicated on the display by the GPS icon: 

GPS receiver has detected the satellites


GPS receiver has not yet detected the satellites

It is also possible to check the signal received by the satellites by accessing the menu, selecting the INFO icon and subsequently the SAT icon; the ID
numbers of the satellites will appear together with the dB power signal received; if the signal bar is full the satellite is being used, if not, it isn't. 

PZRacing Via de Gasperi 5 – 61032 Fano (PU) Italy - Tel: +39 0721 820434 – Email: [email protected] 

Summary of Contents for Start Basic

Page 1: ...f the same product line and they function in the same way However Start Basic does not allow data acquistion all channels connected to the device can be viewed on the screen but will not be saved Plea...

Page 2: ...analogue channels and 3 digital channels 50Hz sampling of the connected channels Inserted gear indicator optional Automatic circuit recognition Global circuits database PC set up of a new circuit PC...

Page 3: ...ace on the back of the shell of the Start device Fix the bolt with the plastic adaptor making the seat match the head of the bolt Secure the 4 screws to fix the plastic adaptor Insert an anti vibratio...

Page 4: ...for all product configurations Folder TRACKS File TRK file for the finish line and split time coordinates Folder SESSIONS File SES saved sessions file Folder MANUALS File pdf instructions manuals in s...

Page 5: ...he recording bear in mind that the files stored are 50MB h in other words every hour of recording creates a file which is 50MB 4 3 Screens The following information is always displayed on the top line...

Page 6: ...s downwards NEXT scrolls to next entry SHIFT changes the selected entry ERASE deletes the selected entry NEW button to create a new file with the coordinates of a new finish line YES to confirm the se...

Page 7: ...hed to a Box Expander C Degrees Celsius default F Fahrenheit Pulse RPM Set the RPM reading parameters this setting is of no use if the device is not attached to a Box Expander 1 one pulse per drive sh...

Page 8: ...is closest to you amongst those saved on the memory card in the TRACKS folder In MANUAL mode it is possible to scroll all the finish lines which have been saved manually in the folder by pressing on t...

Page 9: ...it is possible to calibrate the sensors connected the so called zero of the sensors To access these screens access the menu select the INFO icon and then select VALUE a series of screens will appear...

Page 10: ...ogue input The first entry you have to set up is visualization of the gear inserted on the display if you select NO the gear will only be saved if you select YES the gear will also be viewed on SCREEN...

Reviews: