Page 23 of 52
Severe Service:
Humidity/Chemical/Dust laden atmospheres, and/or ambient operating temperatures
below 0°C or above 40°C (below 32°F, above 104°F), and/or over 2,000 annual operating hours.
Hydraulic Oil Change Procedure:
o
Disconnect the power source to the drive motor
o
Relieve all pressure from the piping system
o
Drain the oil by removing the drain plug on the gearbox
o
Drain the remaining oil in the pump head/intermediate head reservoir by removing the drain
plug located on the bottom of the intermediate head
o
After drained, replace the plugs using thread sealant
o
Fill both the gearbox and intermediate head with PULSAlube 6H
8.4 Wet End Removal, Inspection, and Reinstallation
IF THE DIAPHRAGM HAS FAILED, PROCESS MATERIAL MAY HAVE CONTAIMINATED THE
PUMP HYDRAULIC OIL. HANDLE WITH APPROPRIATE CARE; CLEAN AND REPLACE OIL.
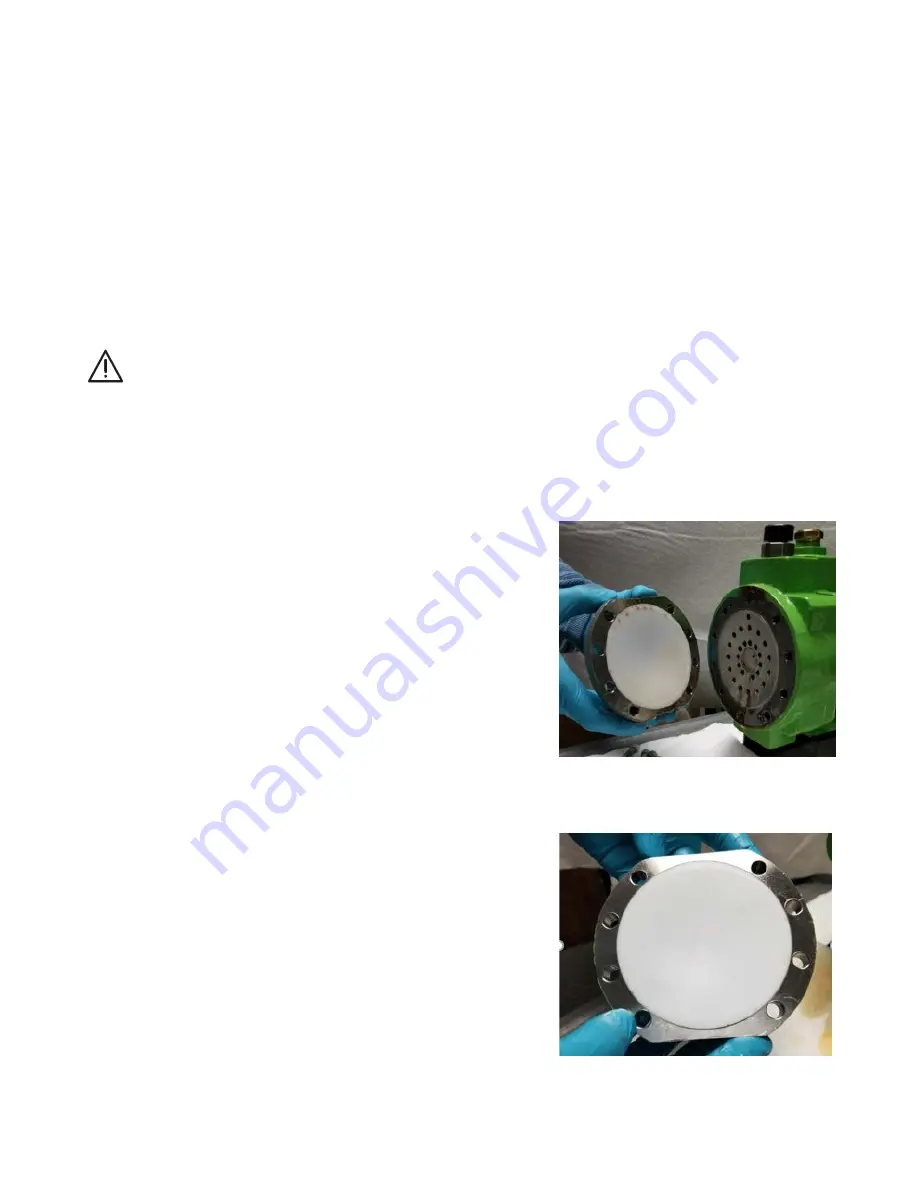
Flat Diaphragm Replacement
PulsaPro diaphragms do not have a specific cycle life; however, the accumulation of foreign material or
the entrapment of sharp particles between the diaphragm and the dish cavity can eventually cause
failures. Failure can also occur because of hydraulic system malfunction or chemical attack.
Flat Diaphragm Replacement Procedure:
o
Disconnect the power source to the drive motor.
o
Relieve all pressure from the piping system.
o
Take all precautions to prevent environmental and
personnel exposure to hazardous materials.
o
Close the inlet and outlet shutoff valves.
o
Place a suitable container underneath the pump
head to catch any liquid leakage.
o
Disconnect piping to the reagent head and drain
process liquid, following material safety precautions
described.
o
Remove all but one top reagent head bolts. Oil will
leak out between the pump head and reagent head
as the bolts are loosened. The HPV will hold the
reservoir of oil in the intermediate head but any oil
between the diaphragm and dish plate will drain.
o
Tilt the head and pour out any liquids retained by the
Figure 26
check valves into a suitable container, continue to follow
safety precautions.
o
Remove the final bolt and rinse or clean the reagent
head
with appropriate material.
o
Remove the old diaphragm and replace it with the
new one supplied in the KOPkit.
o
To install a diaphragm, first ensure that the critical
sealing areas of the diaphragm, reagent head, and
pump head are clean and free of debris. Set the
diaphragm in place on the reagent head and ensure
the seat of the diaphragm sealing ring into mating
groove in the reagent head.
o
Install the reagent head bolts and tighten in an
alternating pattern to ensure an even seating force.
Refer to torque values in torque table.
o
Re-prime the pump head.
Figure 27


