


150
Sketch
Erasing & undoing
Erasing & undoing
Erasing & undoing
Erasing & undoing
Erasing & undoing
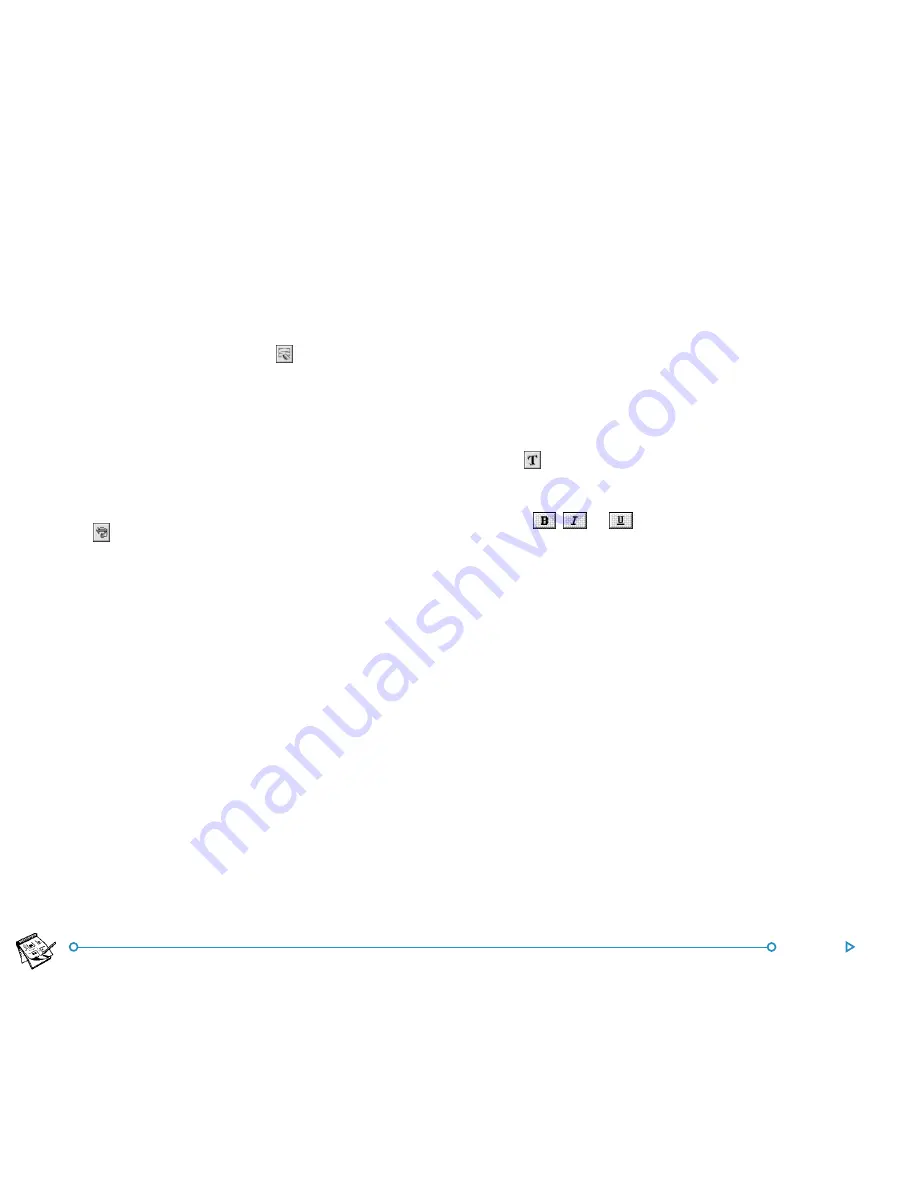
You can delete either all or part of your sketch, or undo up to
the previous five actions you performed:
•
To delete part of your sketch tap , or select the
Erase
drawing tool from the
Tools
menu. Use the pen or the
arrow keys to delete part of the picture, starting from the
cursor position.
•
To change the width of the Erase tool:
tap on a width in
the Toolbar, or select the
Width
palette tool from the
Tools
menu. Change the width as required.
•
To delete the whole sketch:
select the
Delete all
command from the
Edit
menu.
•
Tap , or select the
Undo
command from the
Edit
menu
to remove the last action performed.
Changing colours
Changing colours
Changing colours
Changing colours
Changing colours
You can change the colour of an area by selecting a different
colour and using the Freehand drawing tool to draw over the
existing colour. You can select the
Zoom in
command from the
View
menu to view the picture in more detail, and change the
colour of the individual pixels.
Use the
Reverse colour
command from the
Transform
menu
to invert the colour of a selected area. For example, reversing
the colour of an area makes any black areas white and vice versa.
Cutting out, cropping & re
Cutting out, cropping & re
Cutting out, cropping & re
Cutting out, cropping & re
Cutting out, cropping & re-----sizing
sizing
sizing
sizing
sizing
You can cut out part of a picture by selecting the area to remove
and selecting the
Cut
command from the
Edit
menu.
To remove unused space from around the edges of a sketch,
select the
Crop
command from the
Tools
menu.
Adding te
Adding te
Adding te
Adding te
Adding textxtxtxtxt
To add text to your picture:
1.
Tap , or select the
Insert text
command from the
Tools
menu.
2.
Type in the text. You can format the text before you insert it
using
,
or
, and use the
Set Font
button to set
the font type, size, colour and printing position of the text.
3.
Press the
Insert
button to add the text to your picture.
4.
The text is selected when you insert it into the sketch. You
can move or resize it as usual.
5.
Tap elsewhere on the screen or press Enter to fix the text
onto the sketch.
Summary of Contents for netBook
Page 1: ...netBook USER GUIDE USER GUIDE USER GUIDE USER GUIDE USER GUIDE...
Page 35: ...26 Files folders...
Page 131: ...122 Calc Memory contents Memory contents Memory contents Memory contents Memory contents...
Page 149: ...140 Time...
Page 195: ...186 Dialling...
Page 207: ...198 Security backups...
Page 215: ...Appendices 206...
Page 225: ...Index 216...


