18
NOTE:
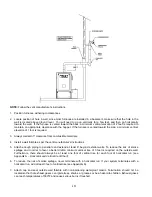
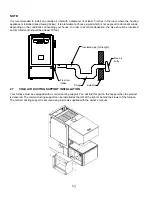
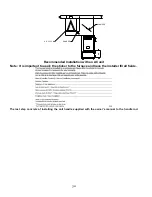
Follow the vent manufacturer’s instructions.
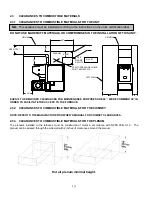
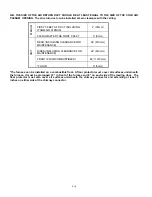
1. Position furnaces, adhering to clearances.
2. Locate position of hole in wall; since most furnaces are installed in a basement, make sure that the hole in the
wall is located above ground level. You will need to go up vertically for a few feet, and then go horizontally
toward the wall. If the furnace is vented toward the back, a minimum vertical elevation of 2 feet is required to
maintain an appropriate clearance with the hopper. If the furnace is vented toward the side, a minimum vertical
elevation of 1 foot is required.
3. Always maintain 3” clearance from combustible materials.
4. Install a wall thimble as per the vent manufacturer’s instructions.
5. Attach enough piping to penetrate and extend at least 6” beyond exterior walls. To reduce the risk of smoke
spillage and in order to favor a better draft,a minimum vertical rise of 3 feet is required on the outside wall.
Furthermore, there should always be at least one foot of vertical rise for each foot of horizontal run (see
Appendix A –
Horizontal and Vertical Vent Chart
).
6. To reduce the risk of smoke spillage, never terminate with a horizontal run. If your system terminates with a
horizontal run, add at least 3 feet of vertical rise (see Appendix A).
7. Attach cap and seal outside wall thimble with non-hardening waterproof mastic. Termination should not be
located so that hot exhaust gases can ignite trees, shrubs, or grasses or be a hazard to children. Exhaust gases
can reach temperatures of 500ºF and cause serious burns if touched.
Summary of Contents for CADDY ALTERNA
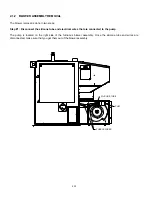
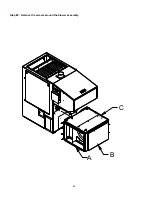
Page 11: ...11 A B C Step 2 Remove the screws around the blower assembly...
Page 49: ...49 6 GENERAL WIRING DIAGRAM...
Page 50: ...50...
Page 51: ...51...

