Quick Start Guide
©2014 PS Audio Inc. All rights reserved.
Owner’s Reference
DirectStream DAC
15-061-01-1
4826 Sterling Drive, Boulder, CO 80301
Rev A
PH: 720.406.8946 [email protected] www.psaudio.com
Quick Start Guide
phono or equalized input of any type.
Once everything has been connected, use a high quality AC cable to power DirectStream.
DACs in particular are quite sensitive to AC power and produce a bit of line noise
themselves. Make sure you have a high quality shielded power cable to power
DirectStream, and a Power Plant if possible.
PS Audio produces an entire line of high quality shielded power cables that are generally
accepted as being some of the best in the industry. Whatever you choose, make sure it
honors the music.
Turn the AC power switch in the rear of DirectStream to the ON position. The power switch
is located just above the AC inlet.
As soon as the switch is activated the front panel touch screen will display the initializing
screen. This screen shows when DirectStream’s internal “engine” is being loaded with the
fi rmware that runs DirectStream.
After the initializing screen, you will see the main screen of DirectStream.
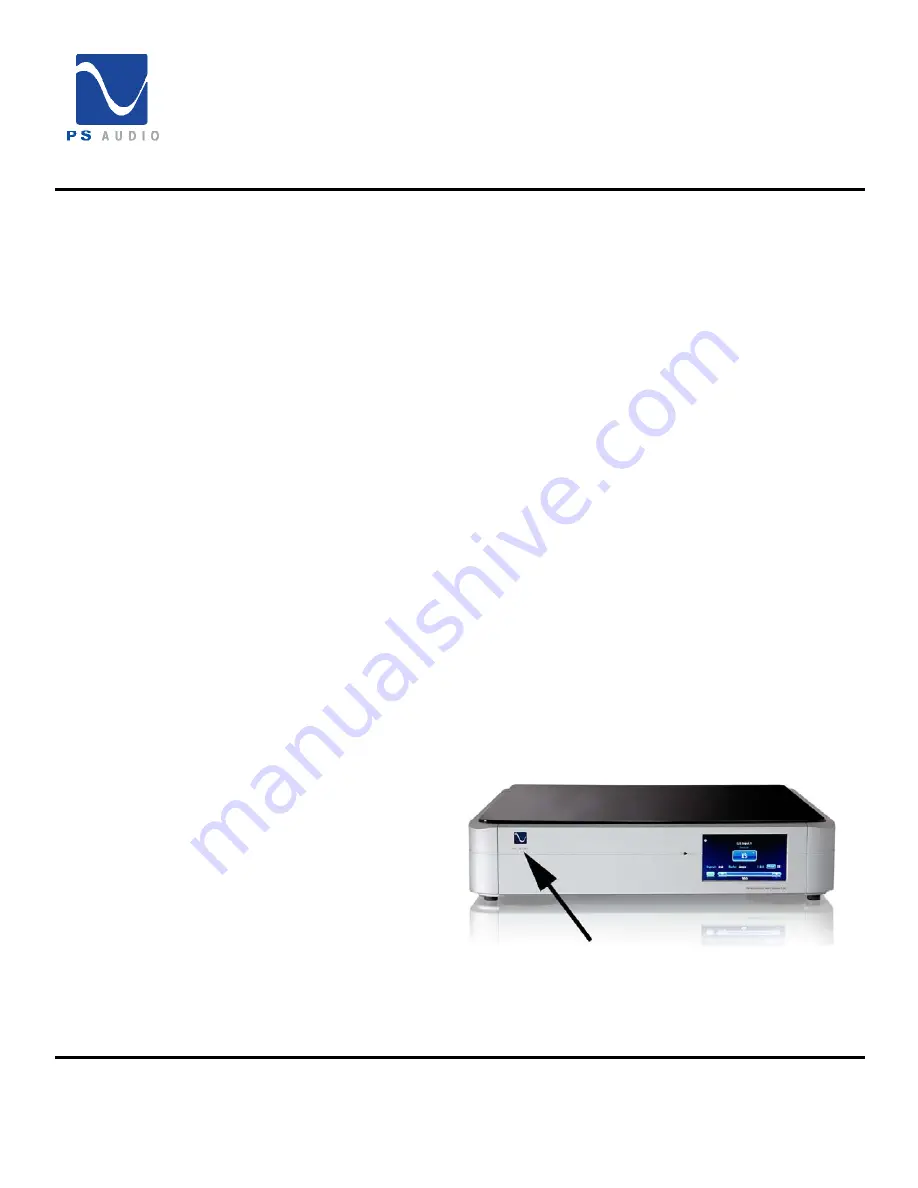
The front panel PS logo button, located on the upper left hand corner of the unit, is the Ready/
Operation Mode control for DirectStream. This control has two modes: Ready Mode and
Operational Mode. Ready Mode (Standby) is designed to keep power on to critical internal
circuitry including power supply capacitors, thermally sensitive semiconductors and integrated
circuits.
Press this front panel button
to activate the Ready Mode
or to place DirectStream in
Operational Mode. When
pressed to activate the Ready
Mode, the display as well as the
outputs are turned off, but all
the unit’s critical internal circuitry
remains active.
If you wish to conserve energy
consumed by DirectStream it
will be necessary to use the rear panel power switch. Using this rear panel switch will remove
power from critical components and in order to gain maximum performance levels you will need
Control and
Operation
Front Panel
Standby Button
Standby or Operate
4


