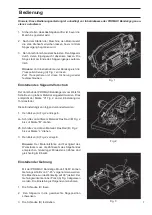
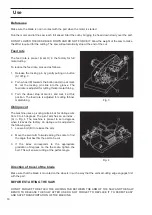
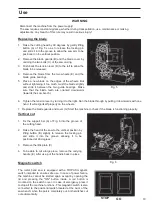

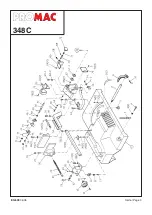

Quick vice and installing the part
1. Lift the lever (A) in Fig. 2 to be able to move the vice
easily back and forth, using the wheel (B) at the left
side of the base.
2. Push the clamping jaw (C) towards the part, by moving
it as much as possible towards the other clamping jaw,
which is fixed.
3. Fold the lever back down.
4. Turn the wheel (B) in a clockwise direction to ensure
good positioning of the part. In using it you will find that
this method of fastening the part is more practical and
effective than all the traditional systems.
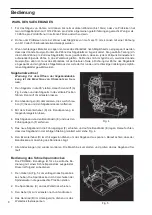
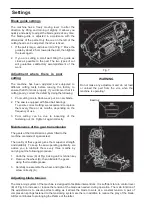
Installing the part
1. Raise the head of the saw until it is vertical.
2. Open the vice so as to be able to introduce the part to be cut by pulling on the wheel at the end of the
base.
3.
Place the part on the saw bench. If it is long, support the end of it.
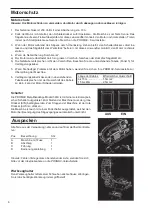
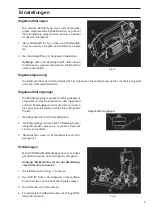
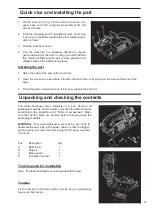
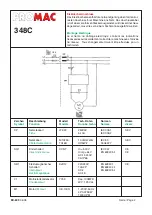
Unpacking and checking the contents
The metal hacksaw comes complete in a box. Remove all
packaging materials from the parts and check the different items
according to the illustration and "Table of accessories”. Make
sure that all the items are present before throwing away the
packaging materials.
WARNING :
If any parts whatsoever are missing, do not try to
assemble the saw, plug in the power cable or press the trigger,
before having recovered the missing part and having mounted
it correctly.
Pos.
Description
Qty
A
Basic Saw
1
B
Stop pin
1
C
Blade guard
1
D
Instruction manual
1
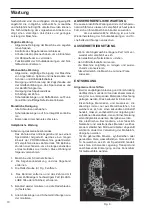
Tools required for installation
Note : The tools illustrated are not supplied with the saw.
Toolbox
Fix the tool box to the frame with 2 screws and you will always
have your tools handy.
17
Summary of Contents for 348C
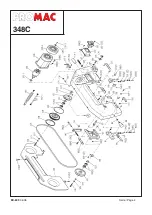
Page 22: ...Ersatzteilzeichnung Exploded view...
Page 23: ...Ersatzteilzeichnung Exploded view...
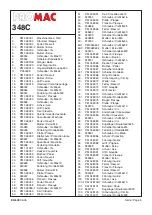
Page 29: ...Seite Page 3 EX 609 06 05 348C...
Page 30: ...Seite Page 4 EX 609 06 05 348C...


