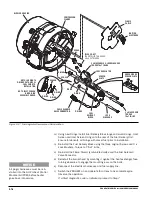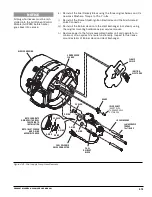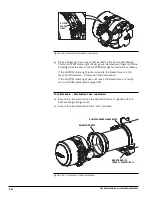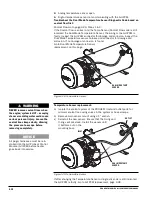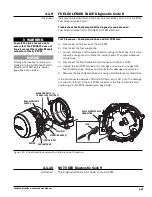
Figure 4-25: Combustion Tube Orientation.
ORIENTATION BOSS
HEAT EXCHANGER FLANGE NOTCH
MOUNTING BOLTS
TORQUE = SEE SECTION 1.3
G-II PCM
STATUS
LIGHT
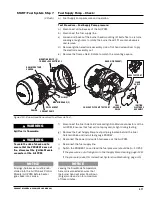
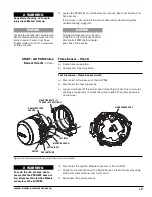
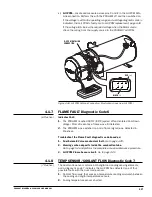
Figure 4-24: Remote Test Switch Connection.
g)
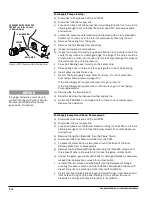
Place a finger over the sensor port located on the burner head flange.
The G-II G-II PCM status light should go out. Remove your finger and shine
a flashlight into the sensor, the G-II PCM status light should come on (Green).
If the G-II PCM status light reacts correctly, the Flame Sensor is OK.
Go to Test Procedure – Combustion Tube orientation.
If the G-II PCM status light does not react, the Flame Sensor is faulty.
Go to G-II PCM replacement, page 4-38.
Test Procedure – Combustion Tube orientation:
a)
Ensure that the combustion tube orientation boss is aligned with the
heat exchanger flange notch.
b)
Ensure that the combustion tube 'slits' are clean.
4-22
PROHEAT M-SERIES G-II PCM SERVICE MANUAL
Summary of Contents for M105 G-II PCM
Page 7: ...PROHEAT M SERIES G II PCM SERVICE MANUAL B 2 ...
Page 11: ...PROHEAT M SERIES G II PCM SERVICE MANUAL D 2 ...
Page 25: ...PROHEAT M SERIES G II PCM SERVICE MANUAL 1 12 ...
Page 35: ...2 10 PROHEAT M SERIES G II PCM SERVICE MANUAL ...
Page 77: ...PROHEAT M SERIES G II PCM SERVICE MANUAL 4 40 ...
Page 89: ...6 2 PROHEAT M SERIES G II PCM SERVICE MANUAL ...


