Usage instructions SPEEDY F4 and F2
43
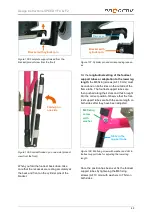
If you want to return the footrest to the stand-
ard position again, push it back forwards to the
standard position.
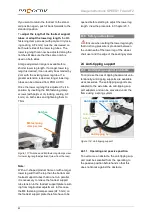
To
adjust the length of the footrest support
tubes
or adapt the lower leg length
, the M6
fastening clamp screws (with polymer dry lock-
ing coating, AF 4 mm) must be unscrewed on
both outer sides of the lower leg tubes. The
lower leg length can now be adjusted along the
notches. Make sure that the same notch is
used on both sides.
A large adjustment range is available for a
shorter lower leg length. If a longer lower leg
length is desired, it can usually be extended by
2 cm with the existing lower leg tube. If a
greater extension is desired, longer lower leg
tubes can be obtained from PRO ACTIV.
Once the lower leg length is adjusted, fix it in
position by inserting the M6 fastening clamp
screws (with polymer dry locking coating, AF
4 mm) on both sides and tightening them to
7 Nm.
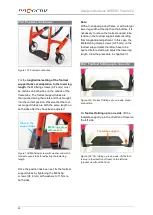
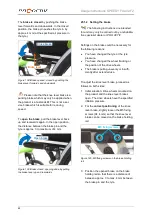
Figure 117: Notches and M6 fastening clamp screw
for lower leg length adjustment (view from the rear)
Note:
With a V-shaped product frame or with a larger
lower leg width at the top than the bottom and
footrest support tubes that do not run parallel,
it is necessary to relieve the footrest support
tube tension in the footrest support plate result-
ing from longitudinal adjustment. In this case,
the M6 fastening clamp screws (AF 5 mm) on
the footrest support plate therefore have to be
opened before starting to adjust the lower leg
length. View the procedure in Chapter 23.1.
23.6 Safety instructions
Ensure when setting the lower leg length,
that no strong pressure is produced between
the underneath of the lower leg of the wheel-
chair user and the edge of the seating system.
24 Anti-tipping support
24.1 Anti-tipping support, pivotable
To minimise the risk of tipping backwards unin-
tentionally, anti-tipping supports are available
as accessories. The anti-tipping supports are
adapted to the axle tube via anti-tipping sup-
port adapters and can be swivelled under the
frame using a spring system.
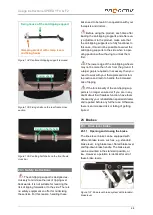
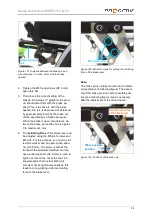
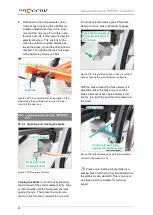
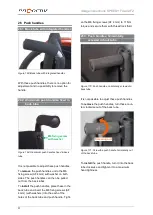
Figure 118: Anti-tipping support
24.1.1 Operating and passive position
To overcome an obstacle, the anti-tipping sup-
port must be swivelled from the operating to
the passive position beforehand so that this
does not knock against the obstacle.
Anti-tipping bar
Anti-tipping
wheel
Anti-tipping support adapter
M6 fastening
clamp screw
Notches


