15
HOW TO USE A CALORIE GOAL PROGRAM
Press any button or begin pedaling to turn on
the console.
A moment after you turn on the console, the dis-
play will light.
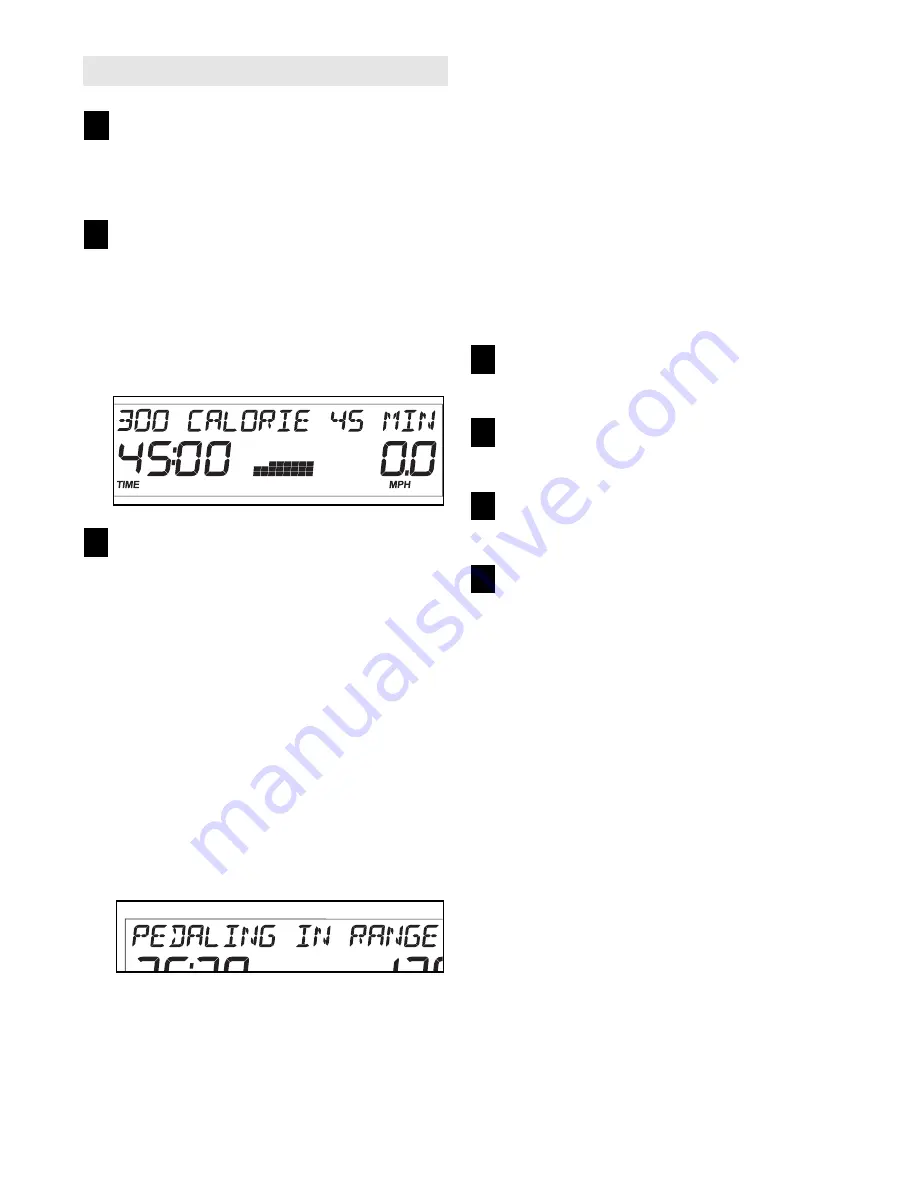
Select one of the calorie goal programs.
Press the Program button repeatedly until the
name of the desired calorie goal program
appears in the display. When you select a calorie
goal program, the program time will appear in the
display and a profile of the resistance settings for
the program will scroll across the center of the dis-
play.
Begin pedaling to start the program.
Each program is divided into 30 or 45 one-minute
segments. One resistance setting and one target
pace (speed) setting are programmed for each
segment. Note: The same resistance setting and/or
target pace setting may be programmed for two or
more consecutive segments. The display for a
calorie goal program work in the same way as the
display for the trainer programs (see step 3 on
page 12).
As you exercise, you will be prompted to keep
your pace near the target pace setting for the cur-
rent segment. When the words PEDAL FASTER
appear in the display, increase your pace. When
the words PEDAL SLOWER appear in the dis-
play, decrease your pace. When the words PED-
ALING IN RANGE appear, maintain your current
pace.
Important: The target pace settings are intend-
ed only to provide motivation. Your actual
pace may be slower than the target pace set-
tings. Make sure to exercise at a pace that is
comfortable for you.
Note: If you manually over-
ride the resistance settings of a calorie goal pro-
gram, you might not reach your calorie goal.
To stop the program at any time, stop pedaling.
The time will begin to flash in the display. To
restart the program, simply resume pedaling.
When the last segment of the program ends, the
words PROGRAM DONE will appear in the dis-
play.
Follow your progress with the display.
See step 4 on page 10.
Measure your heart rate if desired.
See step 5 on page 11.
Turn on the fan if desired.
See step 6 on page 11.
When you are finished exercising, the console
will turn off automatically.
See step 7 on page 11.
7
6
5
4
3
2
1


