32
C
HAPTER
3
Working with the Software
changing background, text, and layout, for
example, on each copy while leaving the
original intact.
Some users have mistakenly assumed the
Add
command is how you print multiple
copies of a label. While you could in fact
use it that way, it’s much simpler to set the
number of copies you want to print from
the Print dialog box. So when should you
use the
Add
command?
The
Add
command provides an easy way
to produce a series of labels based on a
common design. Say you’re creating labels
for a clipart CD collection – the first CD
contains clipart of animals, the second
sports, and the third cartoons. Let’s also
say you want a different title and logo on
each label to identify each collection.
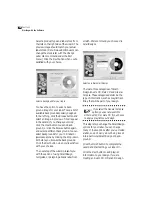
Design the first label, “Animals” in this
example, then click the
Add
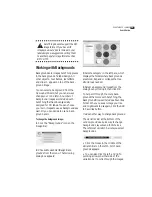
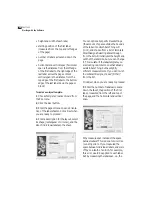
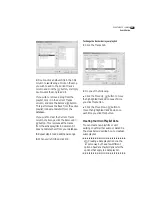
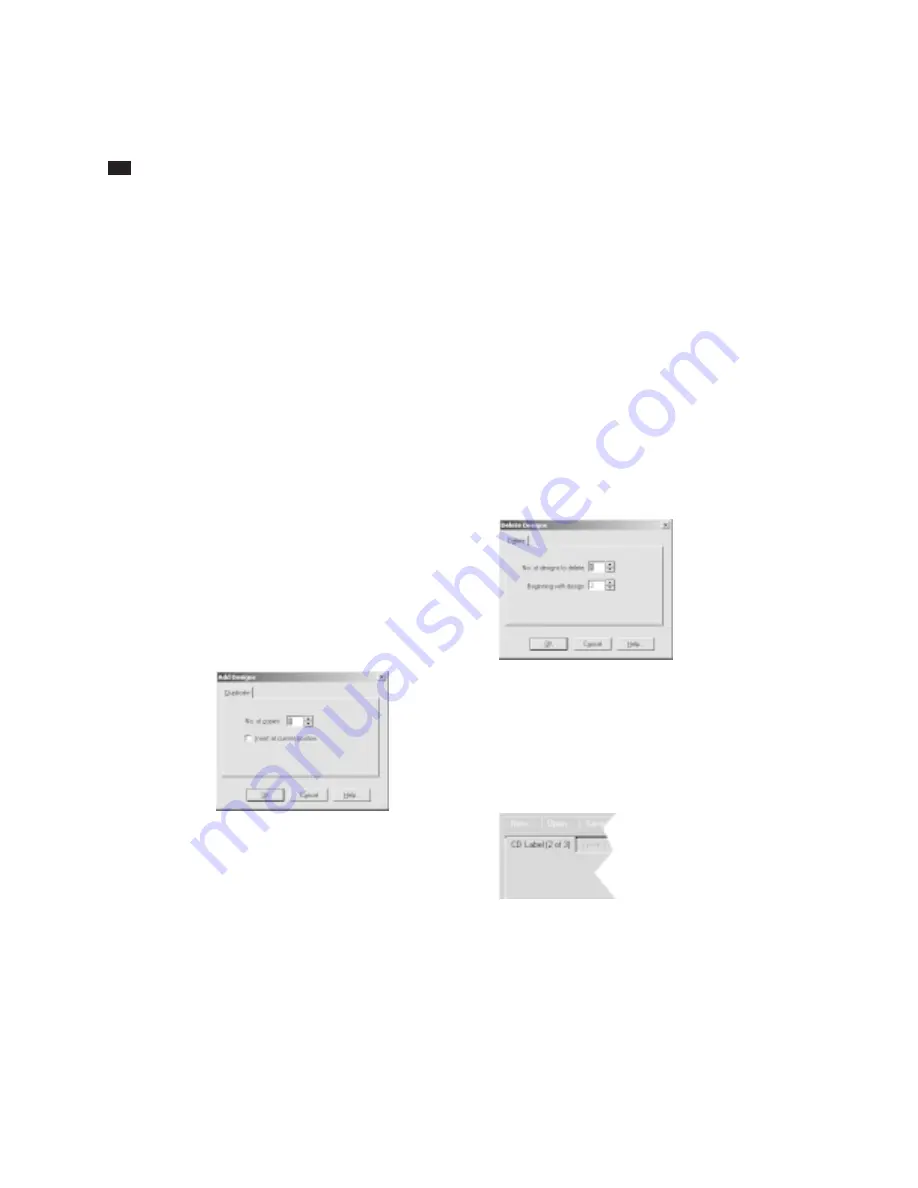
button. The
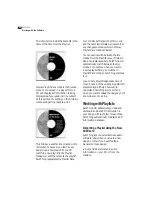
Add Designs dialog box appears:
Enter “2” in the
No. of copies
field and click
OK. You now have three copies of the
same design. You can then change the title
and logo on duplicate labels #2 (“Sports”)
and #3 (“Cartoons”) accordingly.
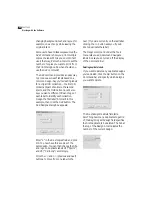
Click the << and >> (previous and next)
buttons to move from one label to the
next. (If you are currently on the last label,
clicking the >> button asks you if you’d
like to duplicate the label.)
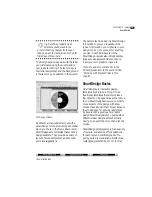
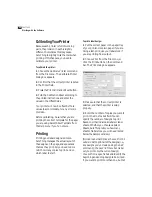
The
Designs
command under the Tools
menu lets you add, delete and navigate
labels in case you’ve turned off the display
of the Command Bar.
Deleting duplicate labels
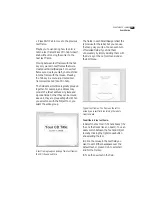
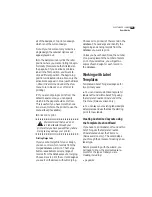
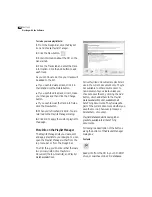
If you want to delete any duplicate designs
you’ve created, click the
Del
button on the
Command bar and specify which designs
you want to delete.
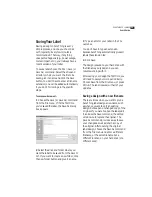
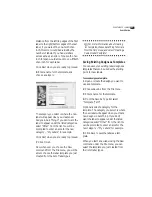
The
No. of designs to delete
field tells
SureThing how many duplicates to get rid
of; the
Beginning with design
field specifies
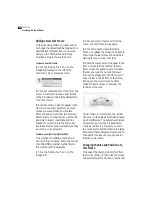
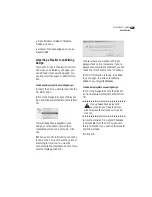
the first duplicate to be deleted. The tab at
the top of the Design Area indicates the
number of the current design:
Summary of Contents for SureThing
Page 1: ......

