905E, 9.1, 9.10 Treadmills
Page 35
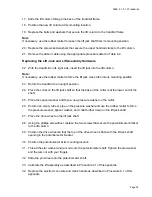
12. Inspect and adjust the target gap as described in Procedure 3.4 of the Residential Treadmill
Service Manual.
13. Tighten the bolts and nuts that secure the lower PCA to the motor chassis.
14. Attach the ribbon cable to the lower PCA.
15. Connect the wires listed in Table 9.1-3 to the lower PCA.
16. Remove the ground lead of the wrist strap from the treadmill frame, then remove the wrist
strap from your arm.
17. Replace the hood as described in Procedure 5.1 of the Residential Treadmill Service
Manual.
18. Check the operation of the treadmill as described in Section Three of this appendix.
Summary of Contents for 9.10
Page 5: ...905E 9 1 9 10 Treadmills Page 5 9 1 Electronic Console 9 10 Electronic Console...
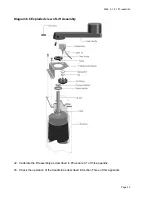
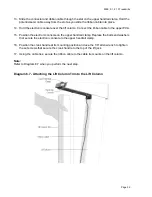
Page 15: ...905E 9 1 9 10 Treadmills Page 15 Diagram 4 2 Upper Lift Column Assembly...
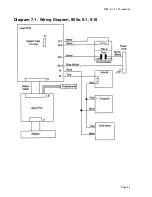
Page 44: ...905E 9 1 9 10 Treadmills Page 44 Diagram 7 1 Wiring Diagram 905e 9 1 9 10...
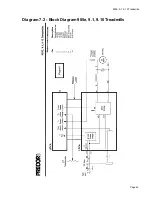
Page 45: ...905E 9 1 9 10 Treadmills Page 45 Diagram 7 2 Block Diagram 905e 9 1 9 10 Treadmills...

