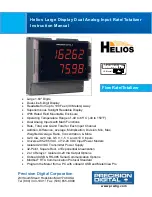
PD2-6262 Helios Large Display Analog Dual-Input Rate/Totalizer Instruction Manual
9
Safety Information
Caution
:
Read complete instructions
prior to installation and operation of the
meter.
Warning
:
Risk of electric shock or
personal injury.
Warning!
Hazardous voltages exist within enclosure.
Installation and service should be performed only by trained
service personnel.
Installation
There is no need to open the clear plastic front cover in order to complete the installation, wiring,
and setup of the meter. All programming is done through the buttons and switches located under
the lower door panel and are accessible by removing the single securing screw. Wires should be
run through the knockout holes located on the bottom of the meter.
There are a total of four pre-drilled conduit entry holes located at the bottom of the meter. If the
need to drill additional holes arises, make sure you will have the clearance necessary for conduit
mounting hardware.
Do not disconnect the RJ45 connector found on the right side of the meter wiring board. Doing so
will disable the onboard digital I/O, RS-485 serial communications, and M-Link functionality.
Instructions are provided for changing the transmitter power supply to output 5 or 10 VDC instead
of 24 VDC, see page 11.
Unpacking
Remove the meter from box. Inspect the packaging and contents for damage. Report damages, if
any, to the carrier. If any part is missing or the meter malfunctions, please contact your supplier or
the factory for assistance.
!


