


P O W I S P R I N T E R
Ô
M O D E L 3 1 U S E R ’ S M A N U A L
P R I N T I N G M O R E E L A B O R A T E T I T L E S
16
13. Press MENU.
14. Press 3 (FONT STYLE). Select a font style (for instance, Italic).
15. Choose which zone(s) this change will affect. After confirming
your choice, the printer returns to the Text Screen.
16. Press the PRINT key. The screen now displays:
Depending on the book width or number of sheets you enter, the
printer determines the appropriate width Binderstrip™ you need.
17. So measure how wide your book is, or count how many sheets
you’re binding. (If you have non-standard pages [thick covers, etc.],
please measure the book and enter that thickness.) Using the M, I,
and S keys, enter the book thickness in millimeters, inches, or
number of sheets. Press ENTER. The PowisPrinter™ then
determines the strip width suitable for your book.
18. After you have entered the book thickness, the keyboard display
says:
ENTER BOOK THICKNESS: __ sheets
S=sheets, I=in, M=mm
NOTE:
N/M/W = NARROW OR MEDIUM OR WIDE
19. Insert the Binderstrip™ into the Feed Entry (figure 2). Make sure
that:
• The Binderstrip™ is adhesive side up
• The Binderstrip™ is fed straight into the machine
• You are feeding only one strip (sometimes they stick together in
the box)
• The Binderstrip™ width matches the width the printer has
requested
• The Binderstrip™ is clean and no Binderstrip™ fragments are
attached
If not, an error message will appear and you’ll need to re-feed the
correct strip into the machine.
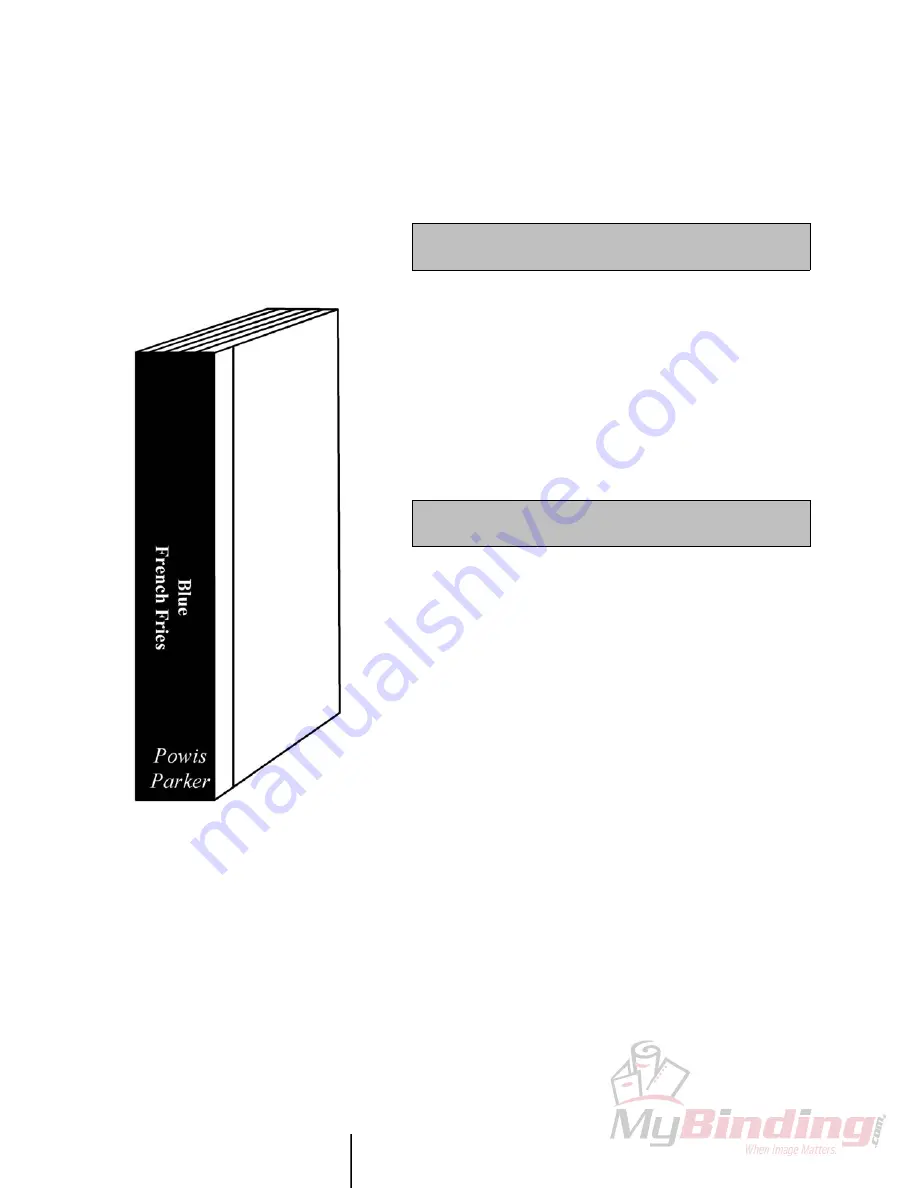
20. Once you’ve inserted the Binderstrip™ correctly, the
PowisPrinter™ will print on it and eject it so that it’s ready for
binding. If you followed our model, your strip should look
something like the strip in the Getting Started example (figure 14).
Pretty snazzy, huh?
INSERT N/M/W STRIP


