104
Maintenance and Service
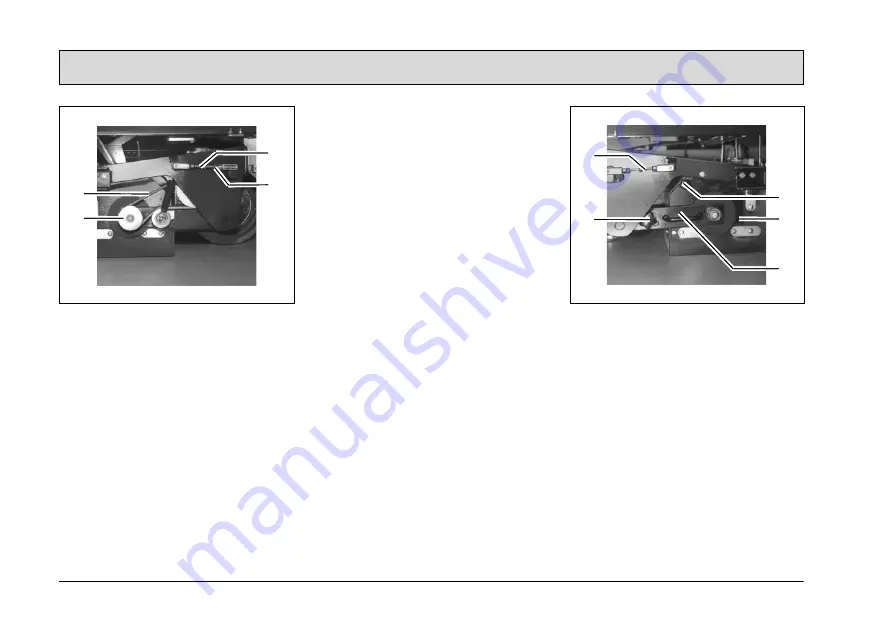
Fig. 38
1 Fan belts
2 Fan belt pulley
from drive motor
3 Counternut
4 Adjusting device for sweeping
pattern
7. Check the sweeping pattern, refer to
Section “Checking the sweeping pat-
tern”.
8. Repeat steps 1 to 7 until the sweep-
ing pattern is set correctly.
9. Tighten the counternuts (Fig. 38/3)
on both sides of the vehicle.
10.Pivot the left and right-hand side
flaps down.
Disassembling the rotary brush
The rotary brush can only be accessed
from the right-hand side of the machine,
viewing to the front.
1. Sit on the driver's seat, insert the key
in the key switch and turn to
position 1.
2. Press the button to switch pre-
sweep/vacuum unit on/off (Fig. 20/4)
to lower the side brush and rotary
brush.
3. Turn the key switch to position 0 and
remove the key. The rotary brush
and side brush remain lowered.
4. Pivot the right-hand side flap up.
5. Unscrew the knurled screw for the
brush swing arm (Fig. 39/2).
6. Pull off the brush swing arm
(Fig. 39/5).
7. Unscrew the knurled screw for the
brush space cover (Fig. 39/3).
8. Remove the brush space cover
(Fig. 39/4).
9. Pull the rotary brush out.
Fig. 39
1 Adjusting device for sweeping pat-
tern
2 Knurled screw for brush swing arm
3 Knurled screw for
brush space cover
4 Brush space cover
5 Brush swing arm
Installing the rotary brush
The rotary brush must be installed in
the reverse sequence to disassembly,
refer to Section “Disassembling the ro-
tary brush”.
3
4
1
2
3
4
1
2
5


