Powered by Safety
®
33
Installation
01.4IB.60306
2) Inserting the Circuit Breaker to the
Test/Disconnected Position
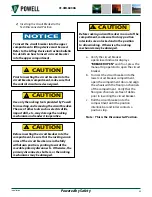
To insert the circuit breaker into the upper
compartment a lifting device must be used.
Refer to the Lifting Device instruction bulletin
for details on how to insert a circuit breaker
into the upper compartment.
NOTICE
Prior to inserting the circuit breaker into the
circuit breaker compartment, make sure that
the control circuits are deenergized.
!
CAUTION
Use only the racking tools provided by Powell
for inserting and removing the circuit breaker.
The use of other tools such as electric drills,
impact drill, etc., may damage the racking
mechanism and render it inoperative.
!
CAUTION
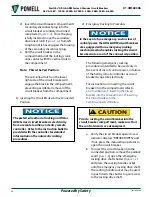
Before inserting the circuit breaker into the
compartment, be sure that the racking crank
arms of the circuit breaker are in the fully
withdrawn position, pointing towards the
movable primary disconnects. Otherwise, the
primary disconnects, shutters, or the racking
mechanisms may be damaged.
!
CAUTION
Before racking a circuit breaker in or out of the
compartment, make sure that any position
interlocks are unlocked and in the position
to allow racking. Otherwise, the racking
mechanism may be damaged.
!
CAUTION
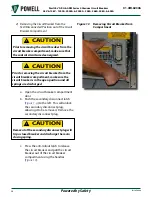
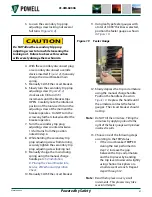
a. Verify the circuit breaker
open/closed indicator displays
“BREAKER OPEN” and if not, press the
manual trip operator to open the circuit
breaker.
b. To insert the circuit breaker into the
lower circuit breaker compartment,
open the compartment door and align
the wheels with the floor pan channels
of the compartment. Verify that the
floor pan channels are free of debris
prior to inserting the circuit breaker.
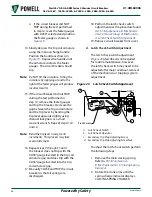
c. Roll the circuit breaker into the
compartment until the position
interlock bar and roller contacts a
positive stop.
Note: This is the Disconnected Position.

