19
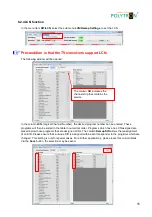
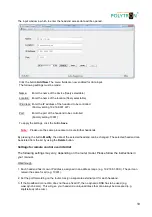
The input window in which to enter the headend access data will be opened.
Click the button
Add New
. The menu fields are now enabled for data input.
The following settings must be made:
Name:
Enter the name of the device (freely selectable)
Location: Enter the name of the location (freely selectable)
IP-Adress: Enter the IP address of the headend to be controlled
(Factory setting 192.168.001.227)
Port:
Enter the port of the headend to be controlled
(Factory setting 10001)
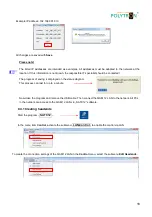
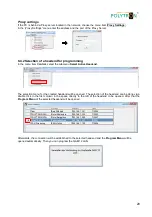
To apply the settings, click the button
Save
.
Note:
Please use the same procedure to create further headends.
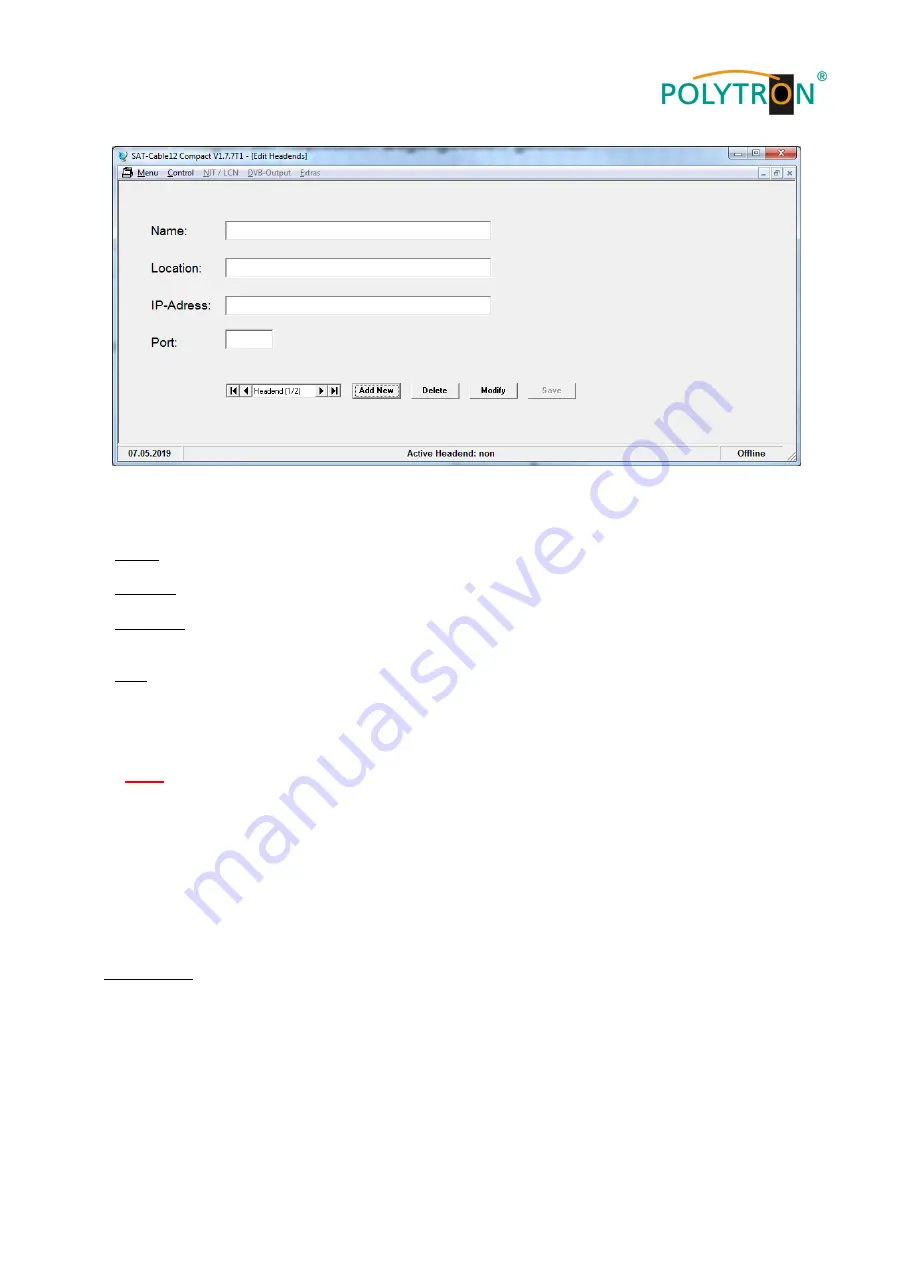
By pressing the button
Modify
, the data of the selected headend can be changed. The selected headend can
be deleted from the list by using the
Delete
button.
Settings for remote control over i
nternet
The following settings may vary, depending on the router model. Please follow the instructions in
your manual.
Walkthrough:
1. Each headend has its own IP address, assigned in an address range (e.g. 192.168.1.XXX). The port can
remain the same for all (e.g. 10001).
2. Set the port forwarding on the router. Assign a separate external port for each headend.
3. If the broadband connection does not have a fixed IP, then a dynamic DNS has to be used (e.g.
www.dyndns.com). This will give your headend a unique address that can always be accessed (e.g.
kopfstelle.dyndns.com).
192.168.001.227
Langwiesenweg
POLYTRON
10001

